Calibrate precise camera ↔ nozzle N2 offsets
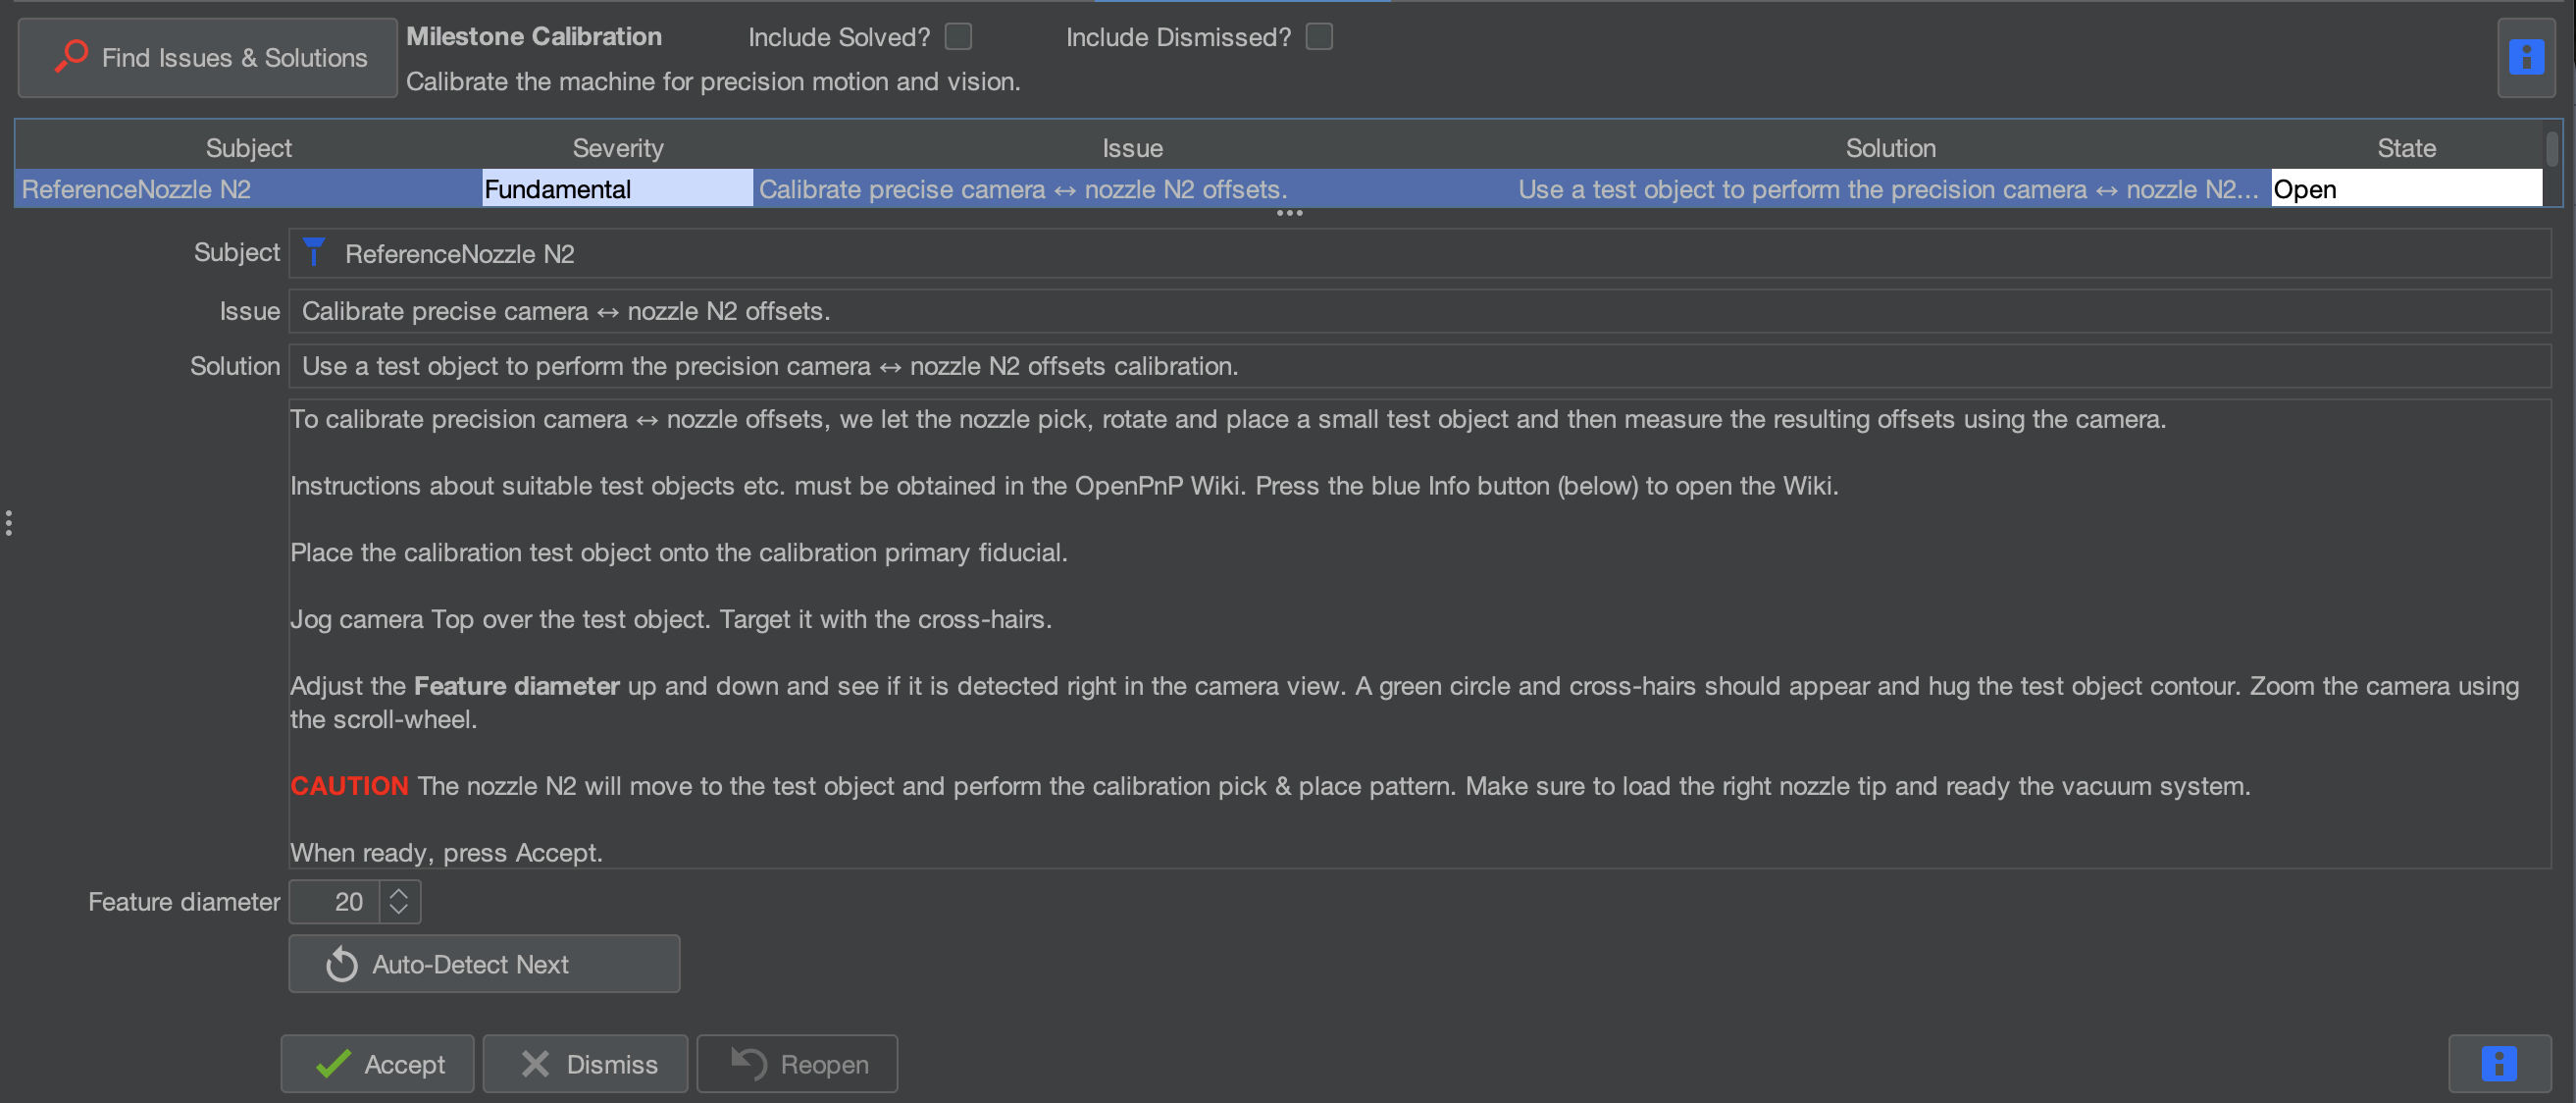
What This Step Does
This step precisely measures the relationship between the top camera and Nozzle N2.
OpenPnP picks up the hole punch reference, rotates the nozzle, and sets it back down while observing it with the camera. By measuring how the circle appears from different angles, OpenPnP can calculate the precise offset and rotation behavior of the nozzle.
Place the Hole Punch Reference
Locate the hole punch reference included with your kit.
Place the hole punch directly over the primary fiducial, covering the Opulo logo as much as possible.
The hole punch provides a clean circular feature that the camera can easily detect.
Center the Camera on the Hole Punch
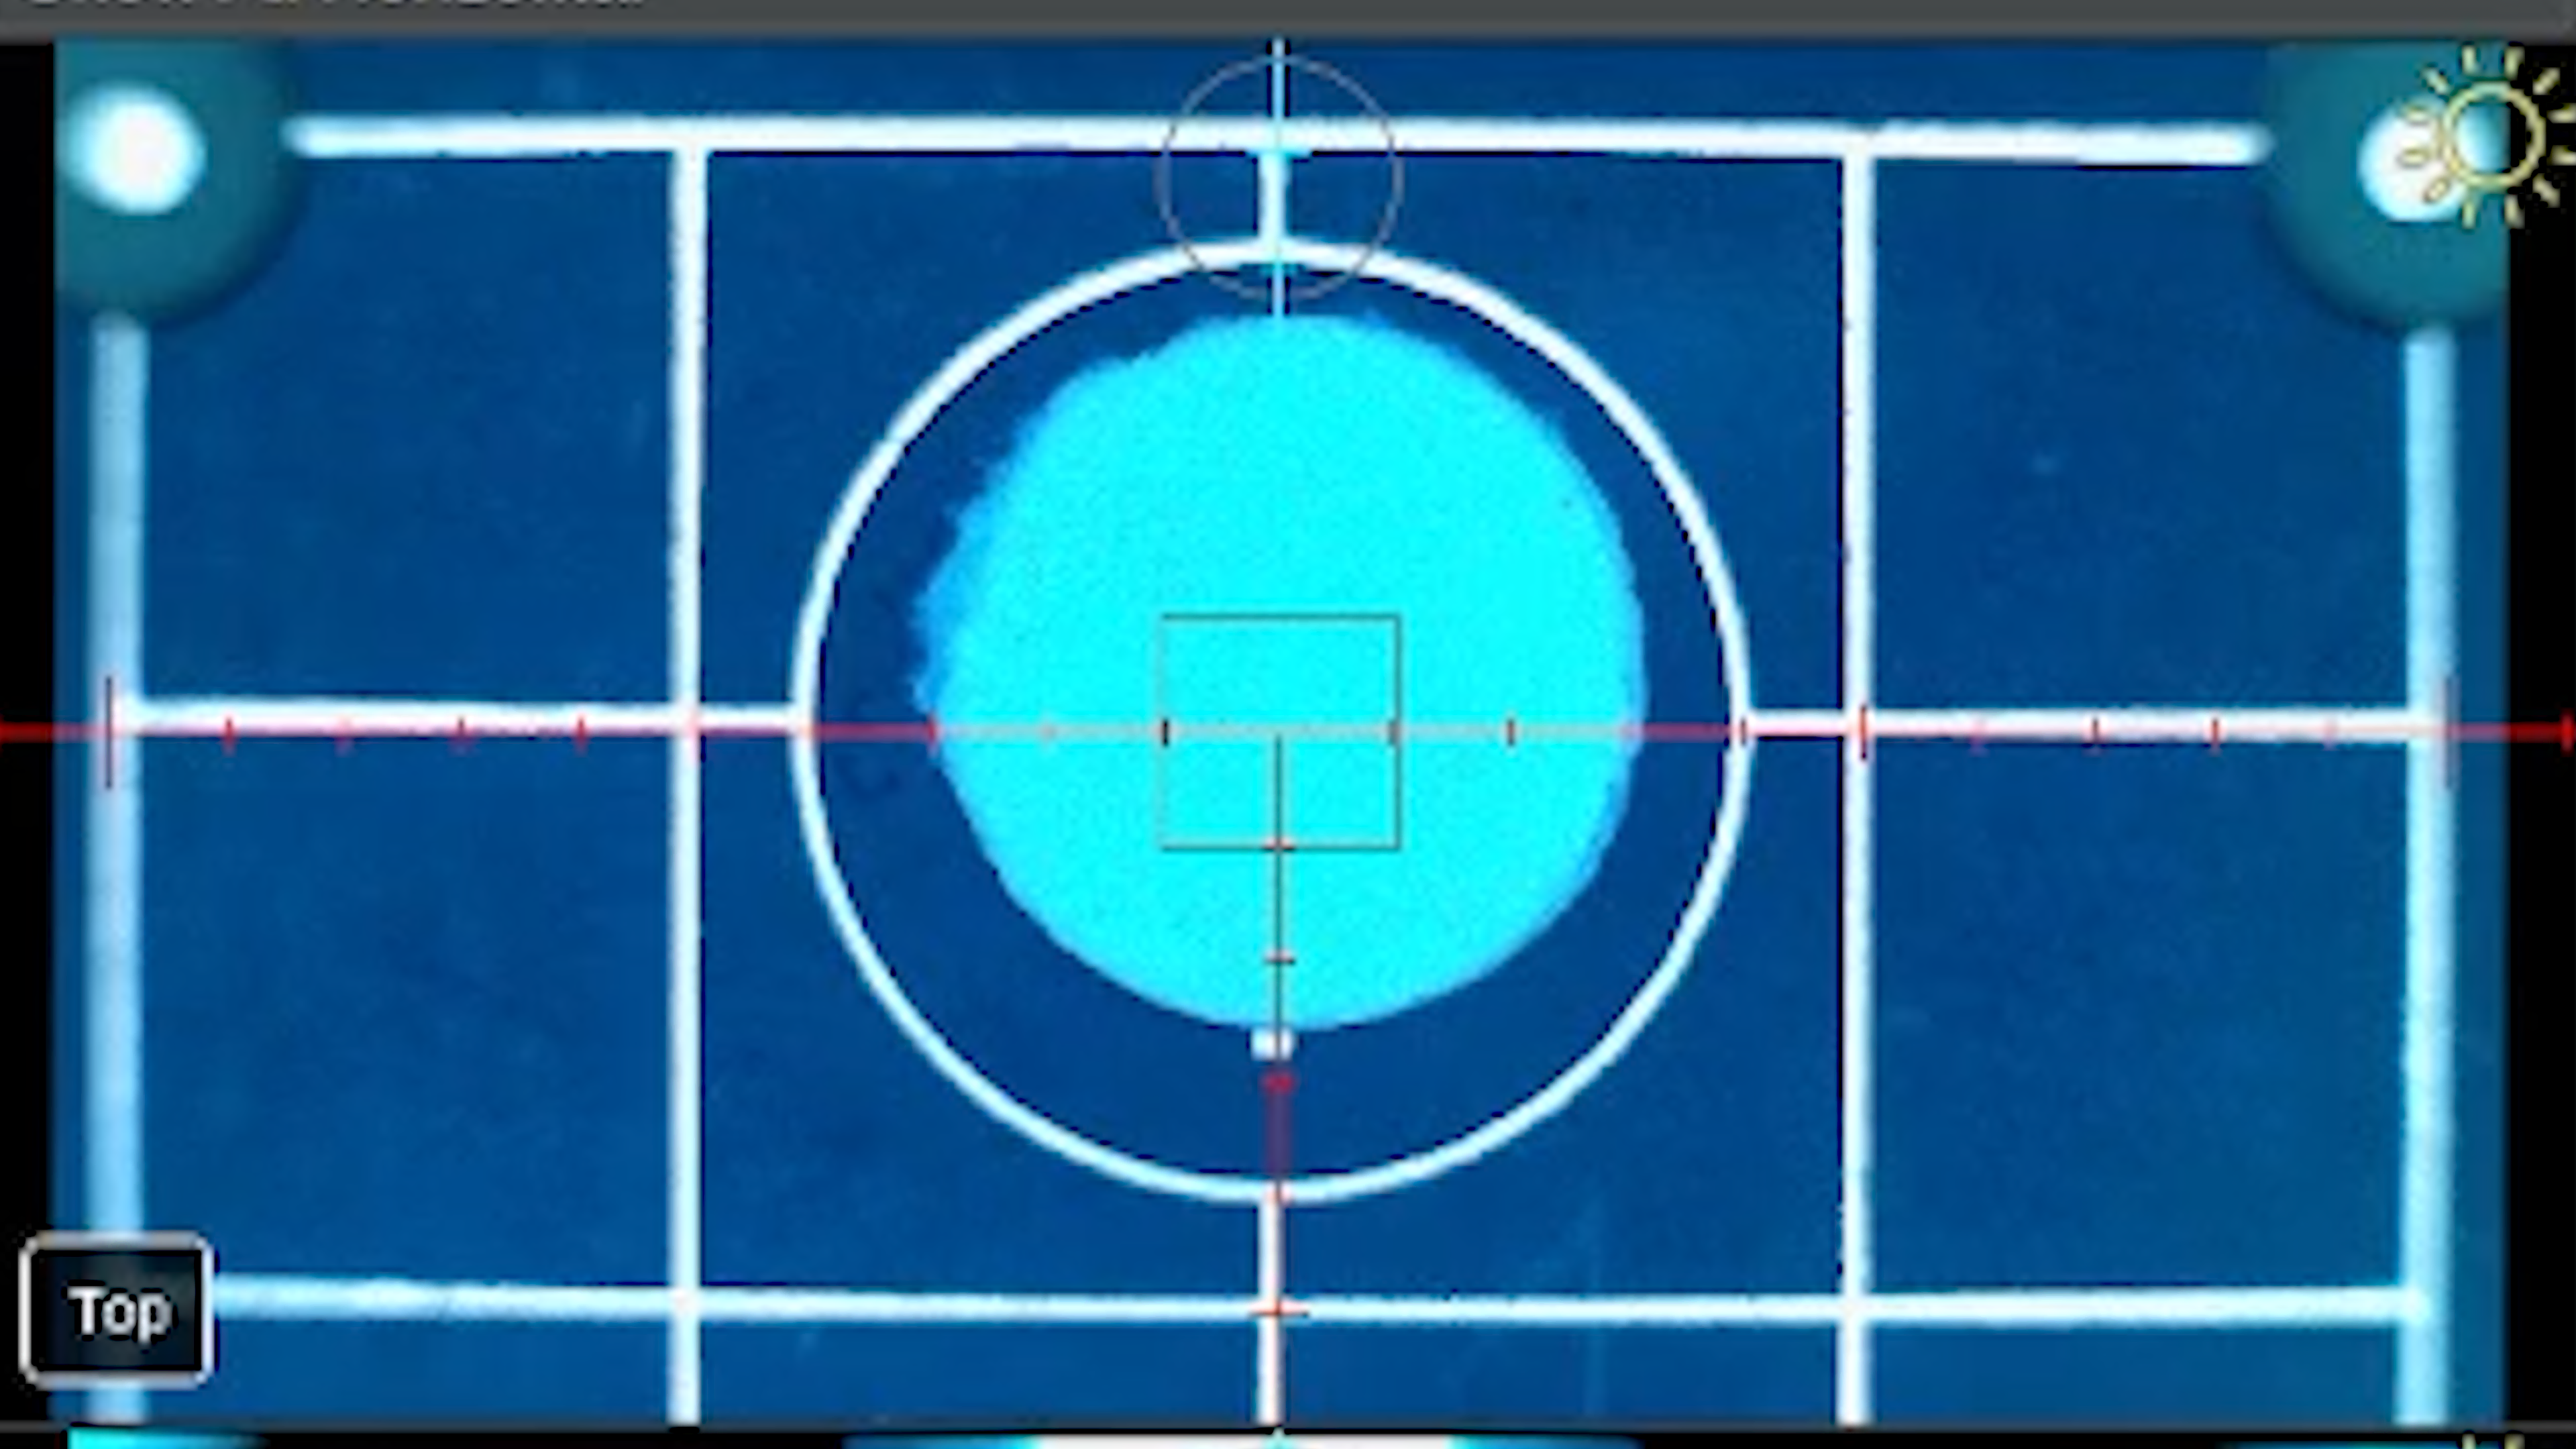
Use the Machine Controls to jog the top camera over the hole punch.
Center the camera so the circular hole punch reference is clearly visible.
Detect the Circle
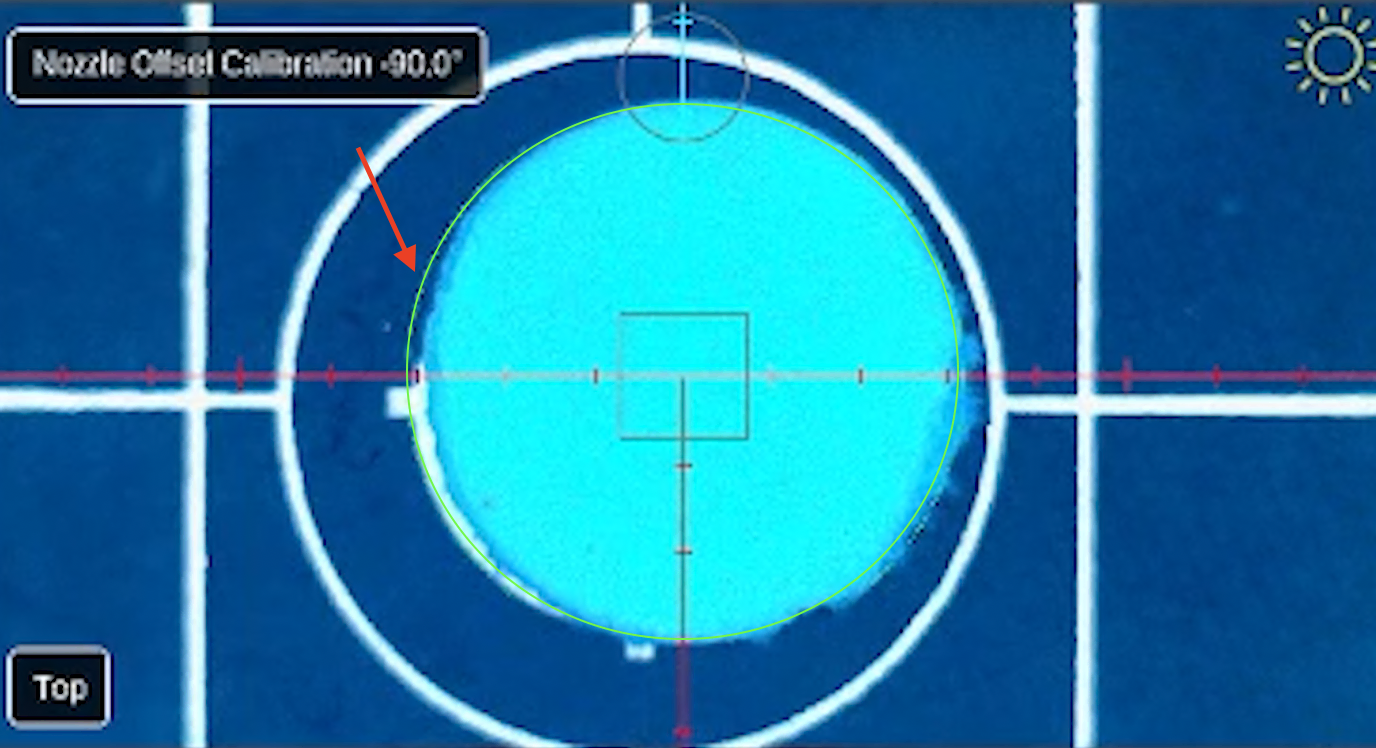
Adjust the Feature Diameter so the circle matches the hole punch opening.
You can use your prior hole punch feature diameter as a starting point, and it should be pretty close to the same reading.
You may use Auto Detect to find a starting value, but always visually confirm that the detected circle matches the hole punch.
Example from our calibration:
Feature Diameter: 540
Score: 7.40
Your values may differ slightly.
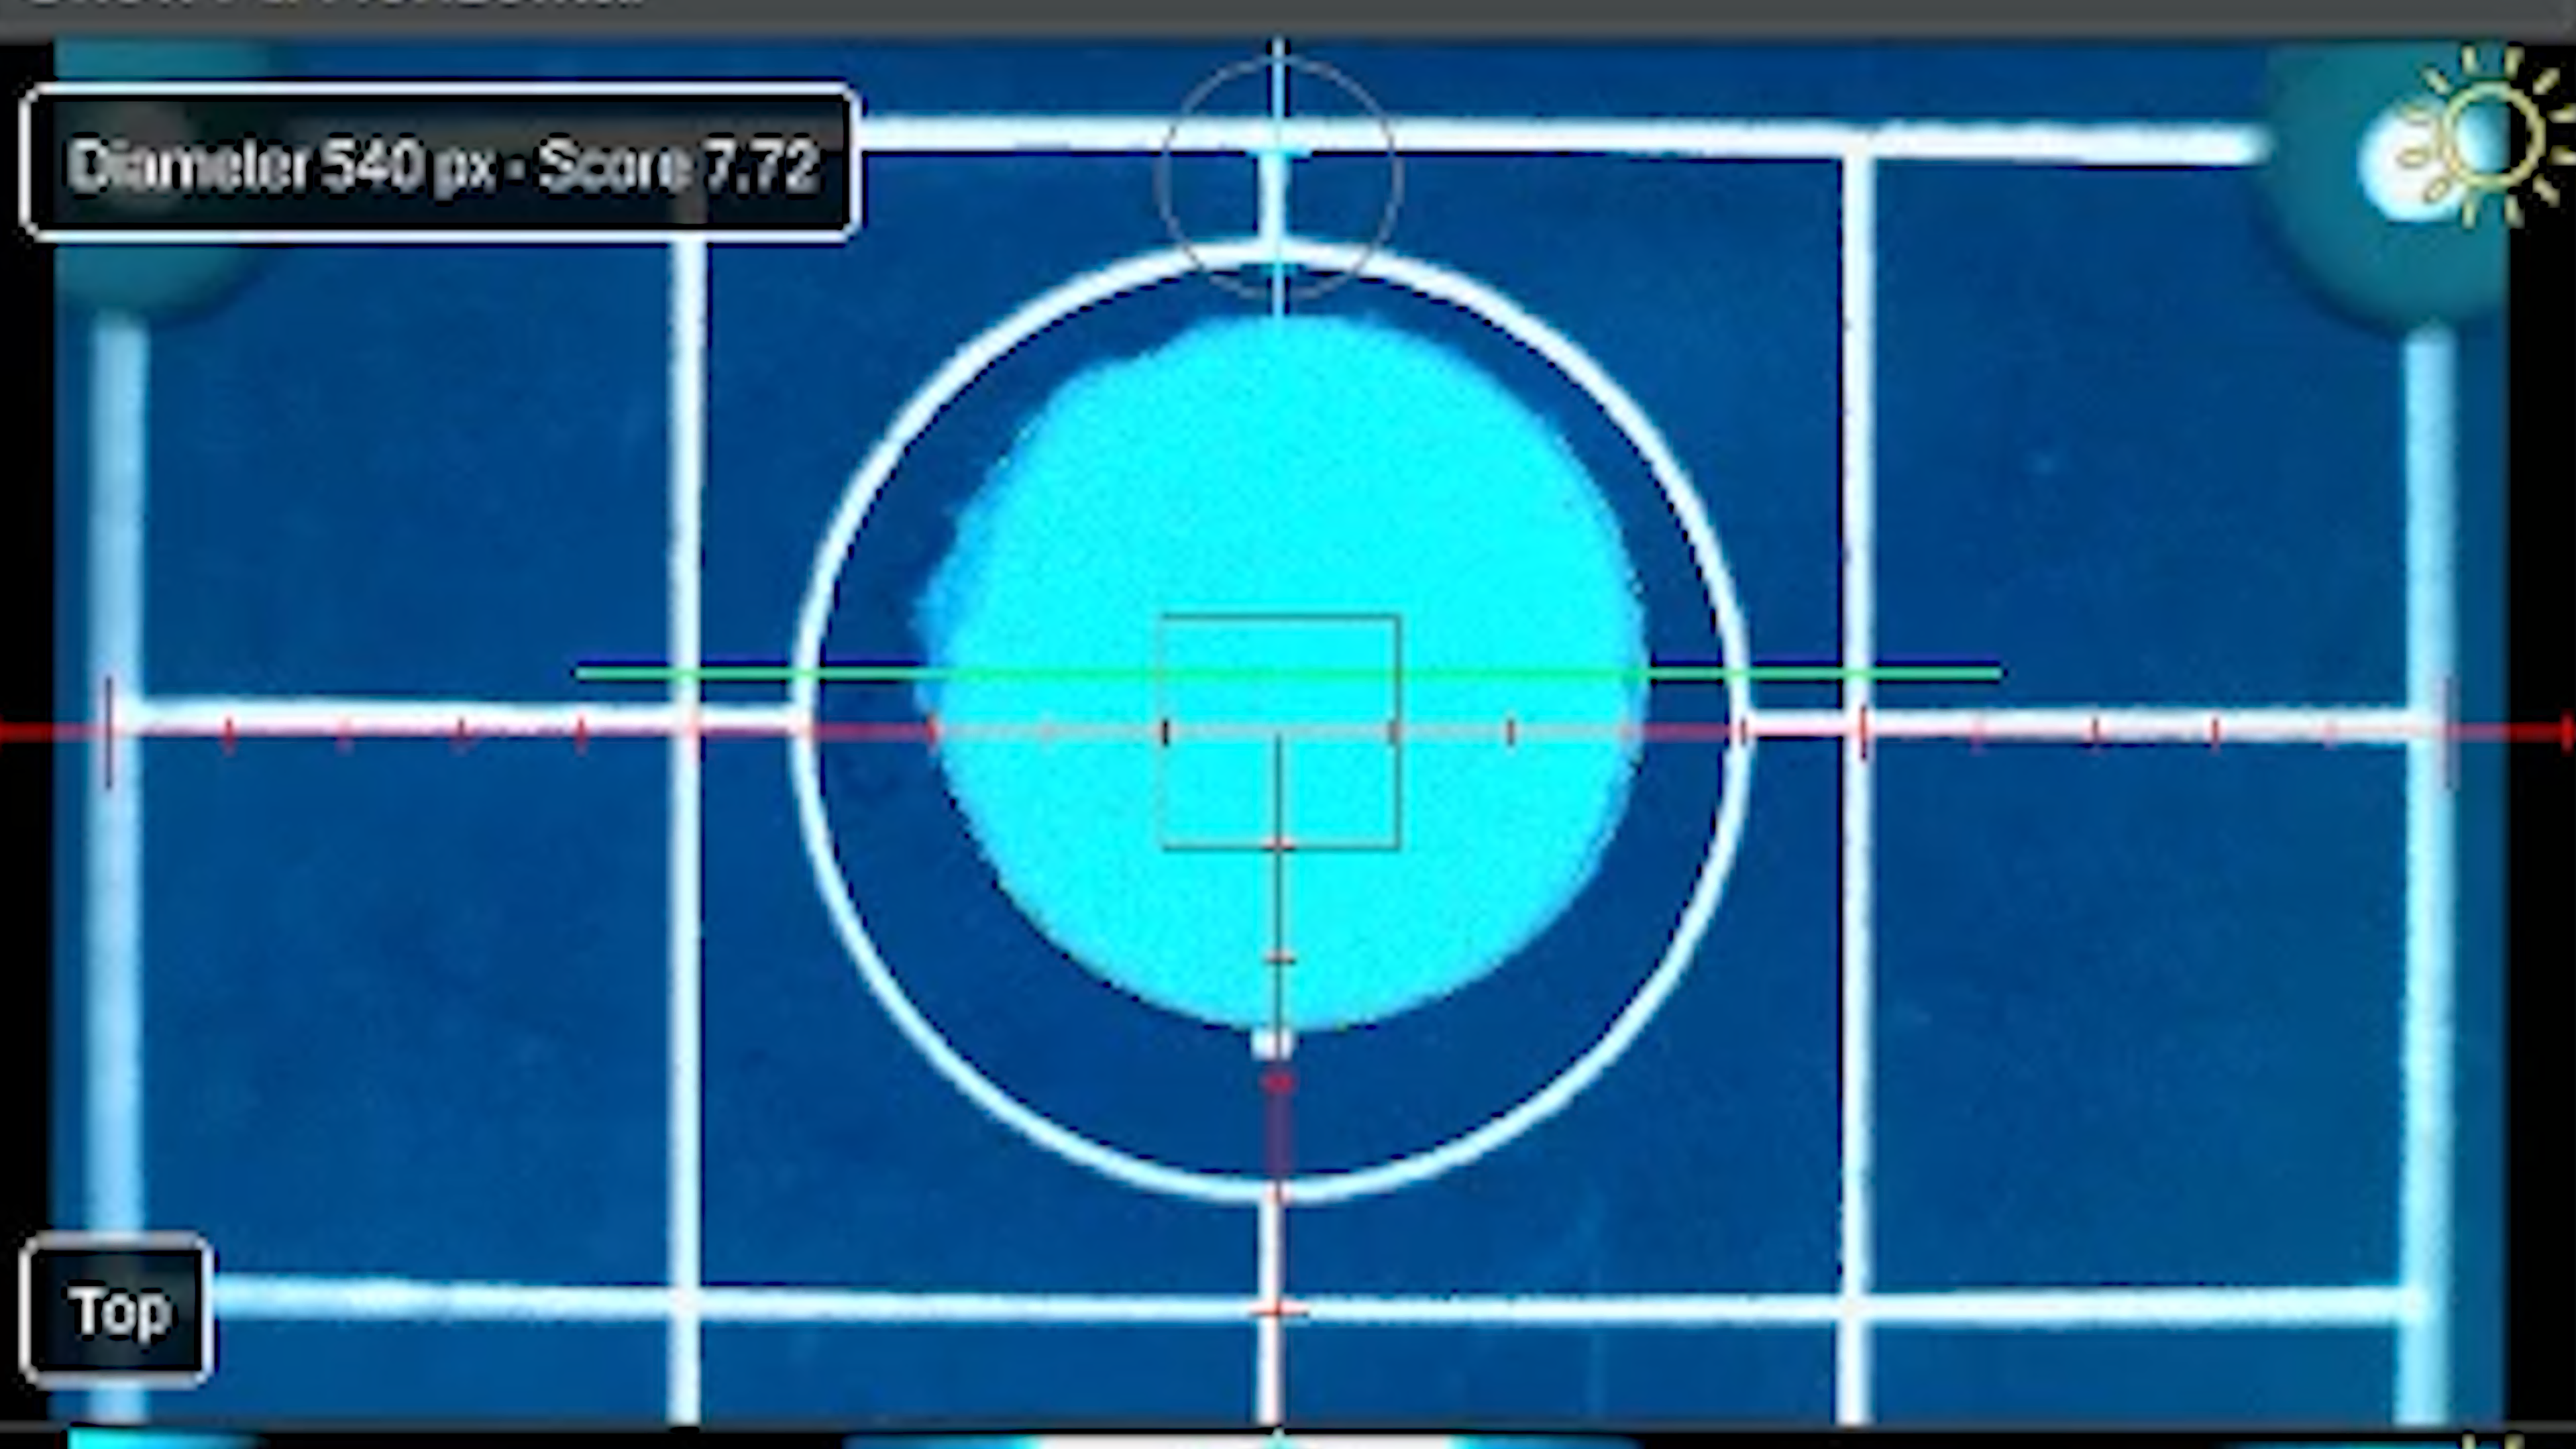
It can be very difficult to see the circle sometimes. Using the green crosshairs can help identify that the circle is there.
Start the Calibration
Click accept to begin the calibration.
OpenPnP will:
- Pick up the hole punch using Nozzle N2
- Rotate the nozzle
- Place the hole punch
- Measure the difference between each movement
This allows OpenPnP to determine the precise camera-to-nozzle relationship.
Complete the Calibration
Once the process finishes and the issue is marked as Solved, click: