Semi Assembly (v3.0)
These are assembly instructions for the Semi-Assembled LumenPnP. If you're looking for the instructions for the "BYOP" bring-your-own-printer kit, you can find them here.
What is the LumenPnP?
The LumenPnP is an open source Pick and Place project led by Opulo. The LumenPnP is designed to be low cost and suited towards mid-scale manufacturing.
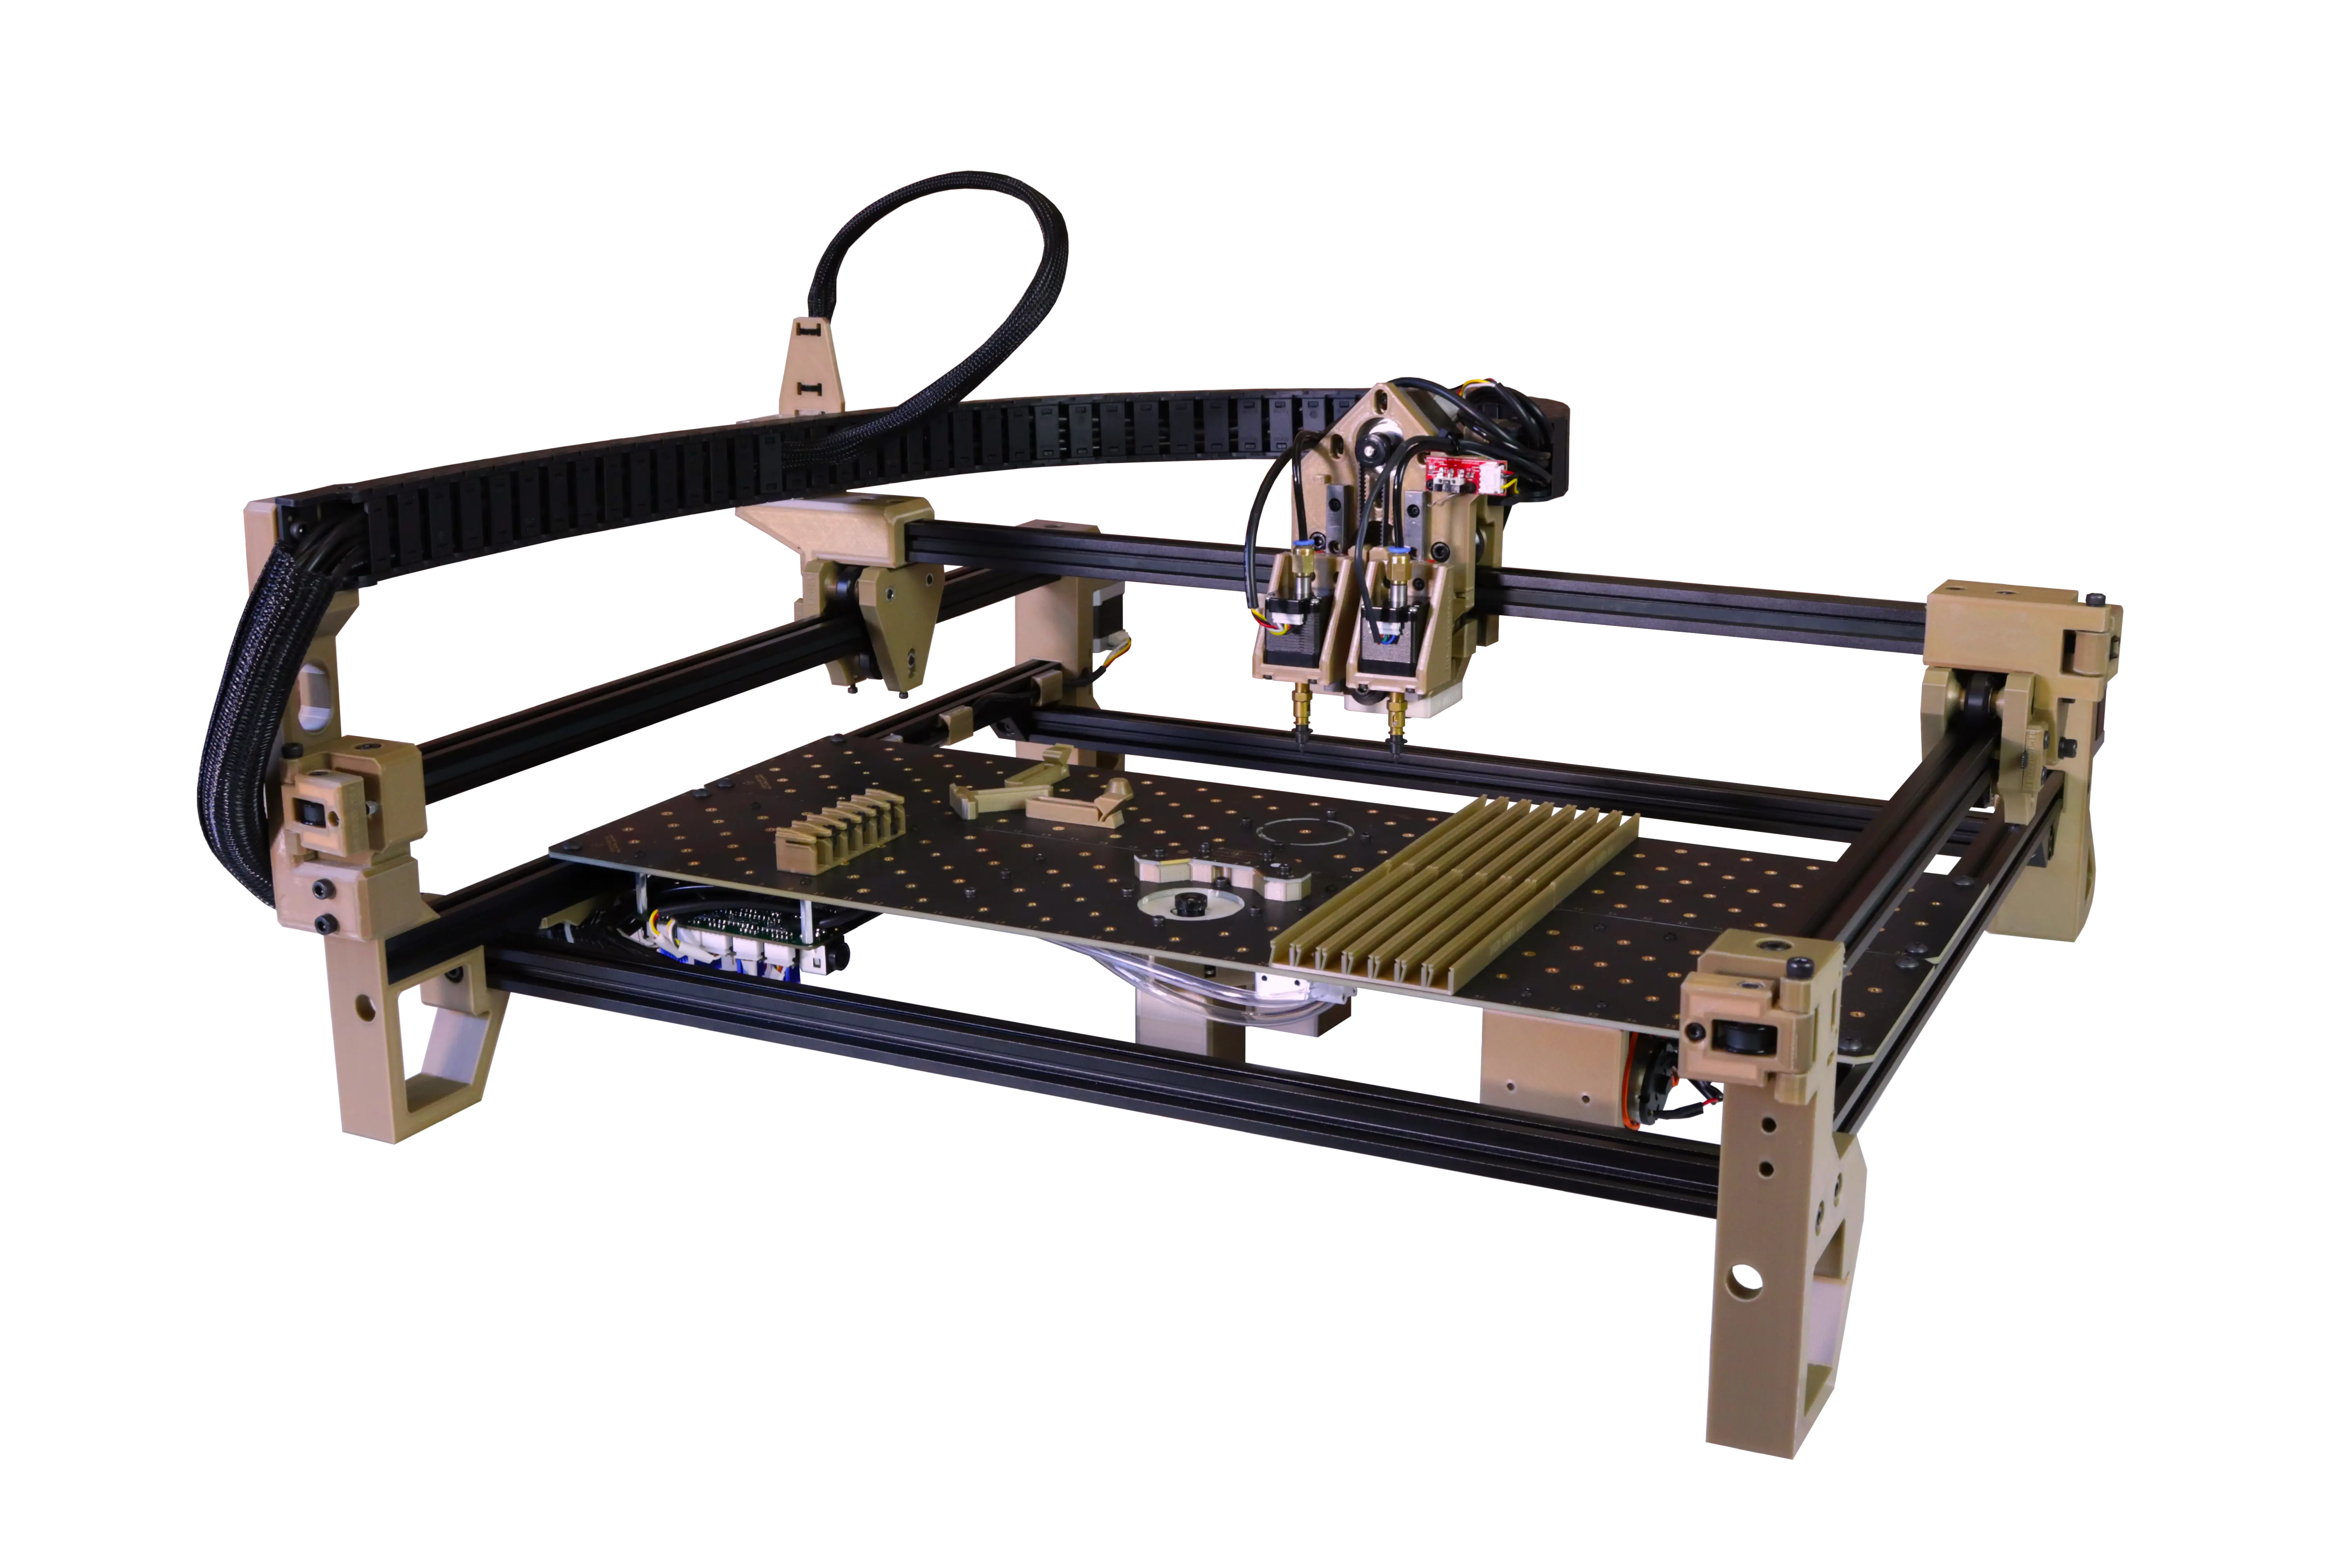
The LumenPnP is an ongoing project. The current version, V3, can reliably place components as small as 0402 using 8mm powered feeders and/or 3D printed strip feeders.
The LumenPnP is completely open source and has an active community with ongoing mechanical, electrical, and software modifications.
It is completely open source and hackable. The main controller has three AUX ports, allowing anyone to add on peripherals or communicate with other machines.
Warning
This documentation corresponds with a specific machine Version Number. The Version Number represents what version of hardware your machine has. If you're building a Semi-Assembled LumenPnP, you have a v3 machine, and these docs are for you! You should see "v3.X.X" on the pamphlet that was included in your kit. If you see "v2" on your pamphlet, use these instructions for your machine.
Before you begin
Machine Orientation and Terminology
Throughout this guide we'll be referring to different orientations and directions of the machine as "left, right, front, back, up, and down." In general, these words are in reference to the typical view of the machine, facing it directly, as shown below.
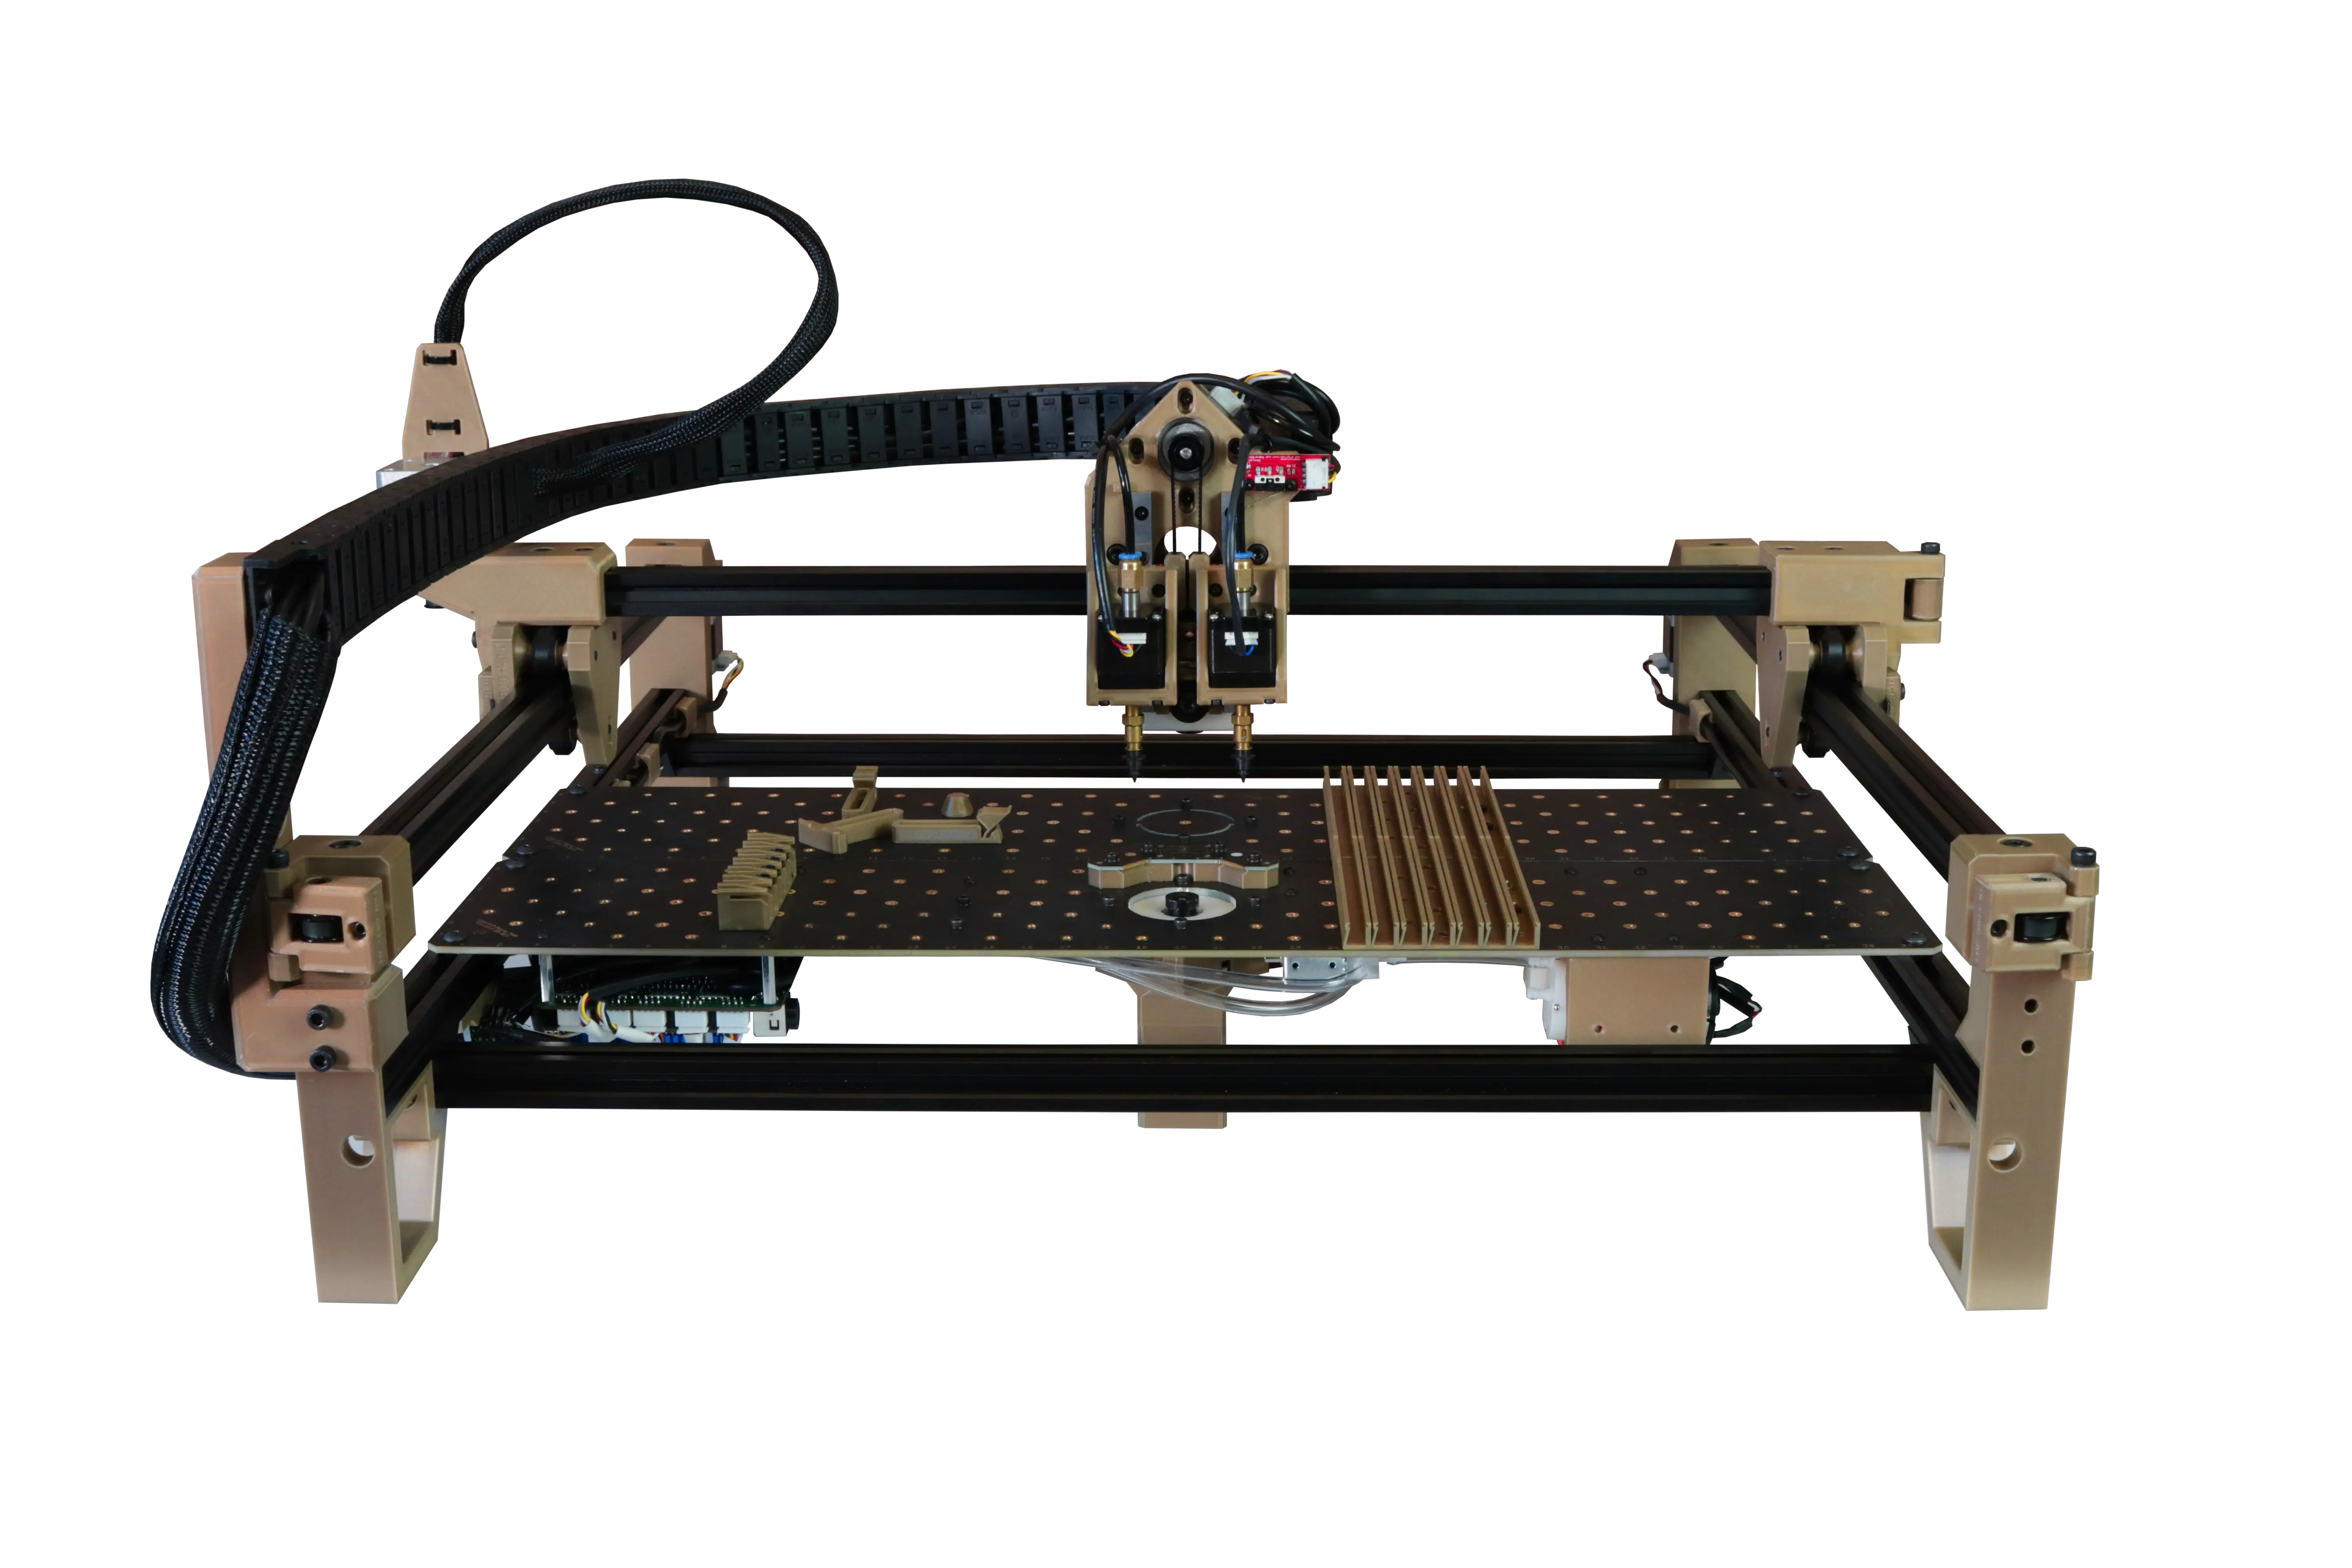
We'll also refer to putting the machine "back on its haunches." This refers to a feature of the LumenPnP where it can be lifted up by the front rail and let to rest upright on its back feet. This orientation is tremendously helpful for installing things to the staging plate and plugging things into the motherboard. Whenever putting your machine back, make sure the Y gantry is pushed all the way to the back of the machine to prevent backdriving the Y stepper motor driver.
Help
If you find that there's something unclear in this documentation, please submit a ticket on Github about it! You can also file an issue using the link in the upper right of any page on this site. We're trying to make this as clear and understandable as possible, so every issue you tag helps us make it better for everyone else. You can also check out the Discord server and ask questions to the community.
Assembly Video
We have an instructional video that walks you through the process of assembling your LumenPnP. This video is just to help visualize how parts go together; you'll still need this guide to complete your build. You can find the video embedded below:
Keep In Mind
Don't worry if something in the video doesn't look exactly like what you have in the box. We’re constantly tuning and tweaking things to make them better and easier to use, so you might find things look slightly different.
Timing
Expect assembly to take about 50 minutes.
You'll Need
- Your packaged Semi-Assembled LumenPnP
- A clear tabletop for assembly
- A computer
- The ability to plug in three high-bandwidth USB-A ports - Your computer will need to communicate with both the data stream that controls the machine, along with two webcam feeds. It might be possible to handle all of this data through one USB port on your computer with an external USB hub, but you might find you need to plug into a few different ports on your computer, depending on the hardware you have.
Next steps
Let's dive in! The first step is unboxing your machine.