Unboxing
-
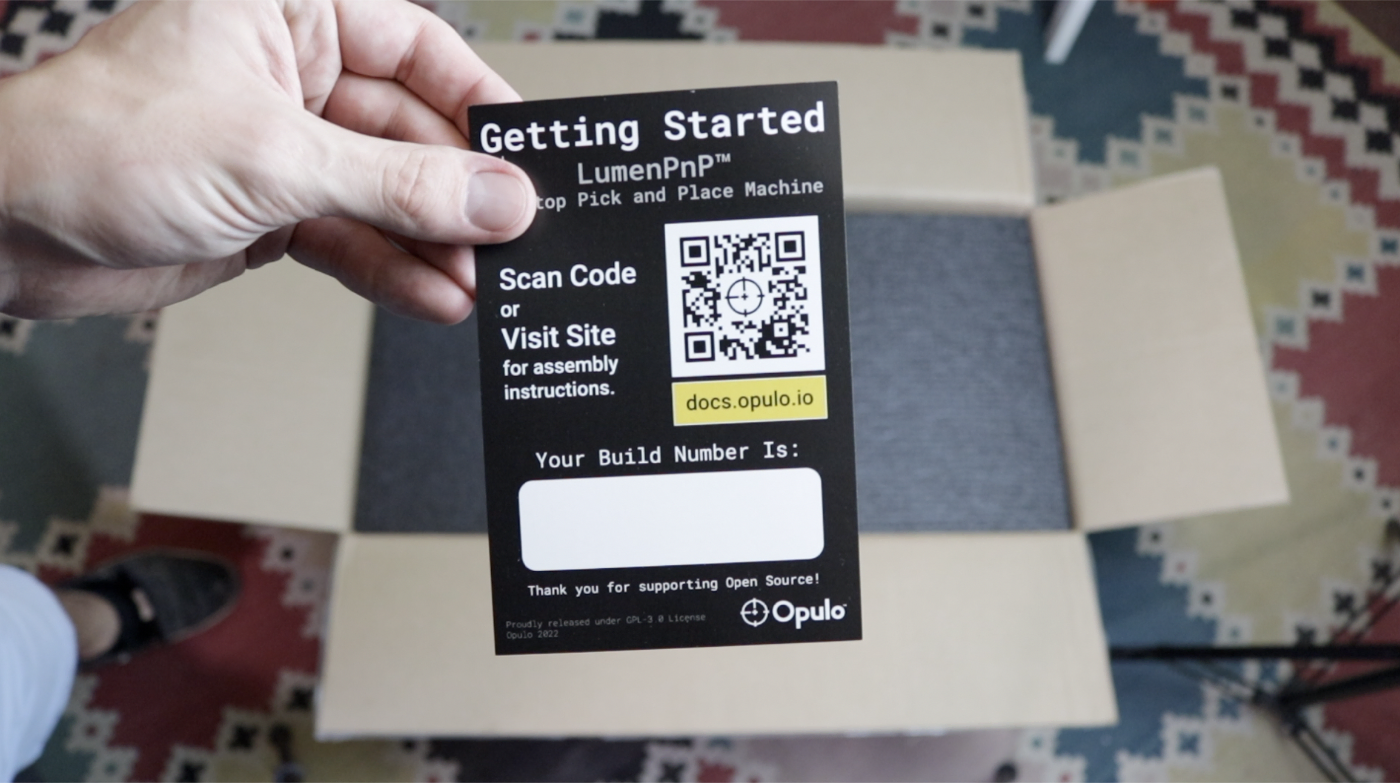
First, take a look at what's in the box! The first thing you'll see when you open the package is the getting started card. This card has your machine's version number on it.
Make sure your version number begins with
v3.1orv3.2.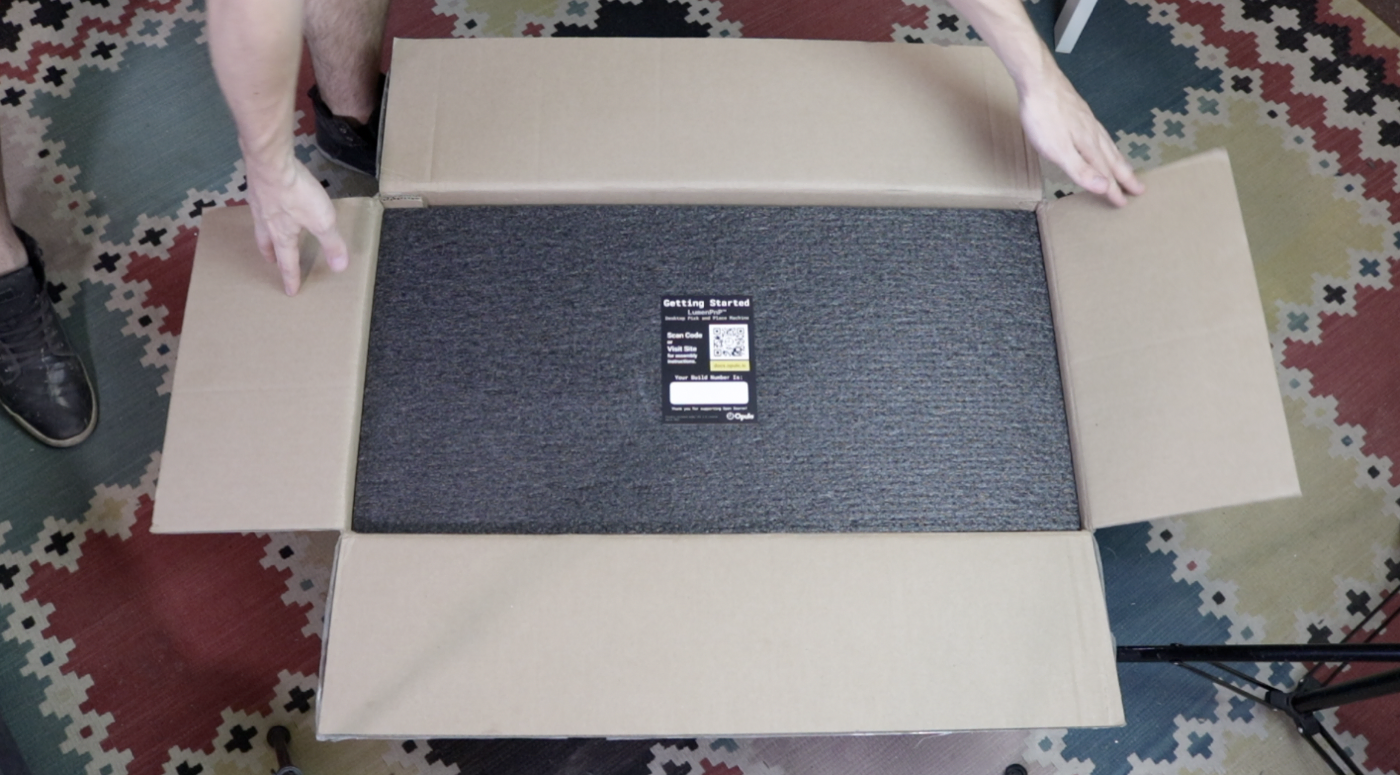
-
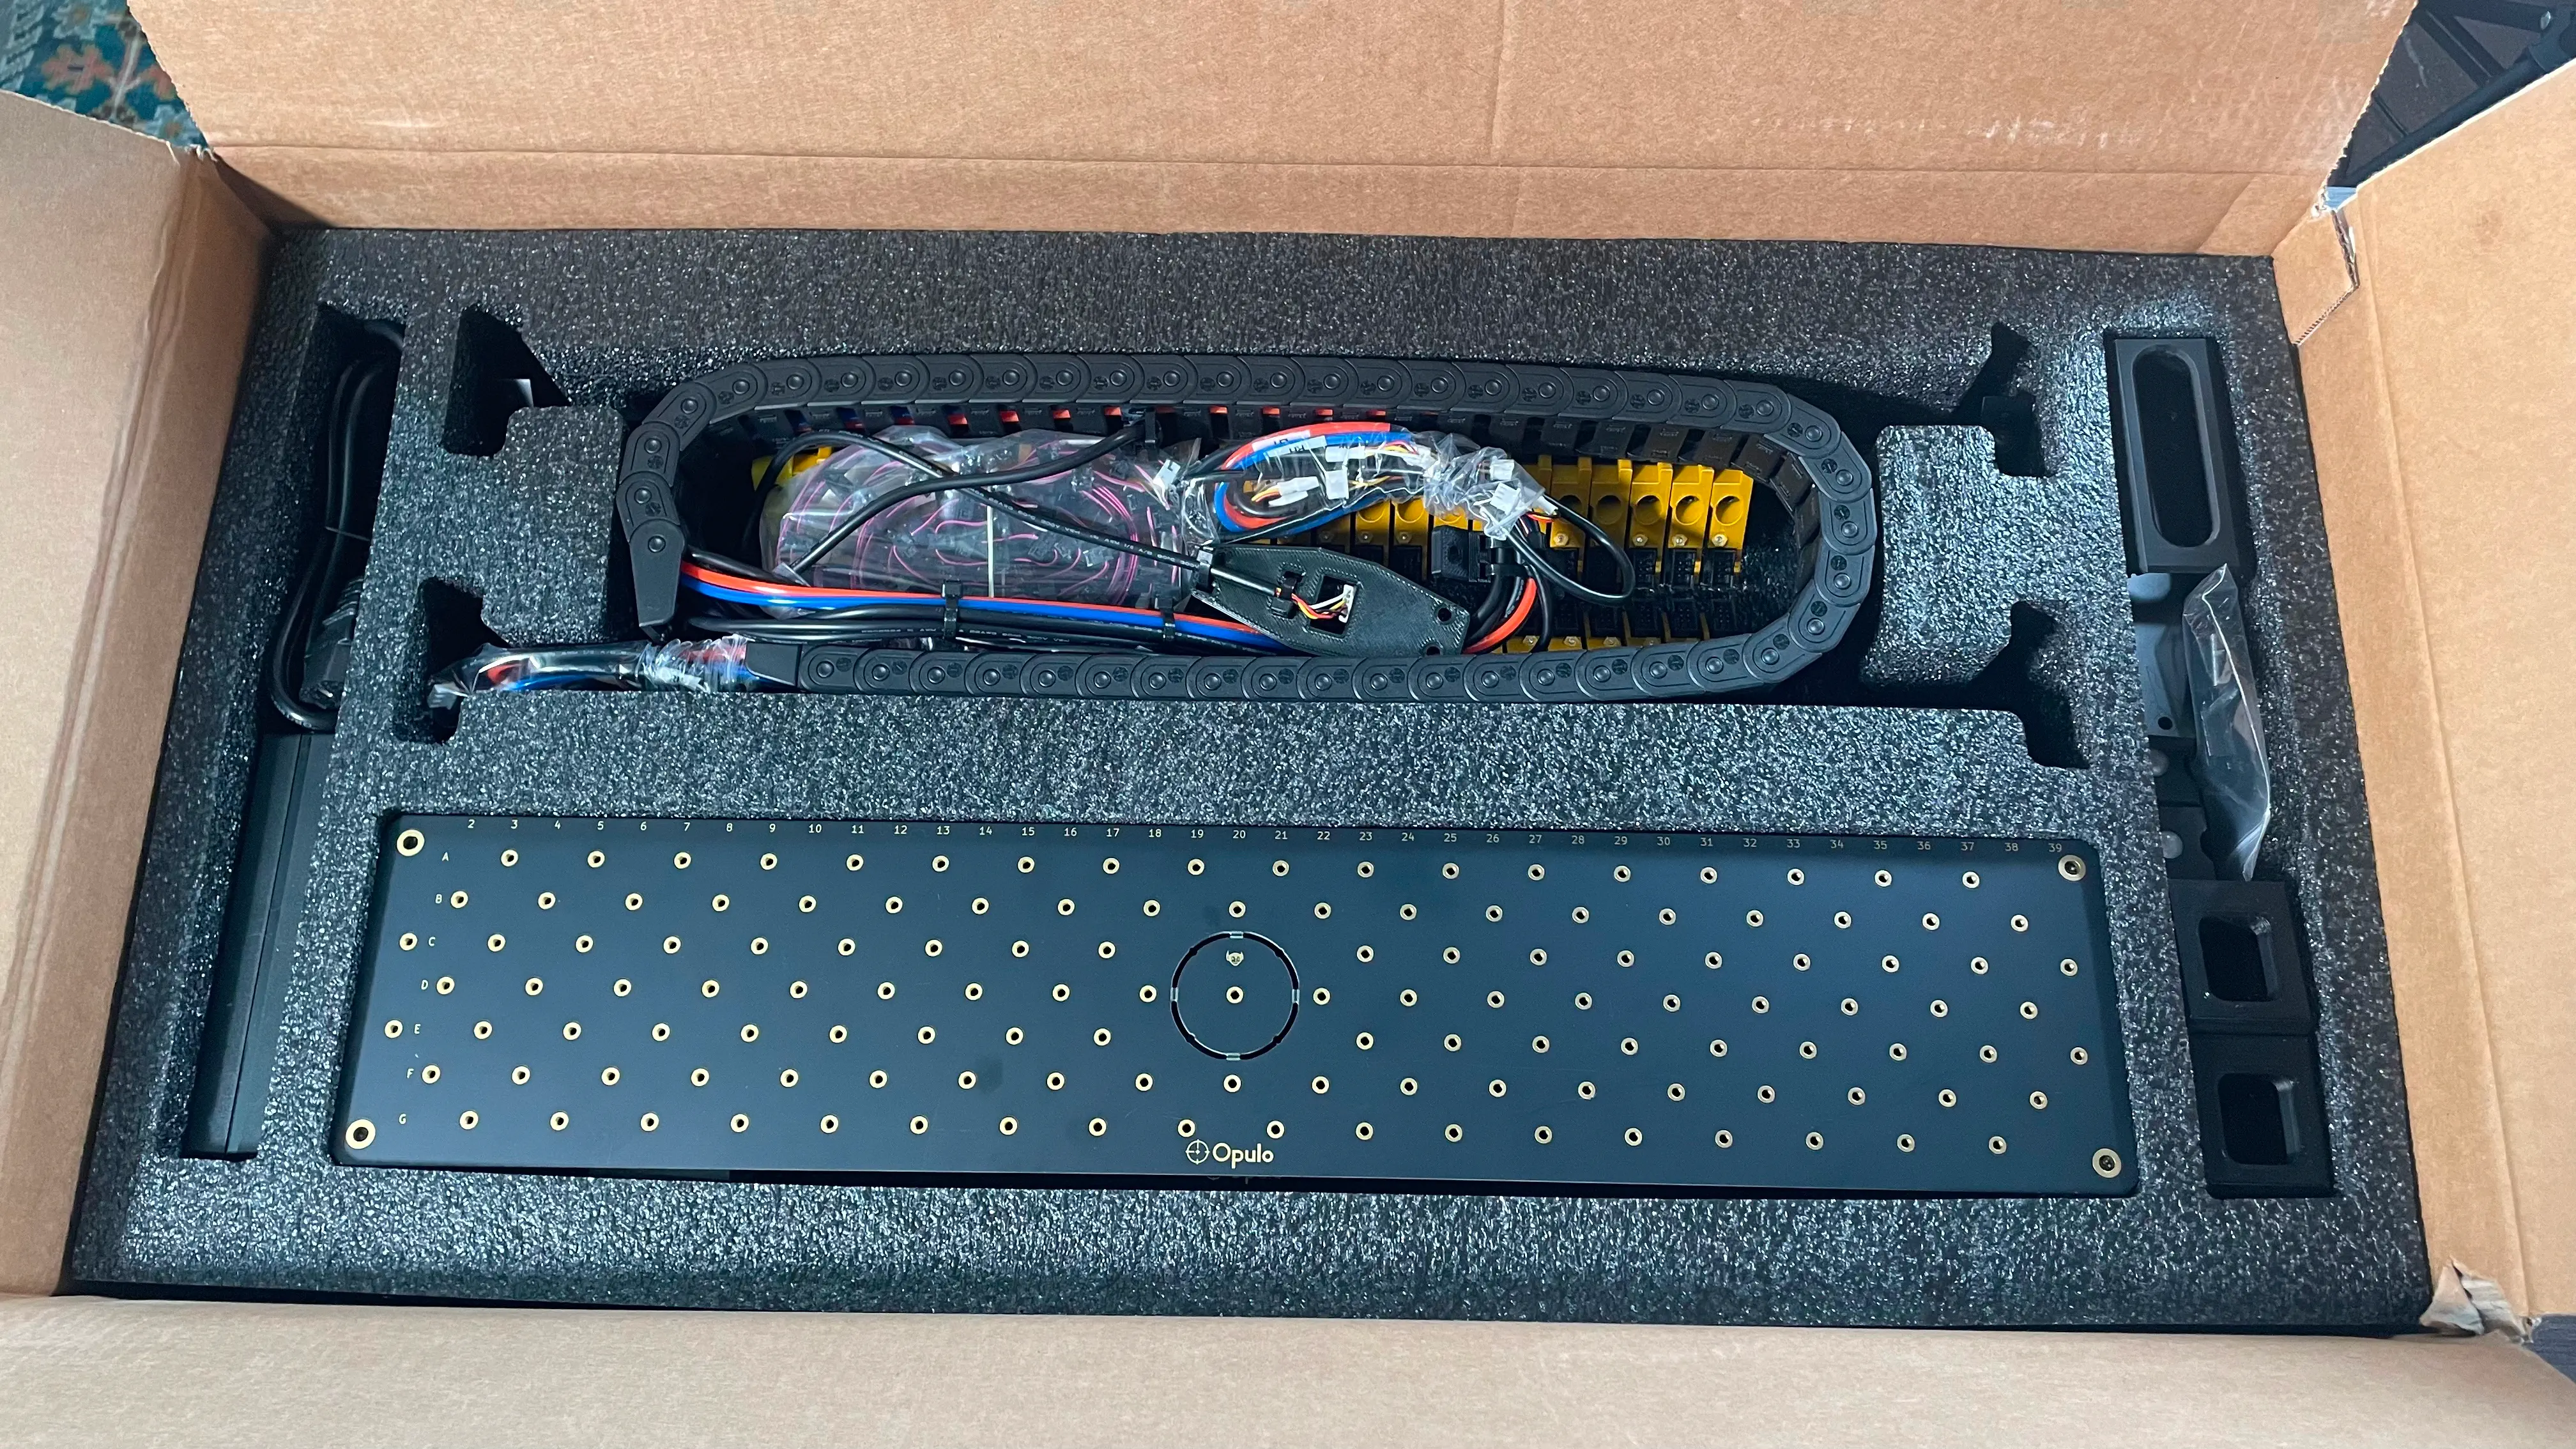
Remove the top protective layer of foam revealing the first tray of components. This tray contains:
- Staging plate
- Build plate
- Feet for the build and staging plates
- Cable chain assembly
- Cable chain frame mount
- IEC power cable and power supply
- Front rail w/25 feeder slots installed
- Back rail w/25 feeder slots installed
- 10x Extrusion cable clips
-
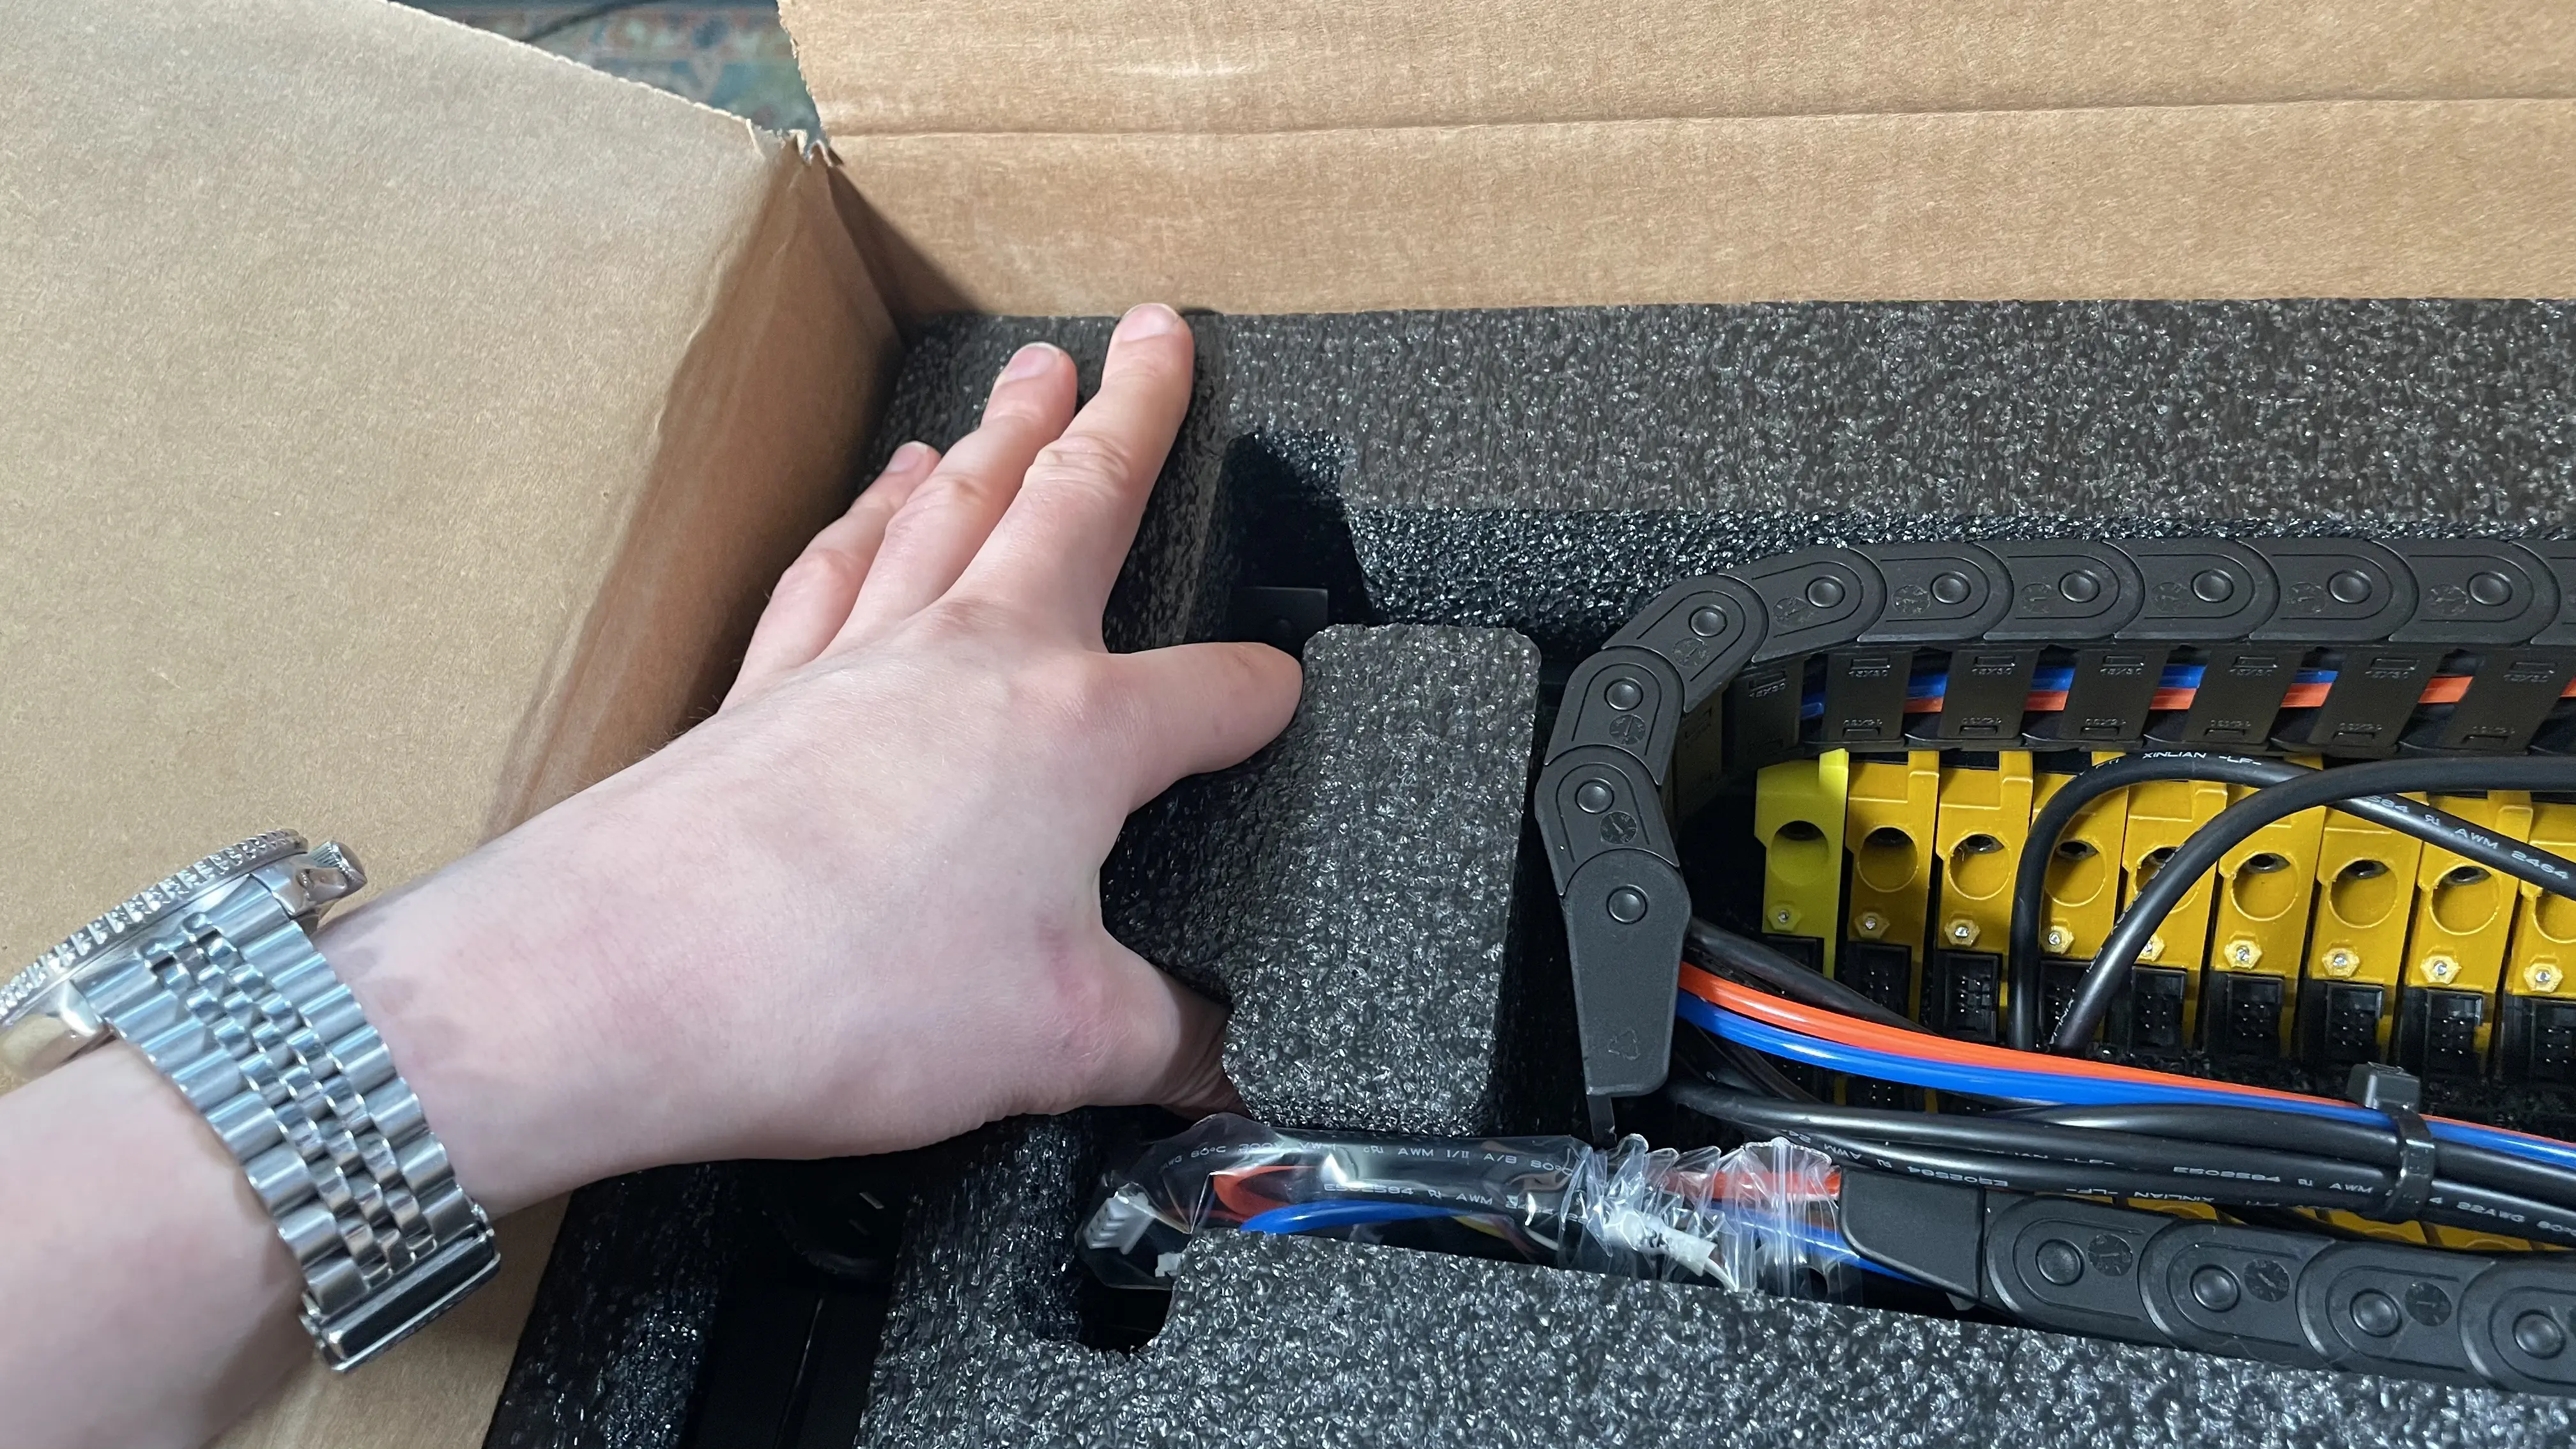
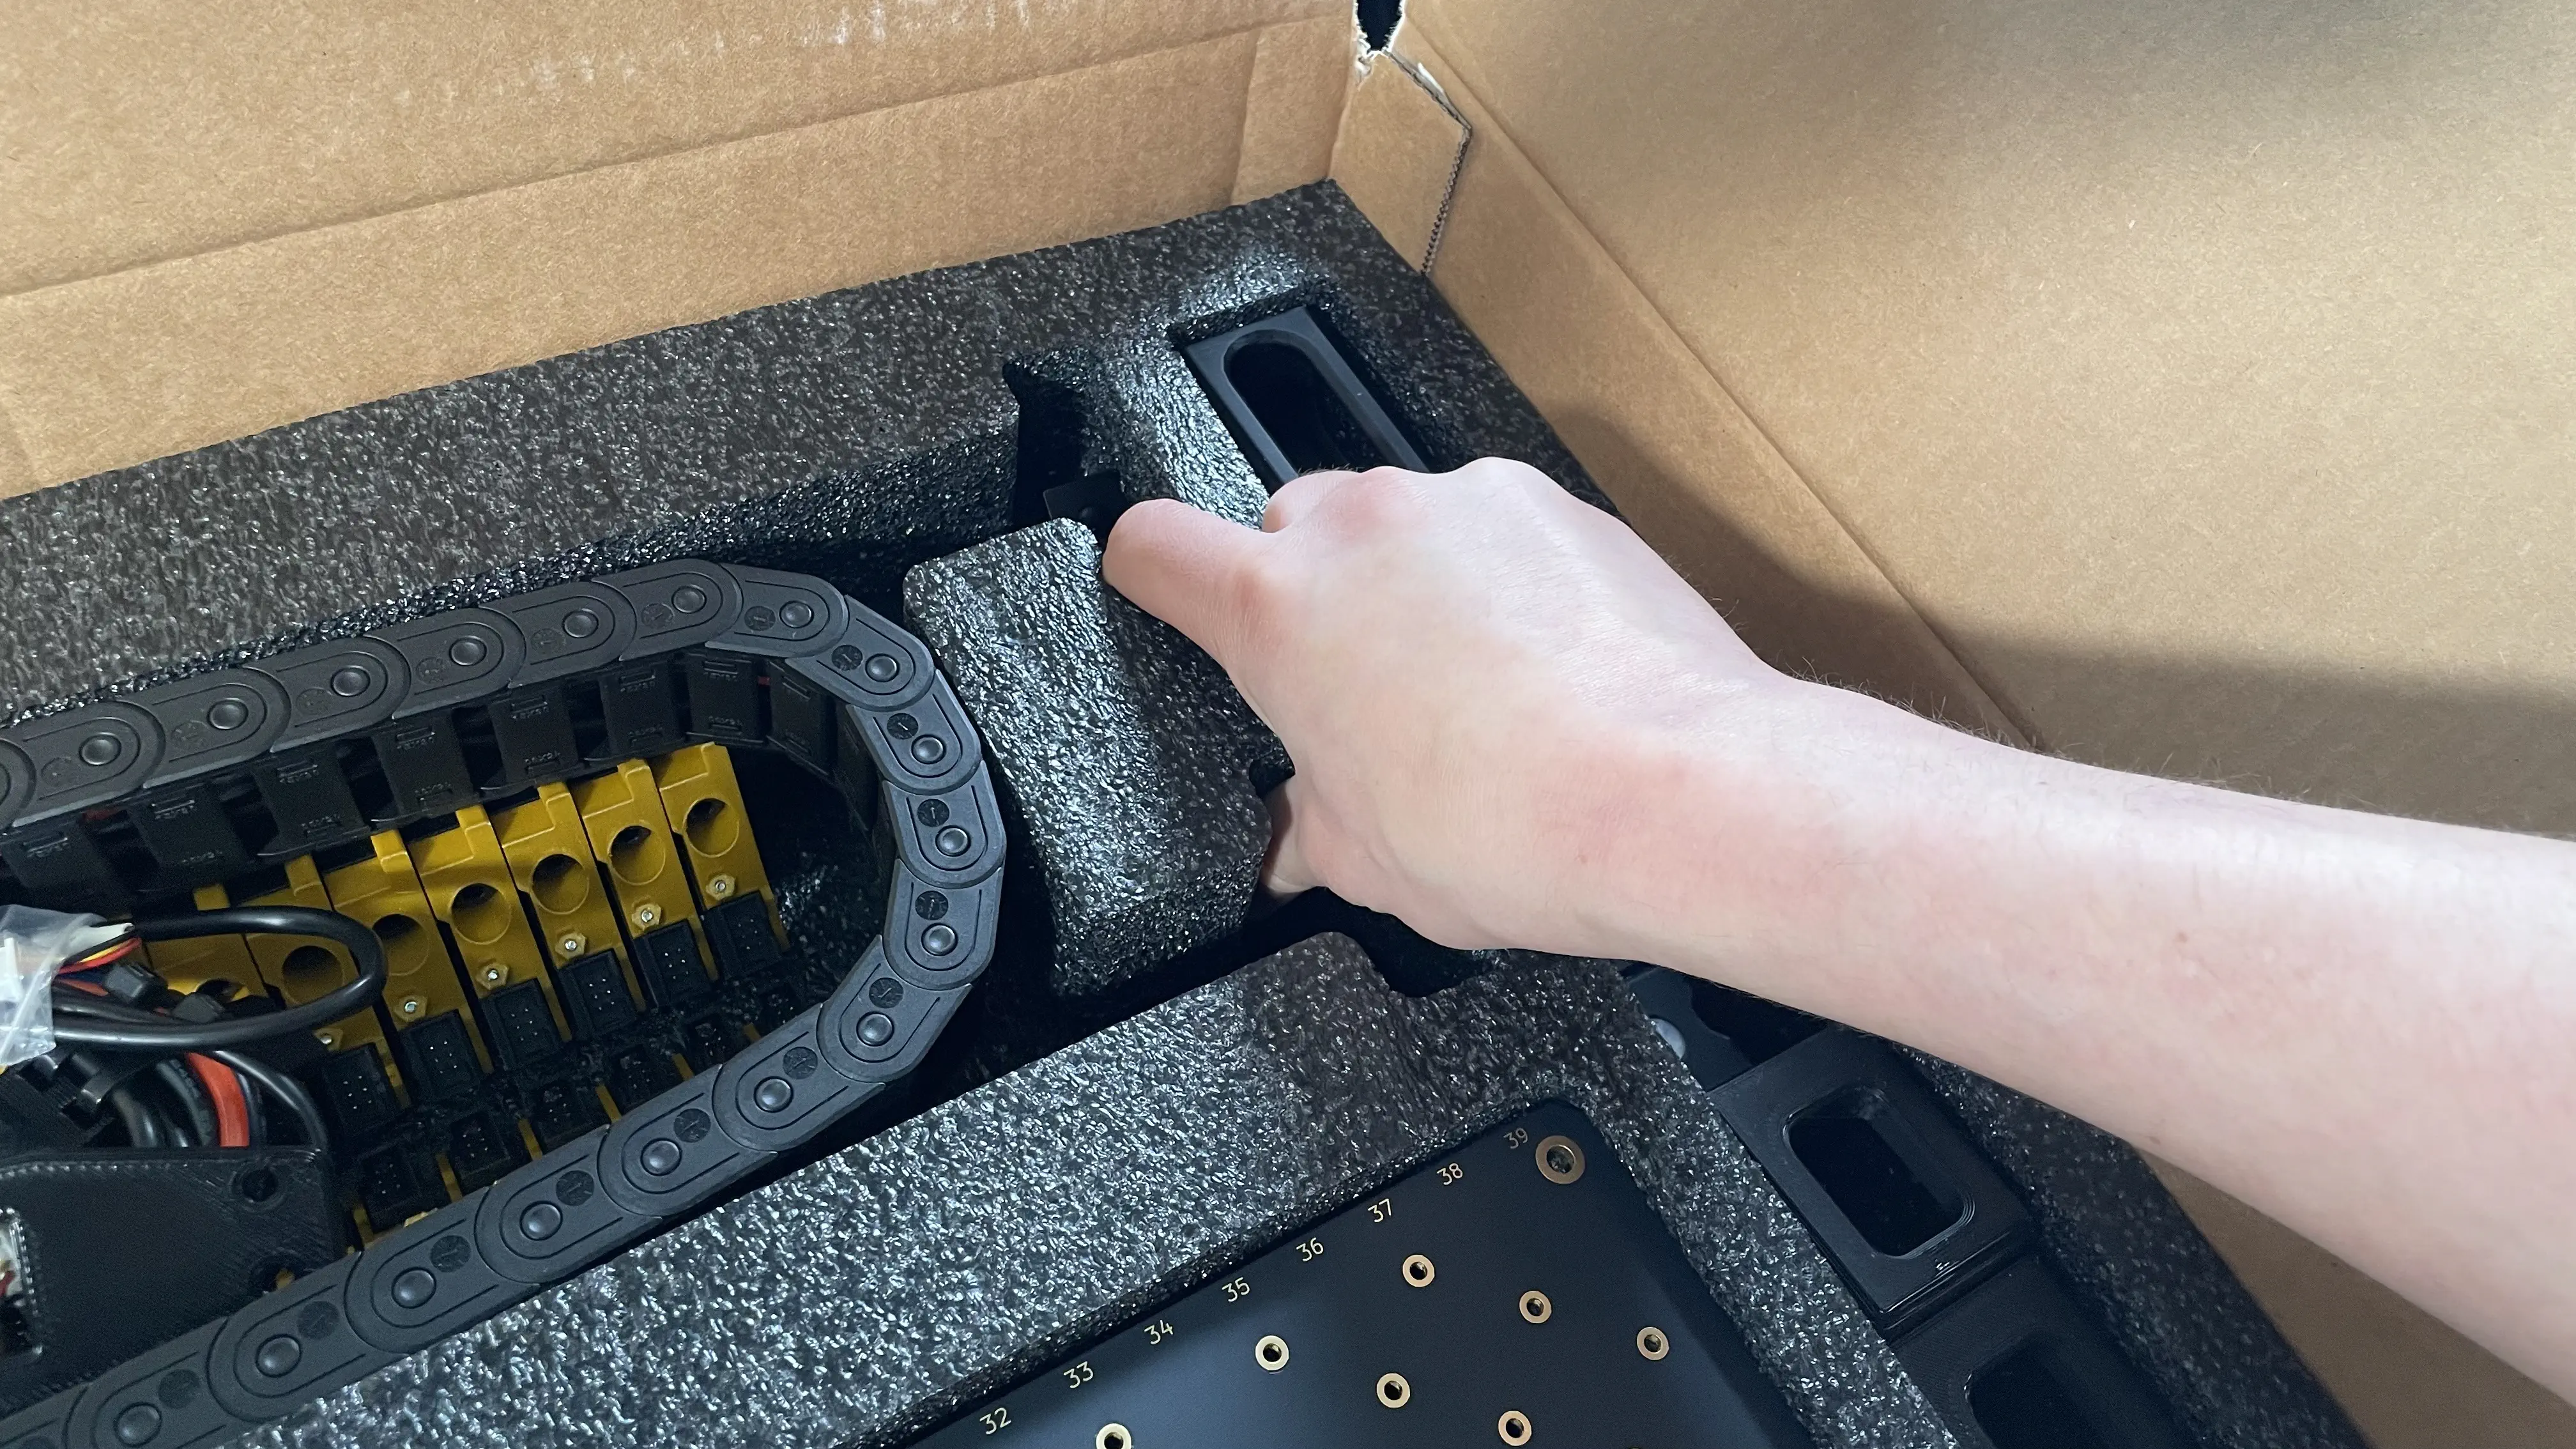
Grab the foam as shown below, rotate the tray up, then pull it out and set it aside, revealing the second tray of parts.

-
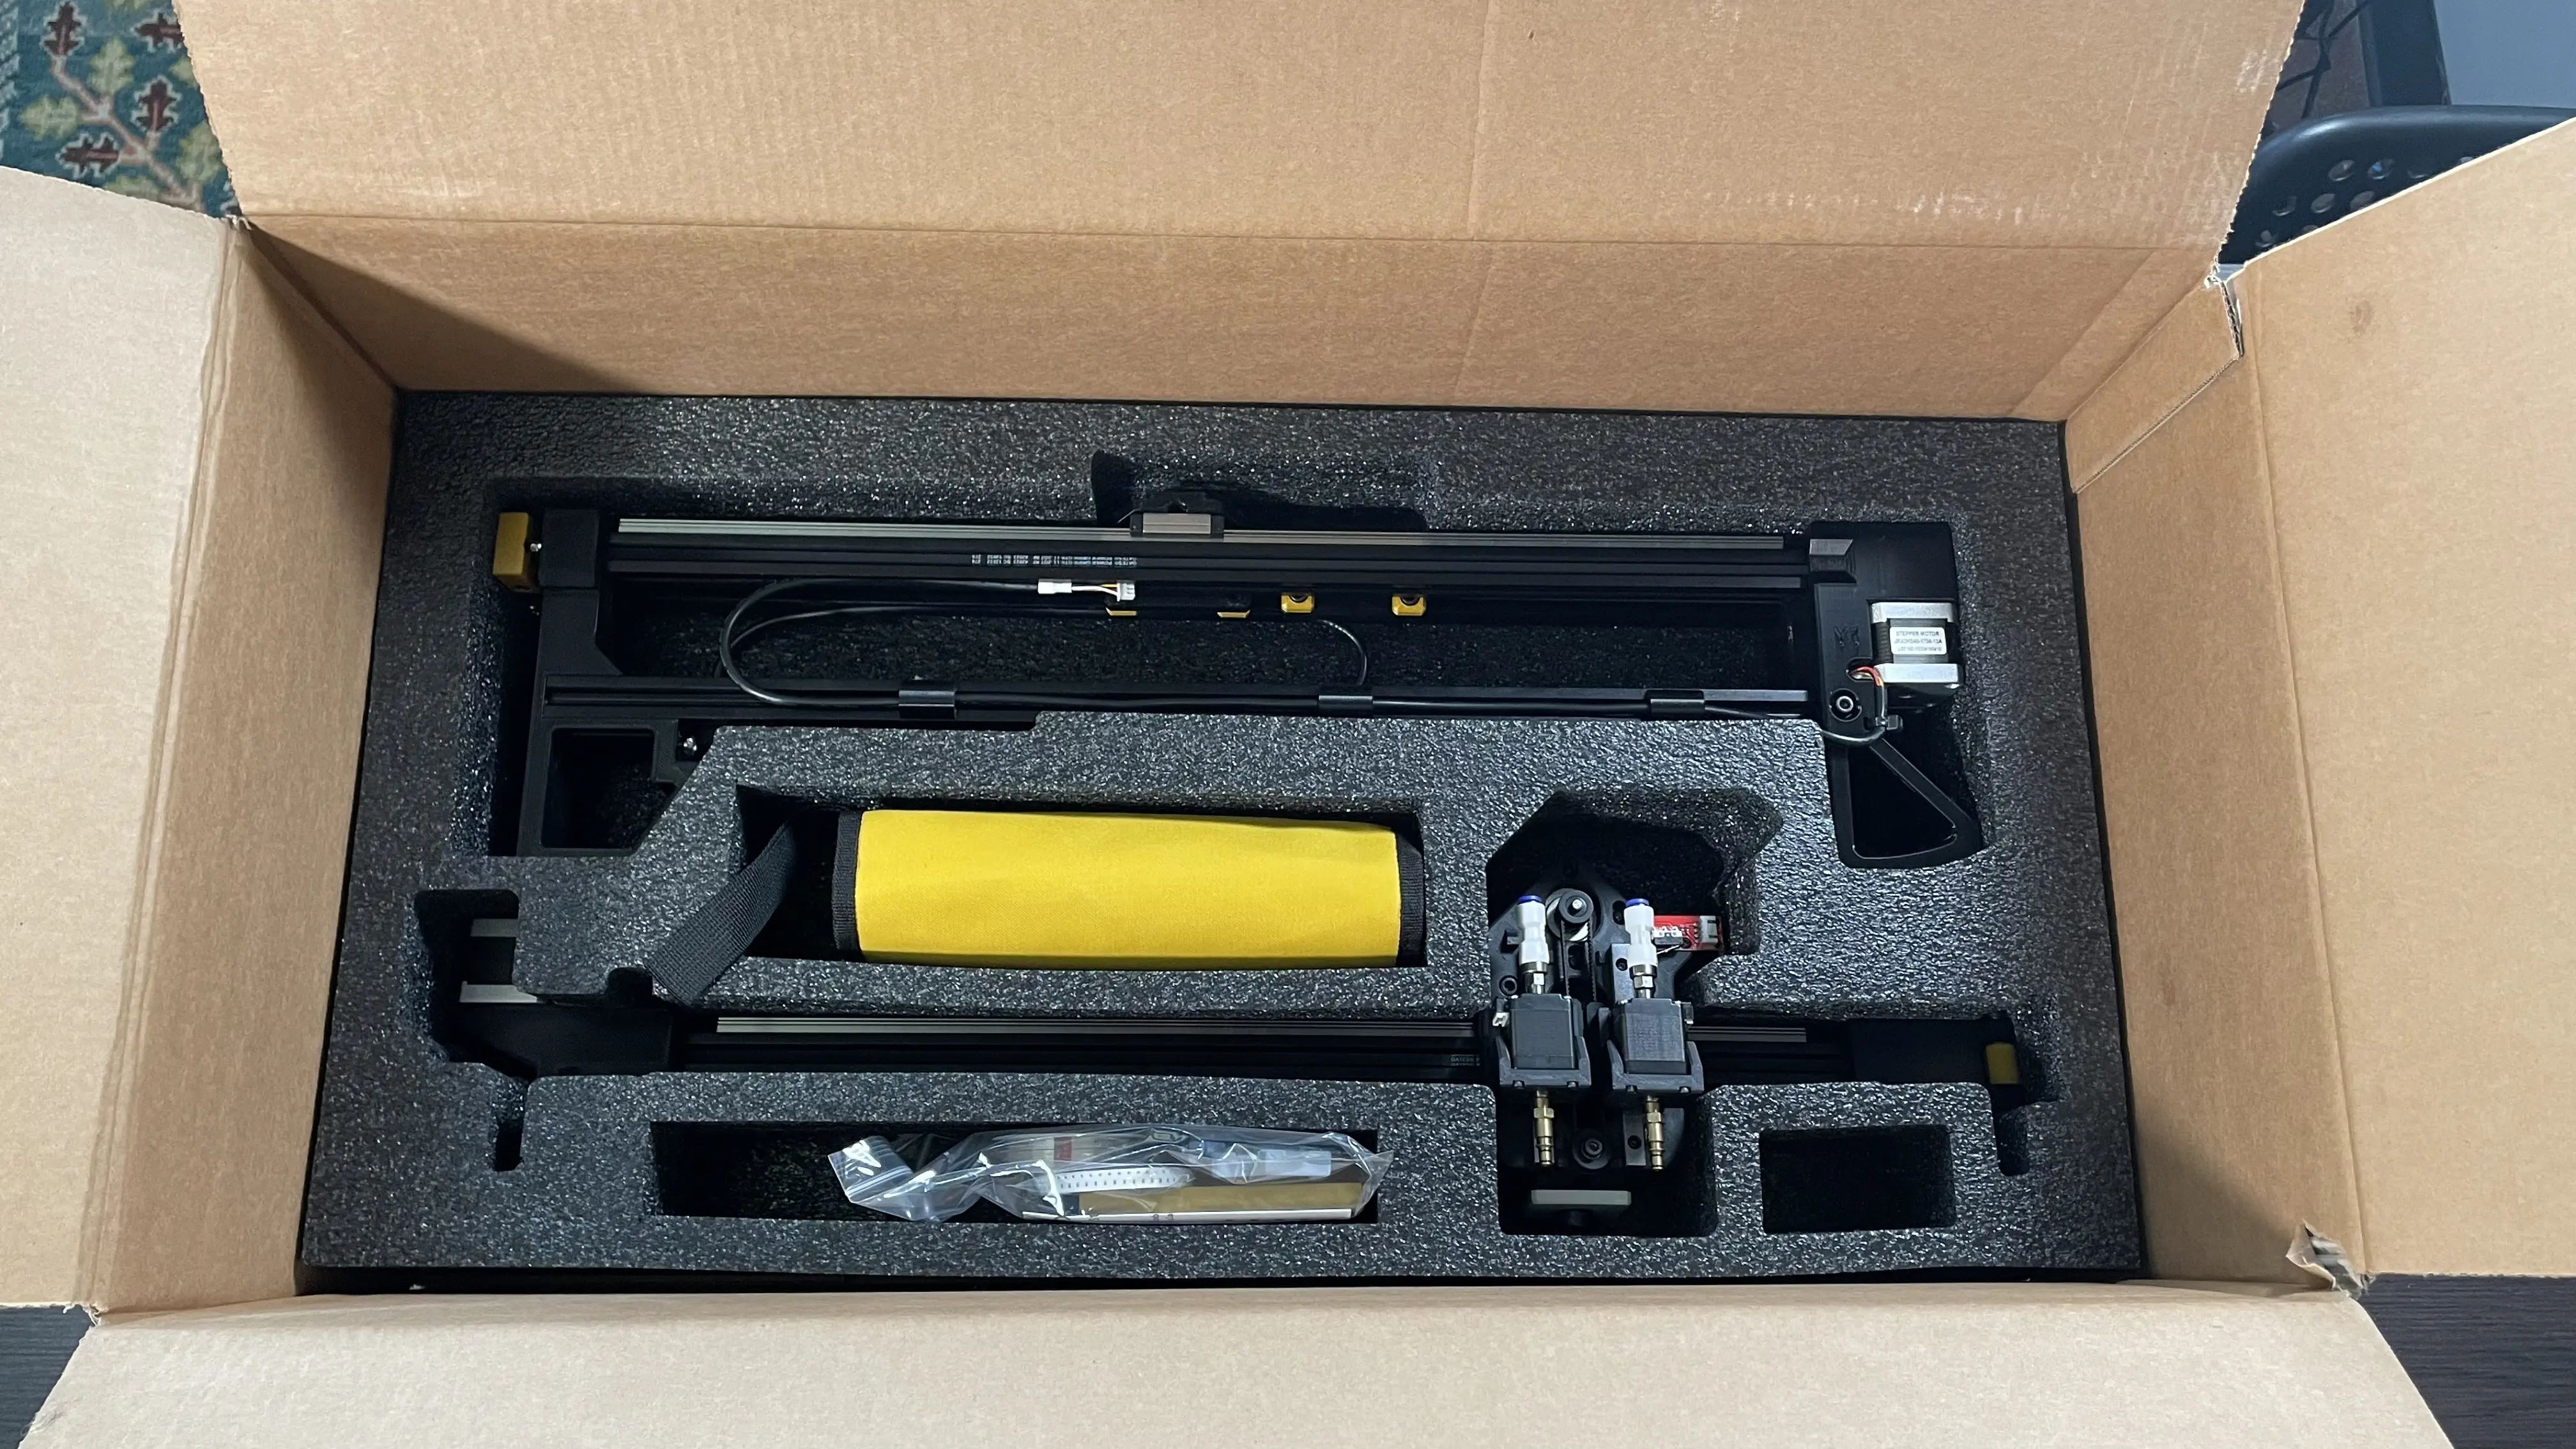
The second tray contains the following parts:
- Y gantry left/right leg assemblies
- X gantry assembly
- Getting started kit
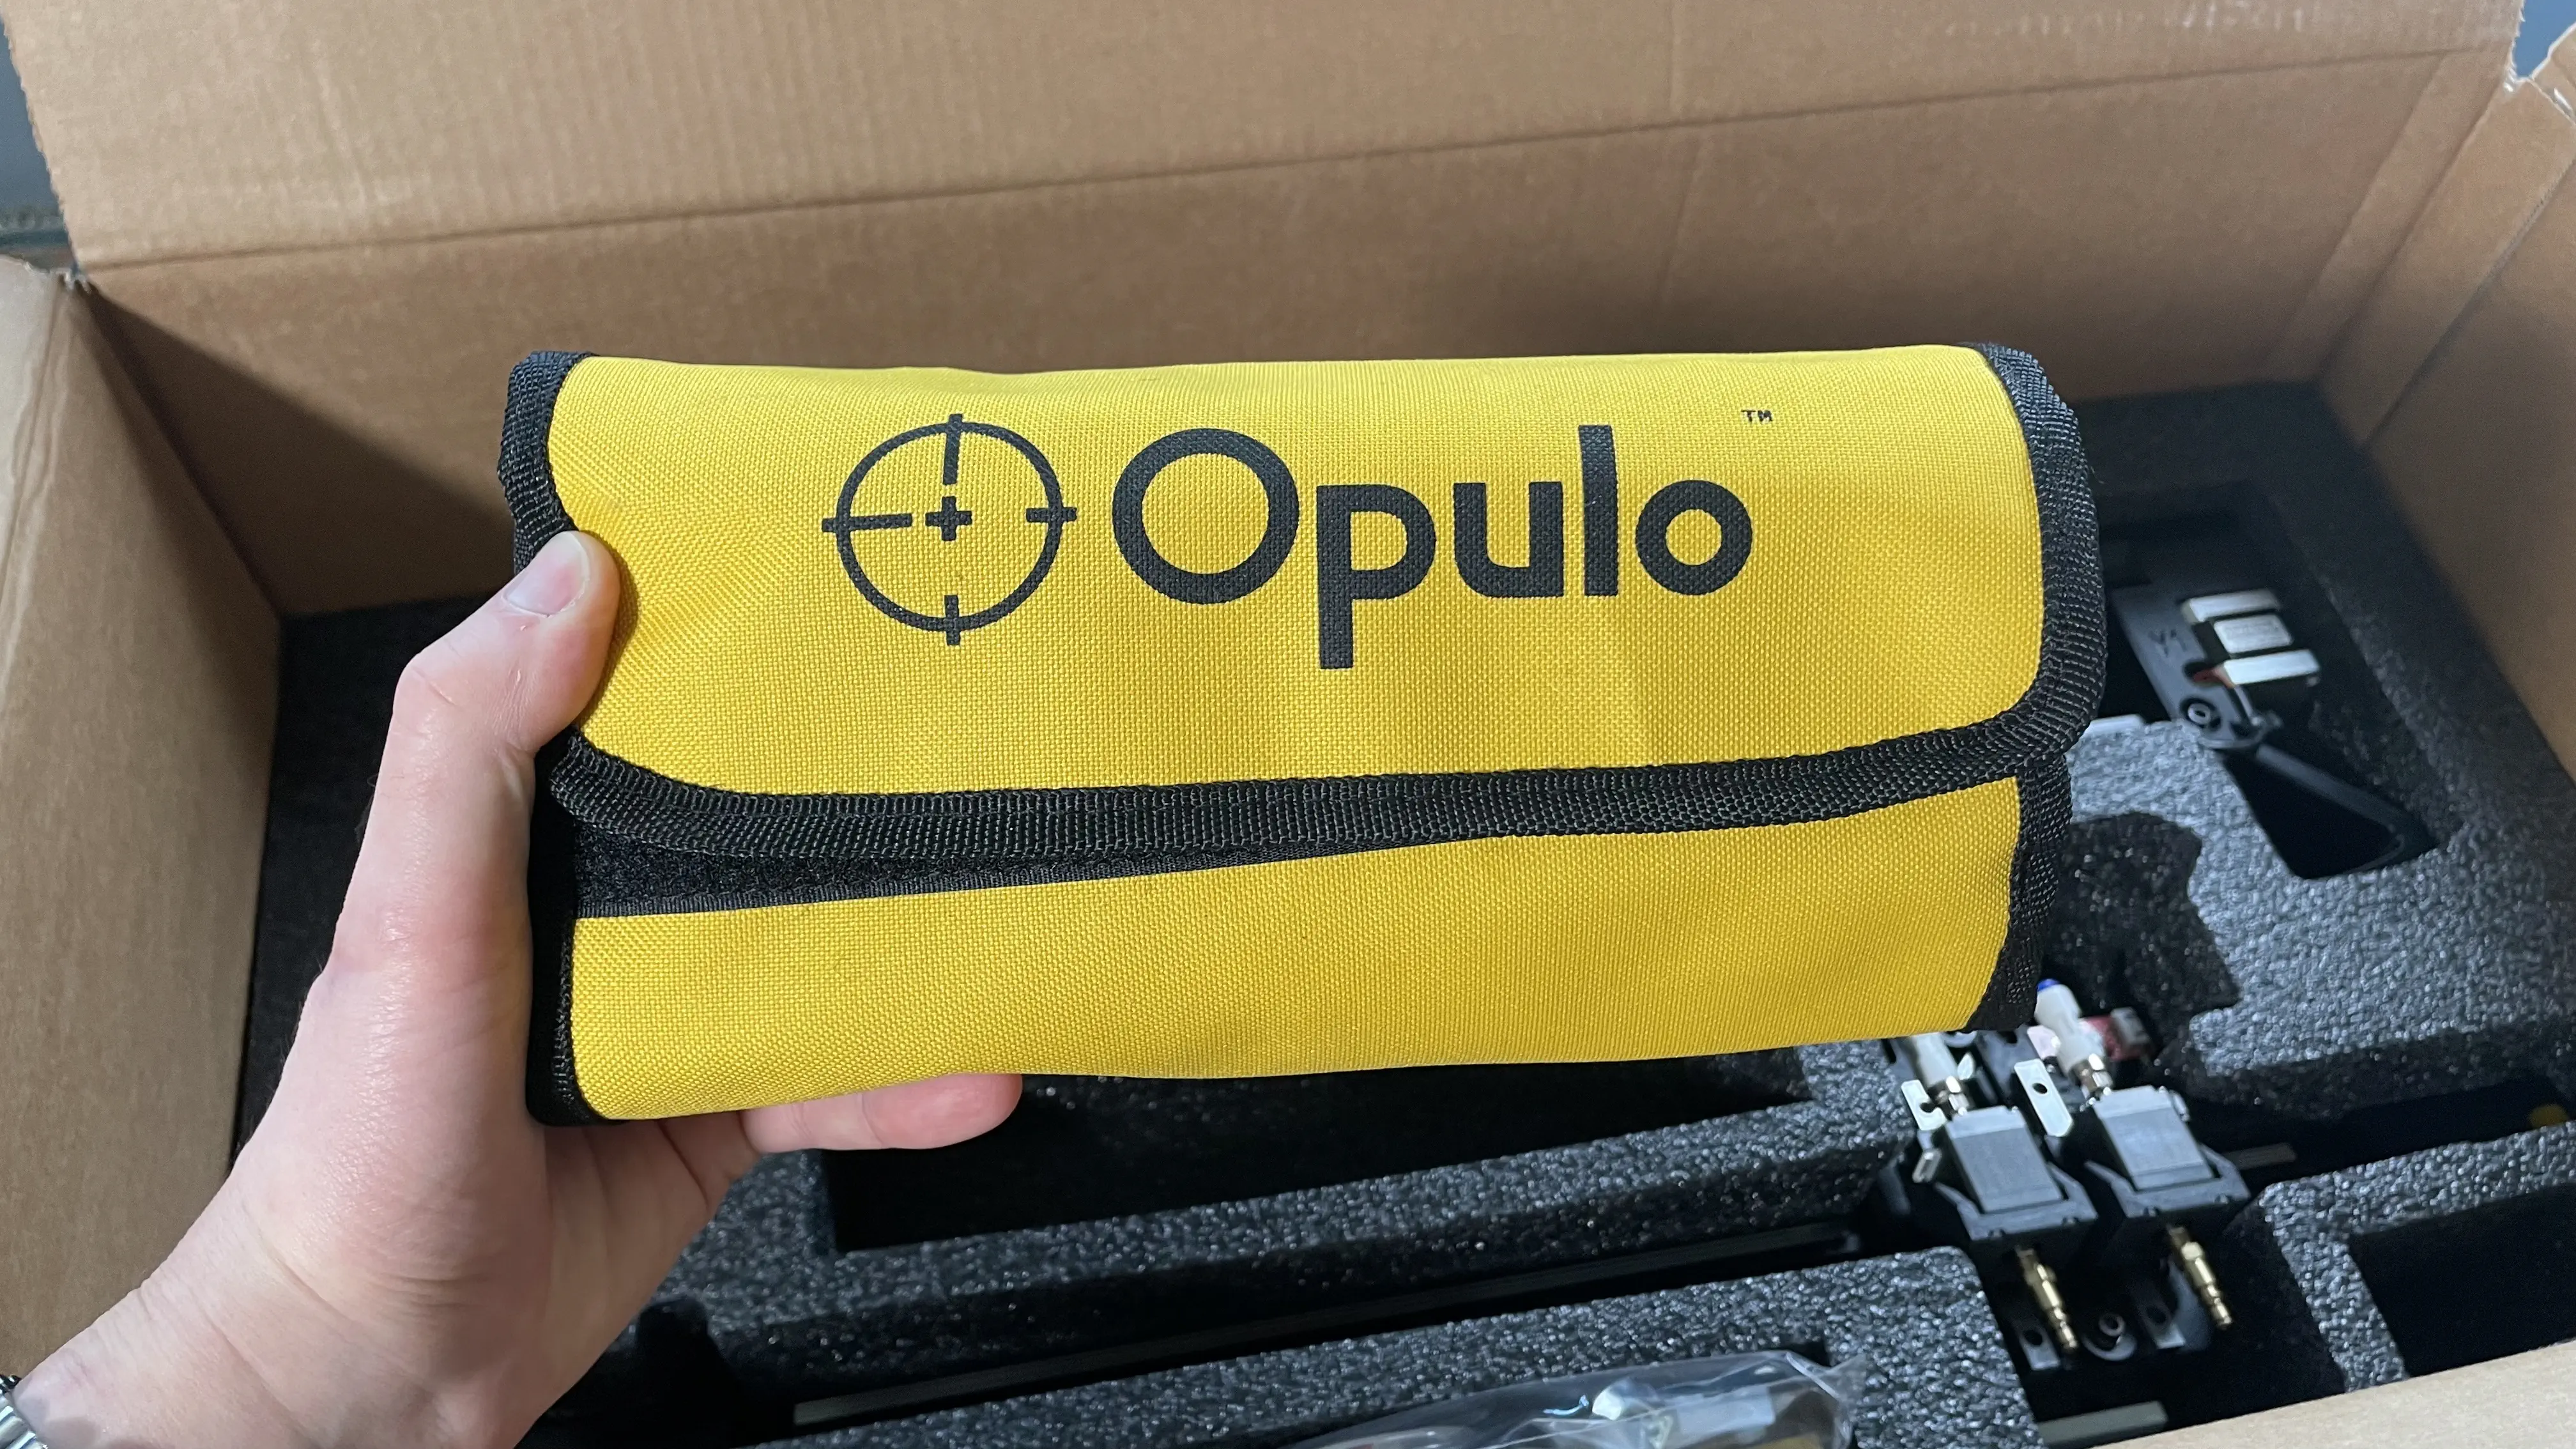
- Tool bag
- 4x Extension feet for the y-gantry left/right leg assemblies
- Feeder Slot Cable Harness
-
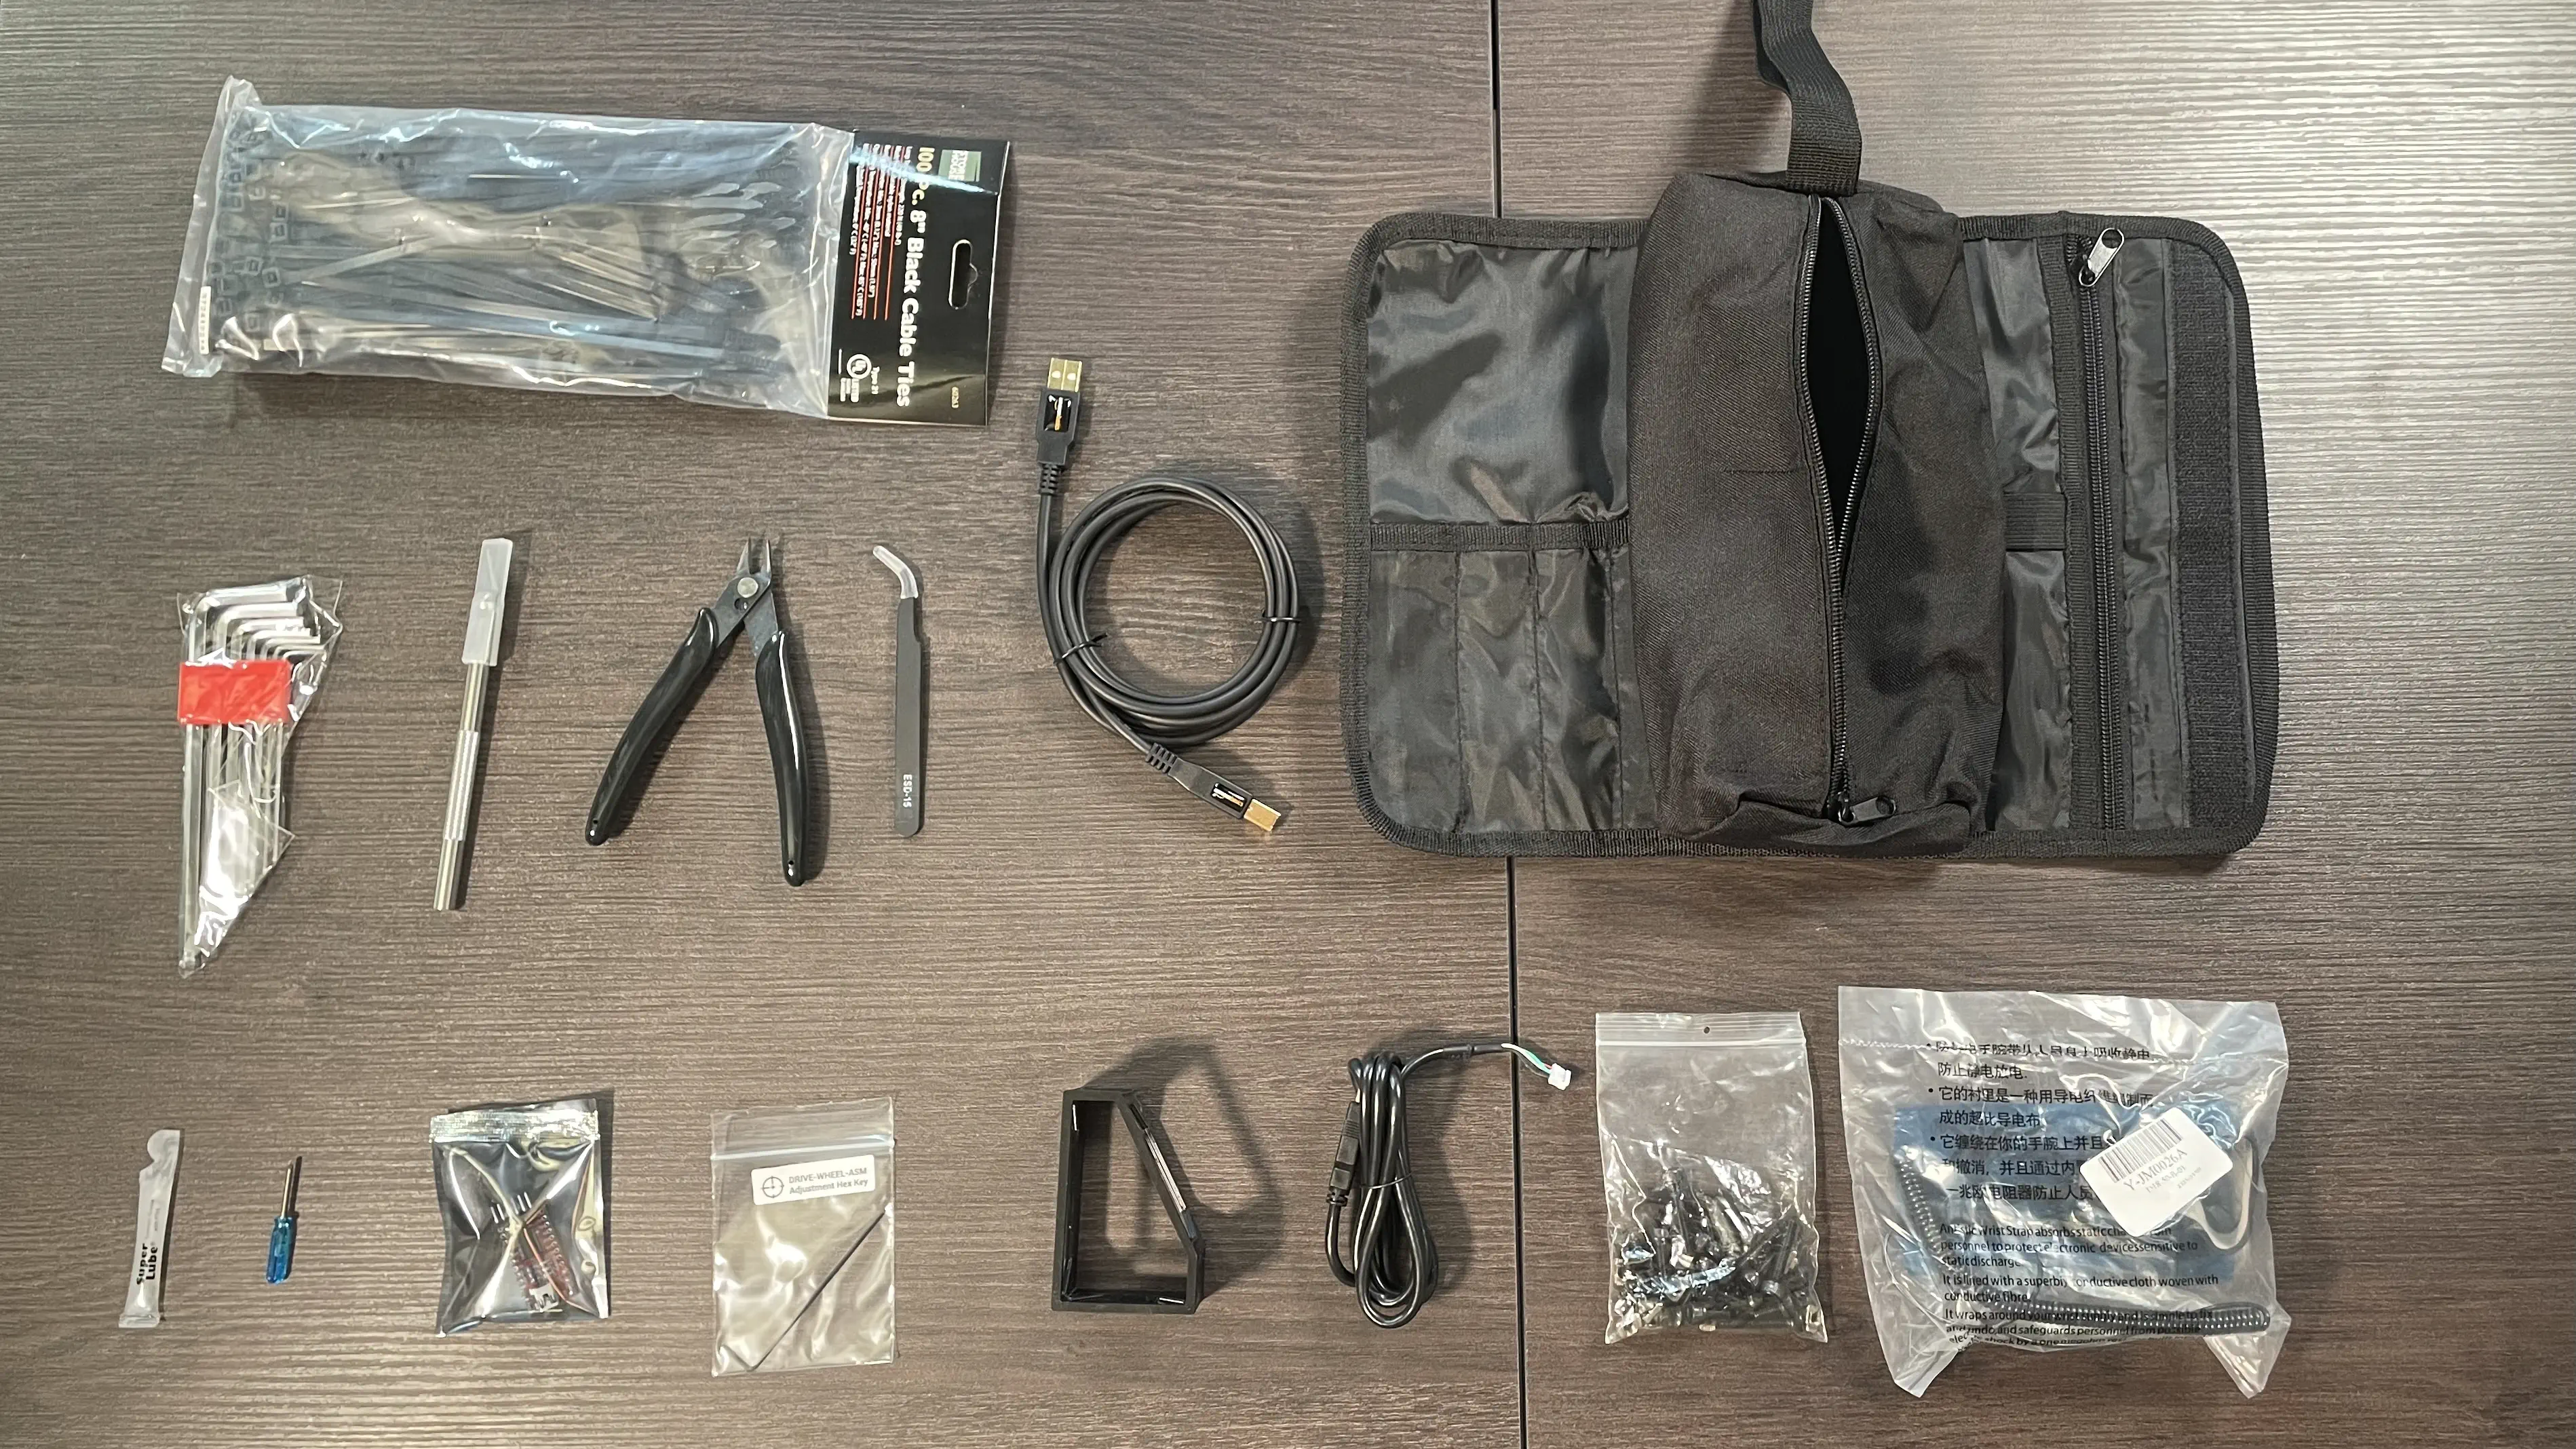
Open up the tool bag. Inside, you'll find the following items:
- Hobby knife
- Flush snips
- 135 degree tweezers
- Allen wrench set w/separate 1.3mm driver for adjusting feeder drive wheels
- Small Phillips screwdriver
- Alignment bracket
- Bottom camera cable
- ESD wrist strap
- USB-A to USB-B cable
- Hardware bag
- Zip ties
- Feeder programmer
Next Steps
Alright, let's move on to assembling the frame.