Setting Pick Position
Now that you've loaded a component into the feeder, we'll fine-tune the feeder's position in OpenPnP and test picking a component.
-
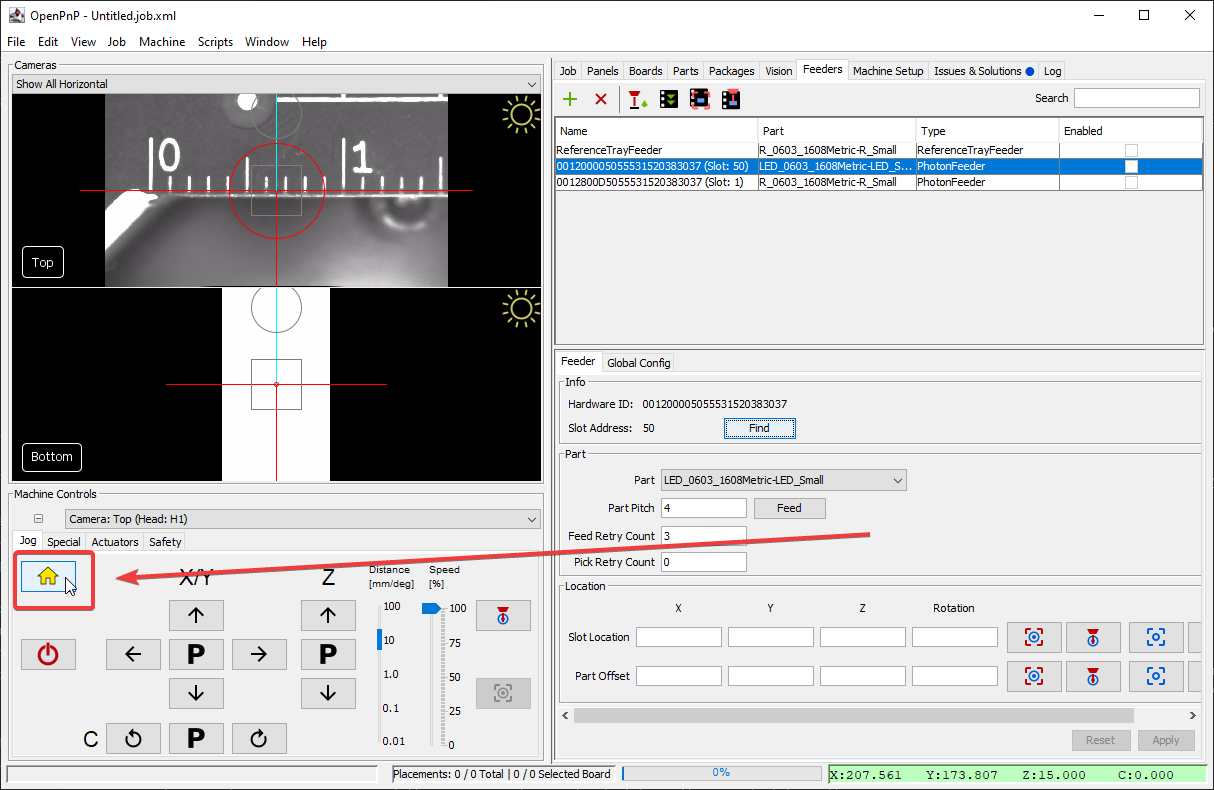
Re-home your LumenPnP if necessary to make sure its position is accurate.
-
In the
Feederstab, select your feeder from the list.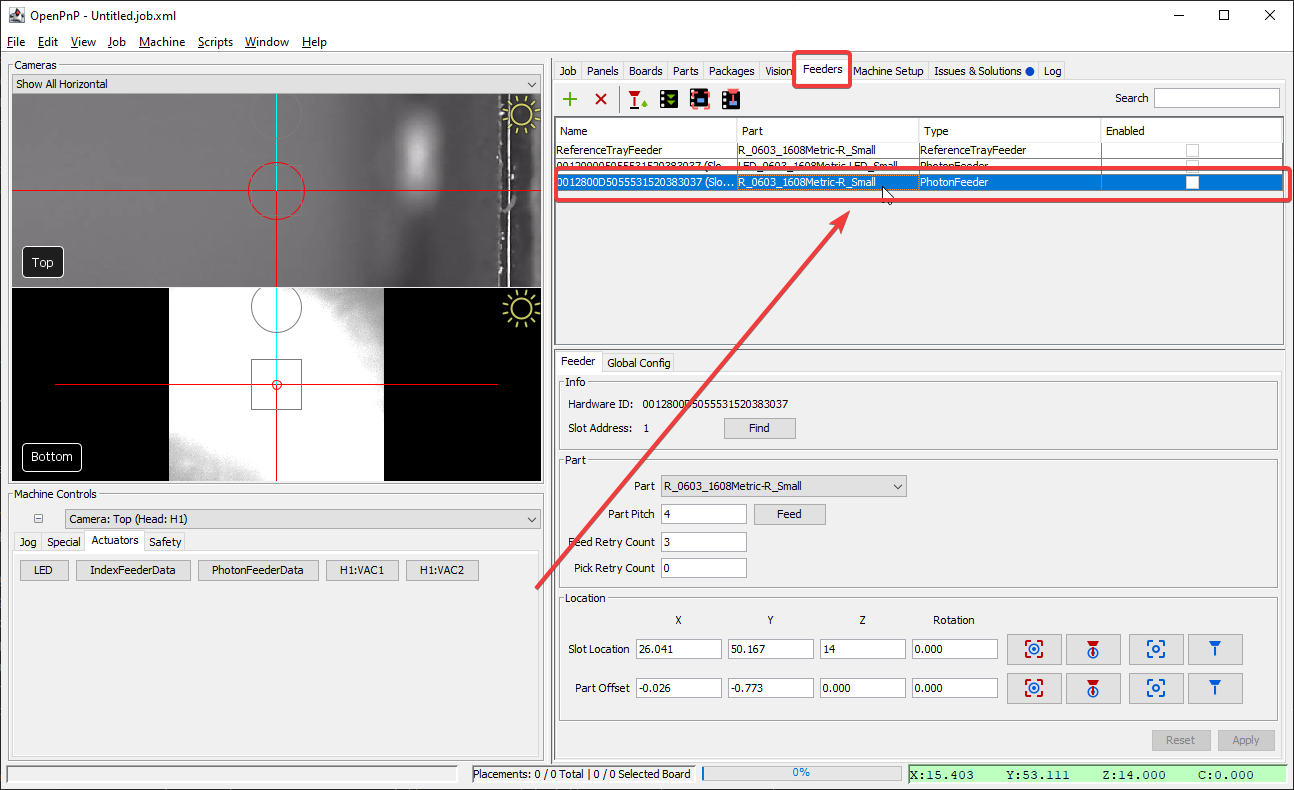
-
Press
Findto update which slot its installed in.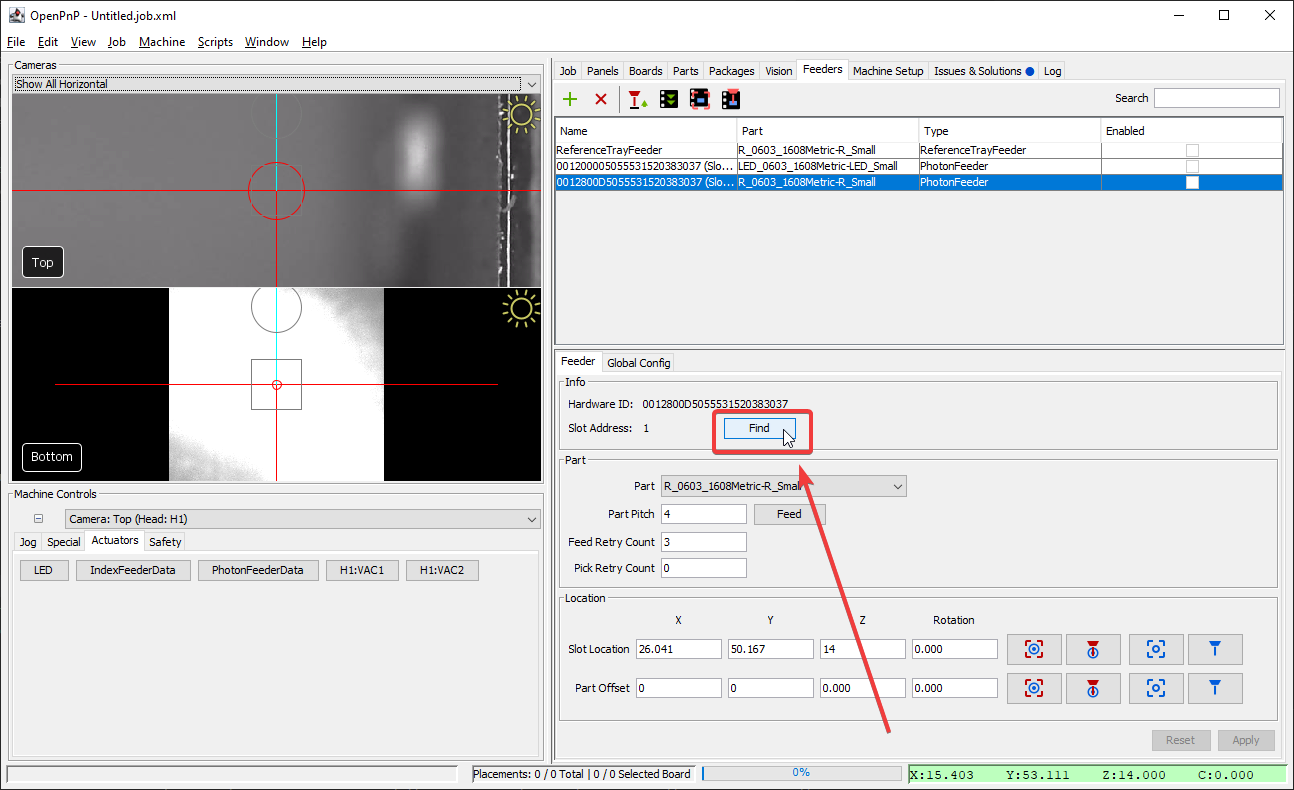
-
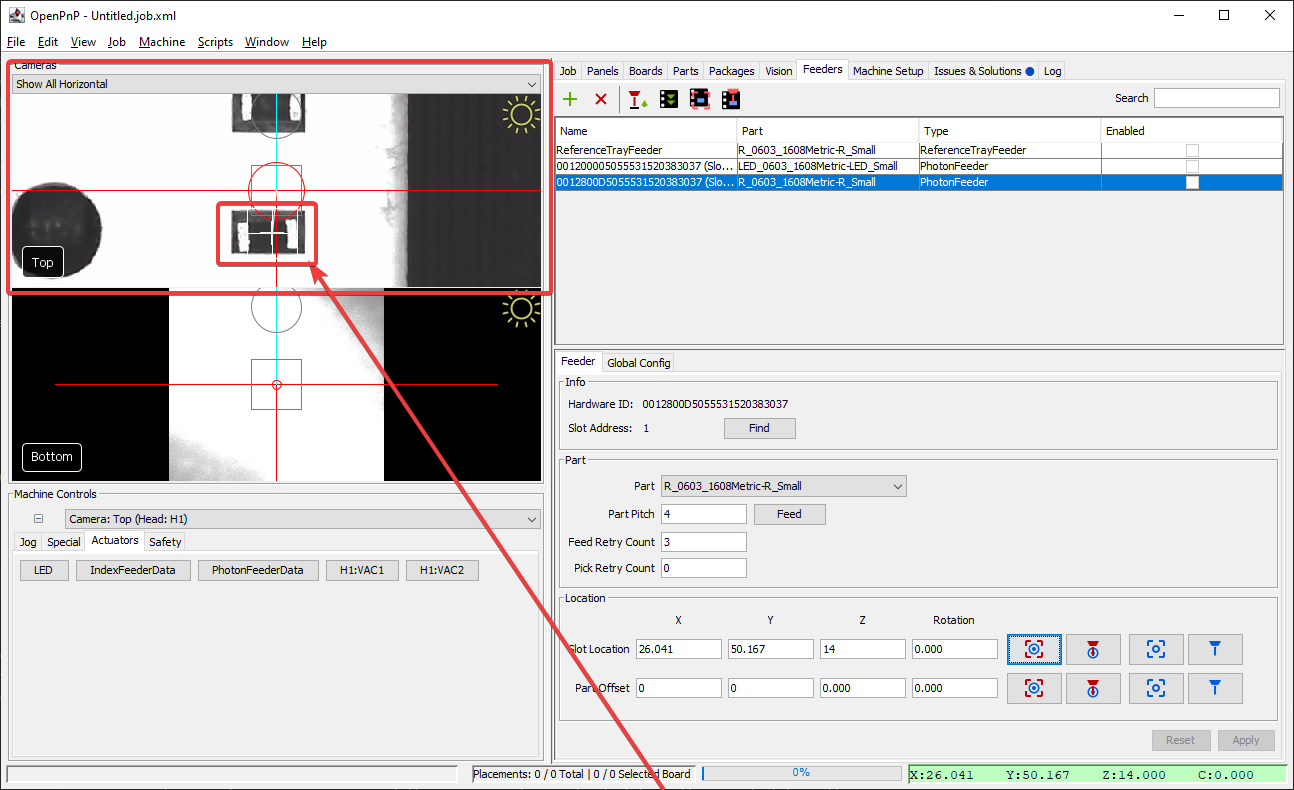
Position the camera over the the feeder's location.

-
Press The "Feed" button to make sure the feeder is working, and the tape is indexed properly.

-
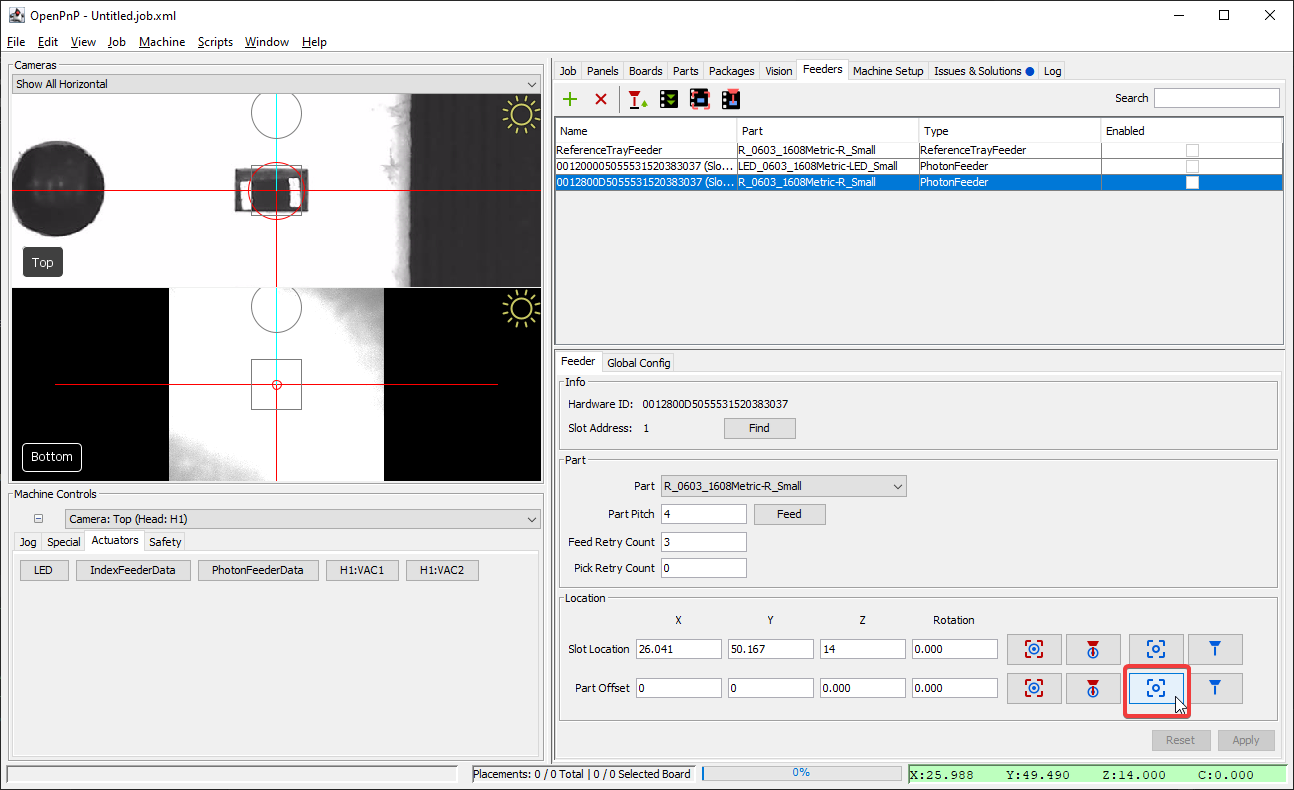
Use the camera view to precisely target the center of the pocket in the tape for one of the components.
-
Press the "Capture Camera Location" to save the camera's position to the Part Offset settings.
-
Enter
14mminto the feeder's Z position to ensure the nozzle tip does not crash into the tape.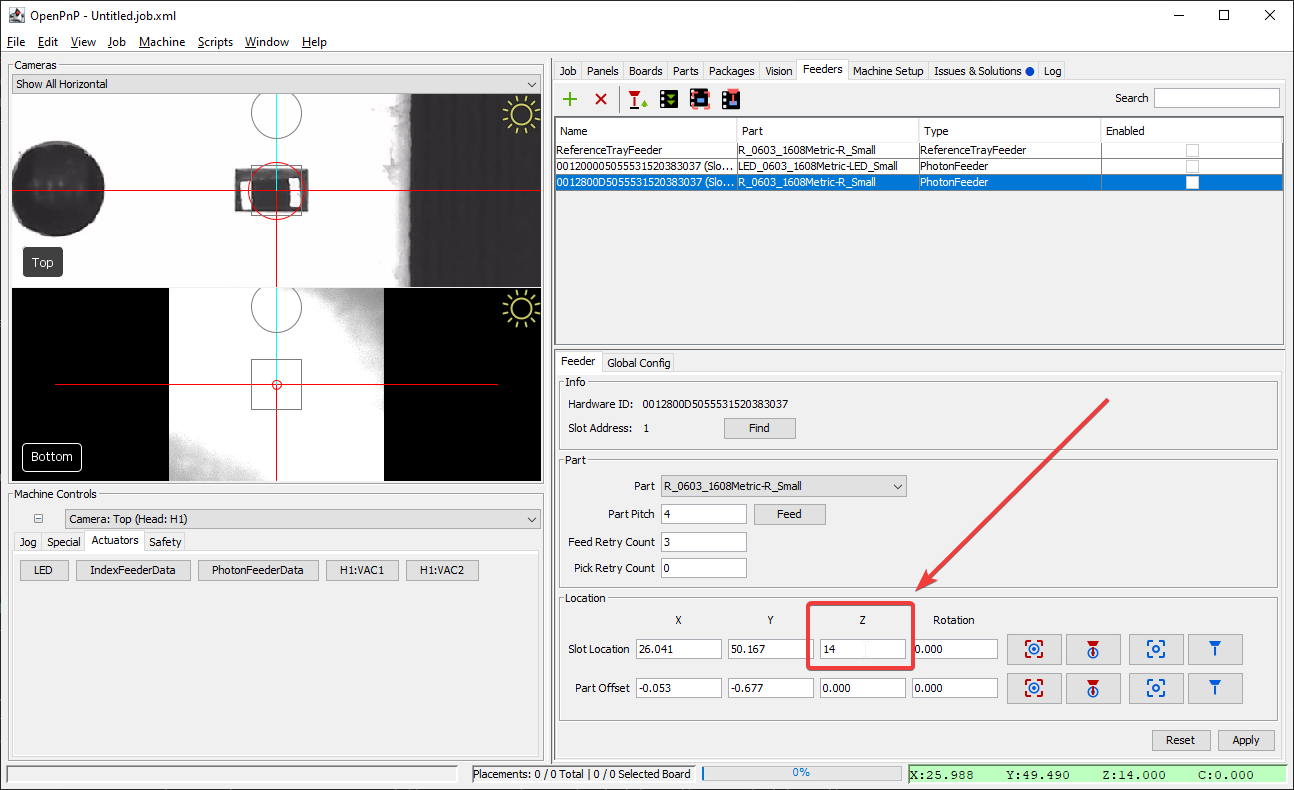
-
Select the correct toolhead you'll be using to pick this component from the
Machine Controlsdropdown.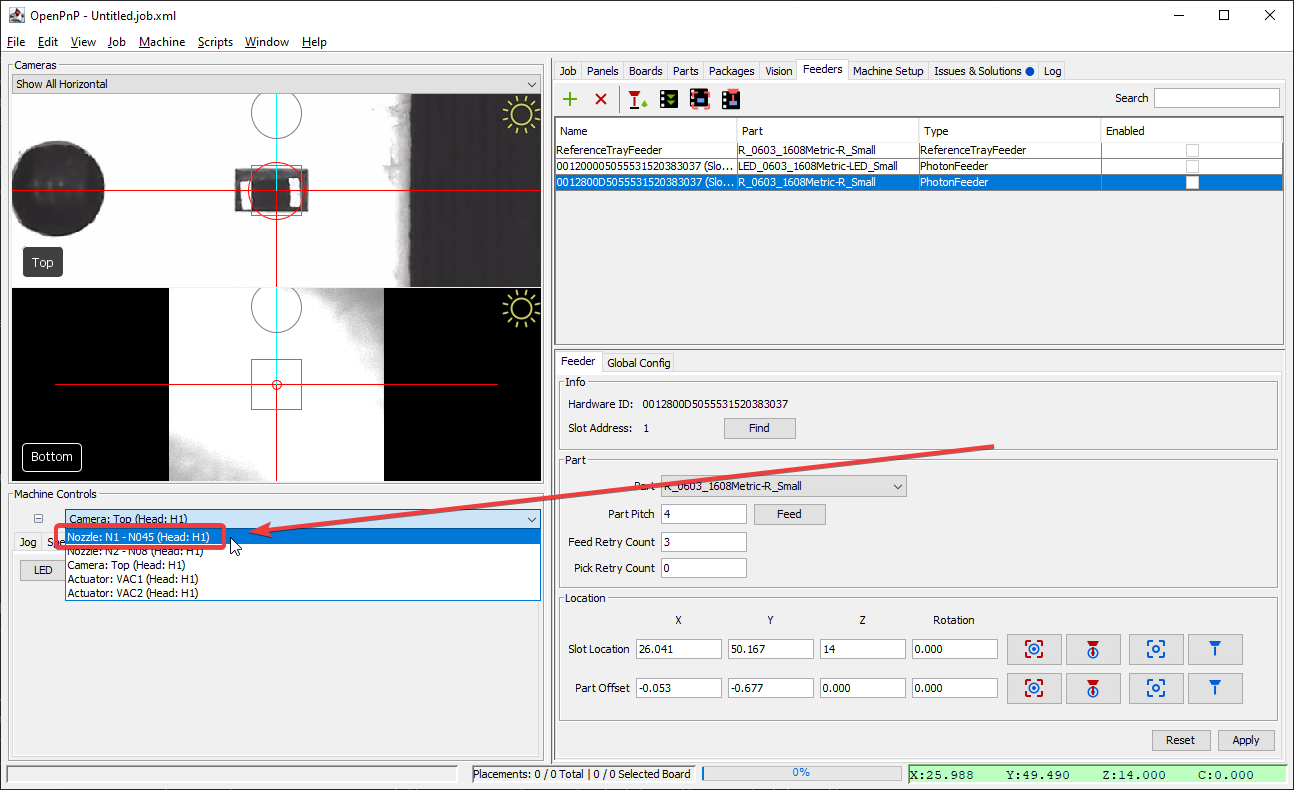
-
Position your tool over the Part Offset location. Your nozzle tip should be hovering above the component. If the nozzle is not aligned correctly, you should adjust your nozzle offset.
-
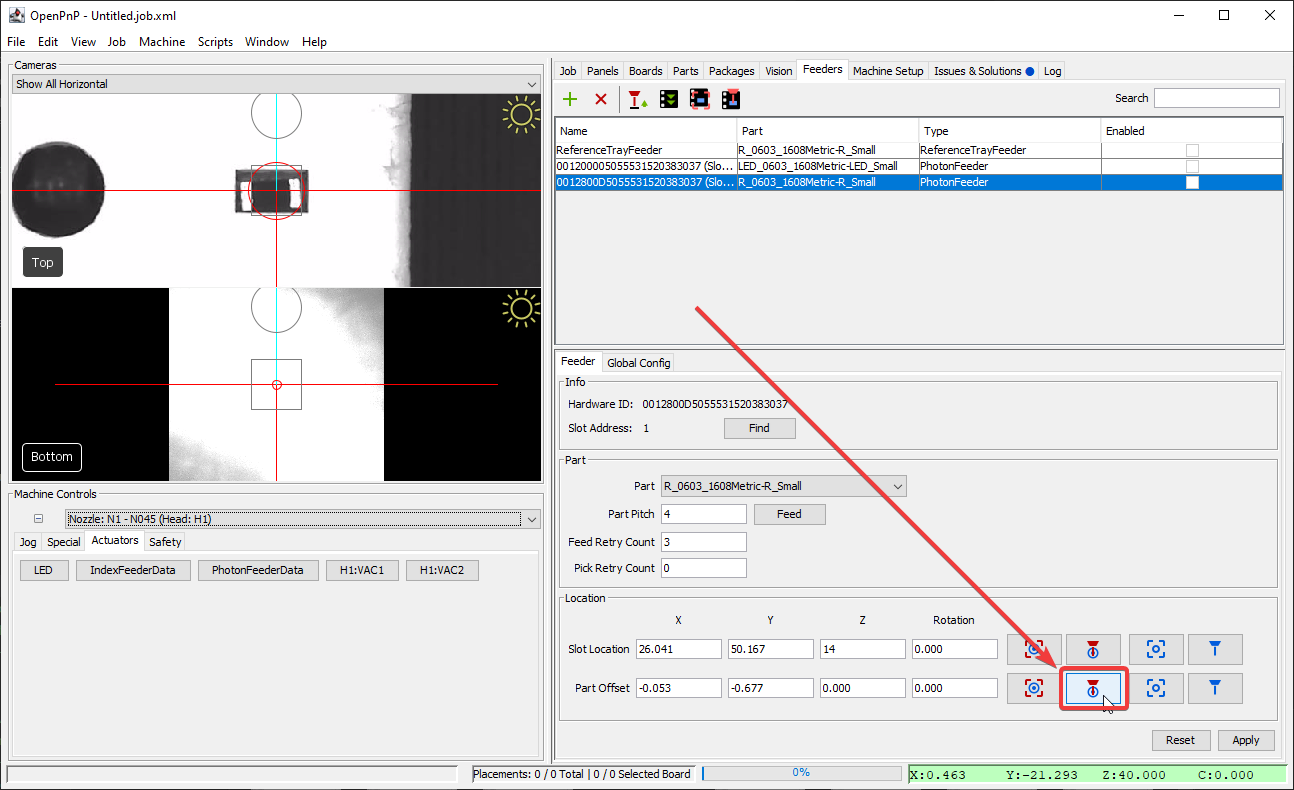
Use the
Jogcontrols to lower the nozzle tip until it is just touching the component in the slot.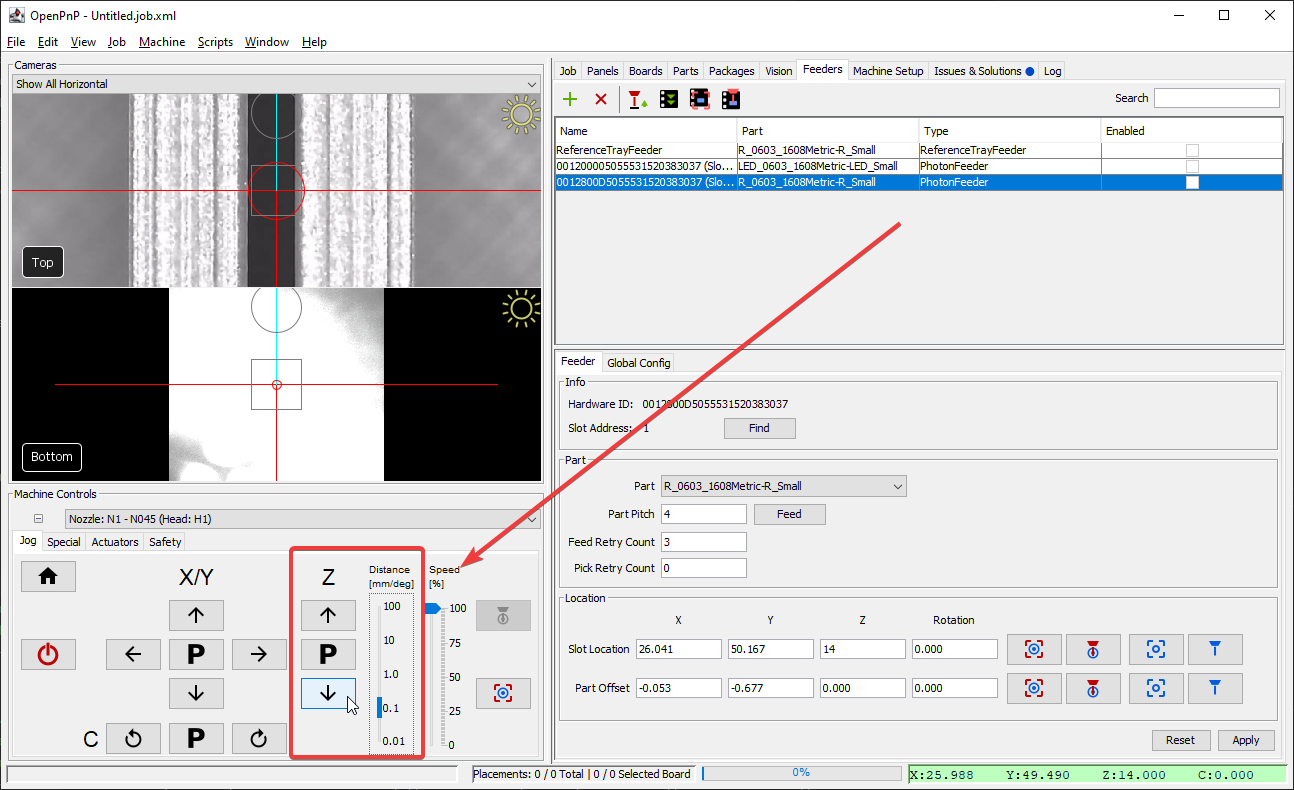
-
Save the z-axis height with the "Capture Tool Location" button.

-
Click
Applyto save the settings.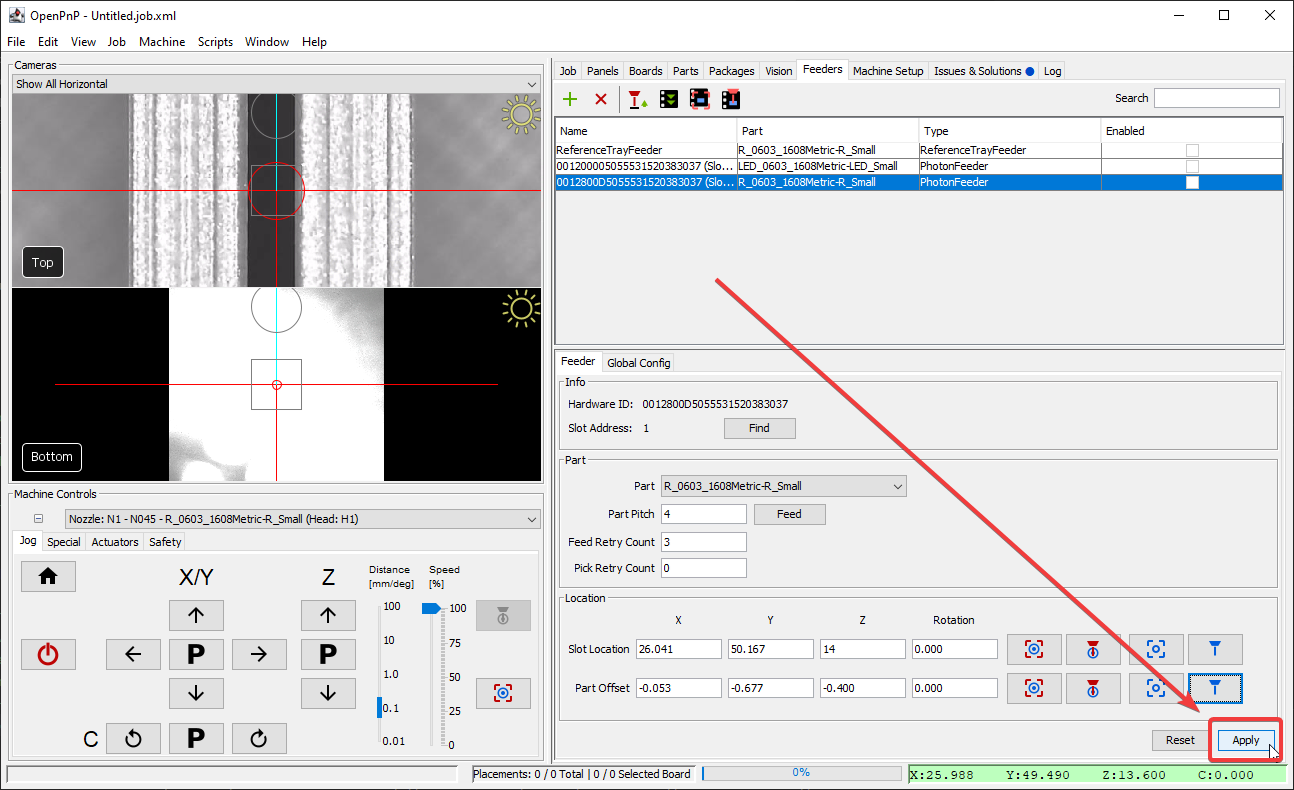
-
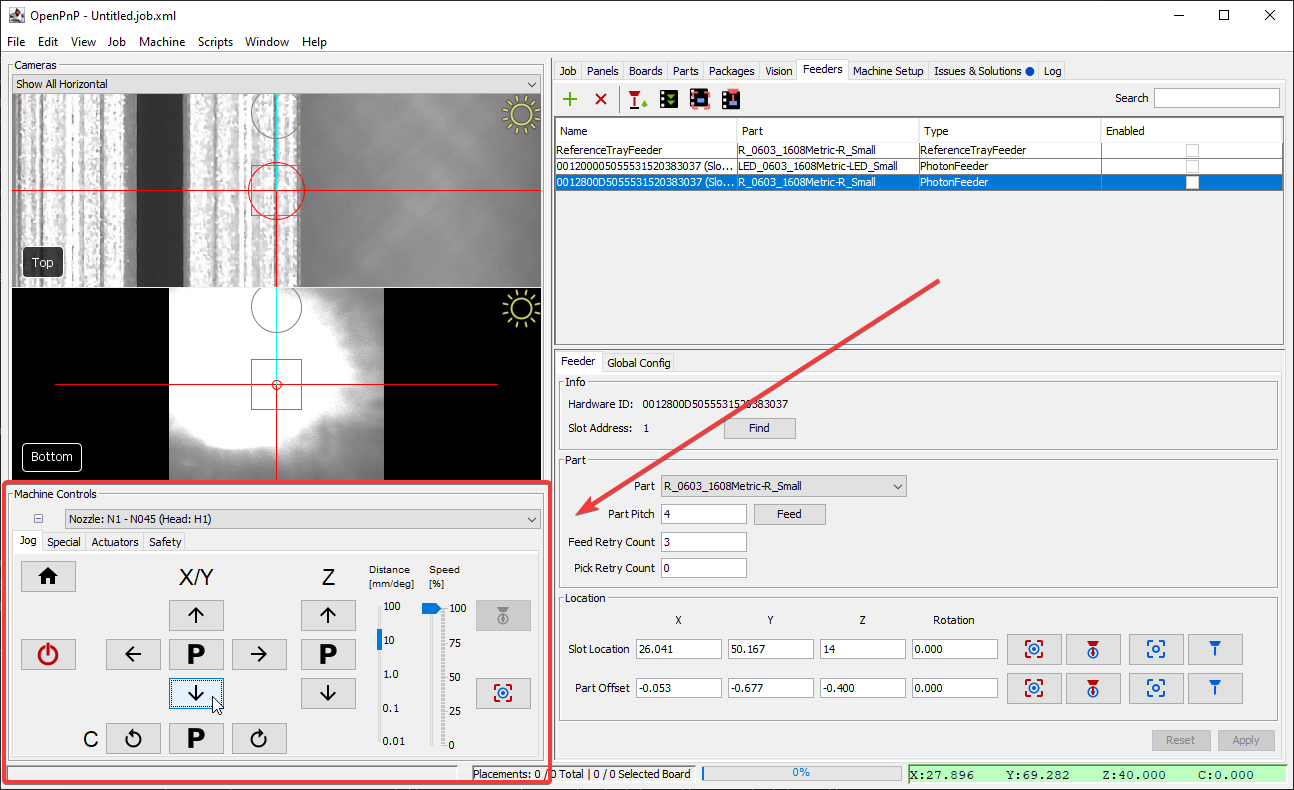
Jog your machine away from the feeder.
-
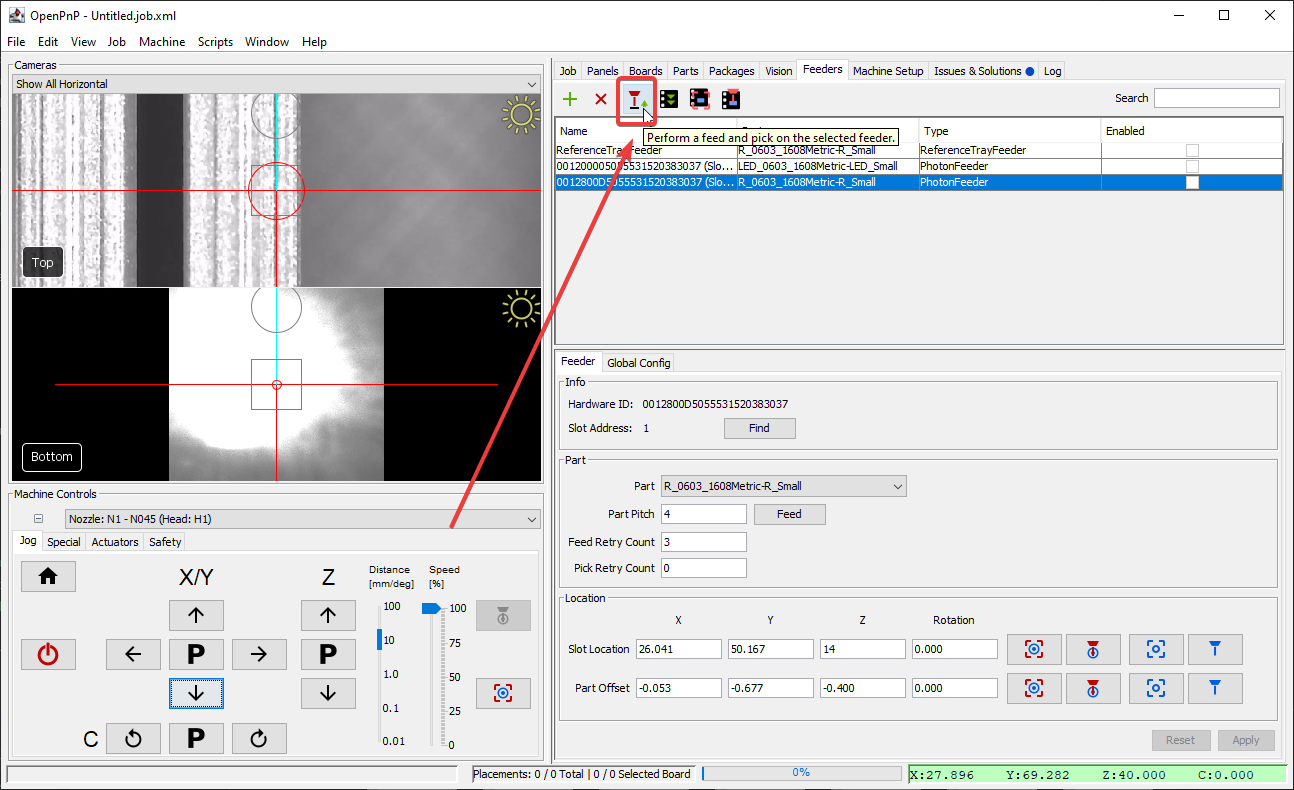
Use the "Pick" button to test picking the component. If it isn't picked appropriately you may need to tune the Part Offset, especially the Z-axis.
-
Click the
Discardbutton underMachine Controls -> Specialto discard the part. -
Repeat this tuning with each of your feeders.
Maintaining feeder position
After setting your pick position, we recommend keeping the feeders and machine powered. Powering down the machine can result in a slight change in position which could require resetting the pick position.
Next Steps
If you came here from the LumenPnP V4.1 Documentation, continue to validatiion
If you came here from the old LumenPnP V4.0 Documentation with only one fiducial, or from the V3 documentation, your next step is