Actuator Check
Pumps
The first and most important actuator on your LumenPnP is the vacuum pump. We can check this by sending more Gcode to the machine. Send the first line to turn on the pump, and the second one to turn it back off.
M106 ;turn MOS1 on
M107 ;turn MOS1 off
Valves
We can also check the blowoff valve. This can be tested using the Gcode below. Listen for a slight click when each of the commands are run; this is the sound of the valve actuating!
M106 P1 S255   ;turn MOS2 on
M107 P1        ;turn MOS2 off
It's worth noting that MOS3 and MOS4 can be actuated using the following commands (when something is plugged into those ports):
M106 P2 S255   ;turn MOS3 on
M107 P2        ;turn MOS3 off
M106 P3 S255   ;turn MOS4 on
M107 P3        ;turn MOS4 off
Ring Lights
Check the ring lights using the Gcode below. Note that both lights are controlled together, with the same command. You can edit the color of the lights by adjusting the R, U, and B terms in the command, and you can edit the brightness by editing the P term. For more information, check the Marlin Docs page on M150.
M150 P255 R255 U255 B255   ;turn on ring lights
M150 P0                    ;turn off ring lights
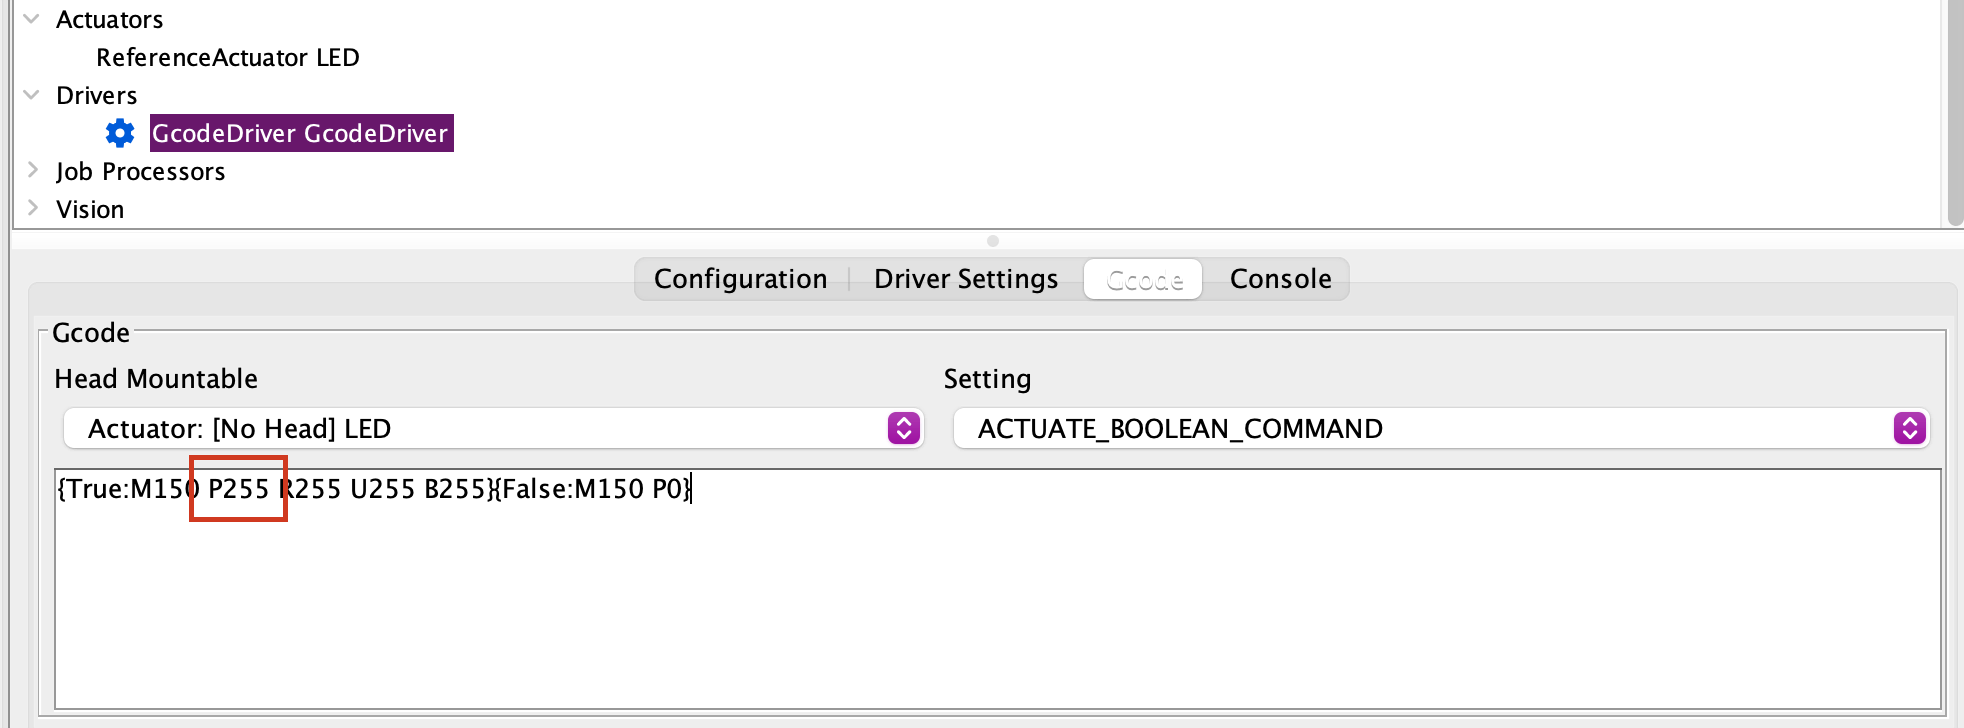
If you'd like to change the brightness that your ring lights actuate to during a job, you can edit the P value in this section of the "Machine Setup" tab in OpenPnP:
Vacuum Sensors
Now we can check the vacuum sensors. First, check the value from the first vacuum sensor before and after a vacuum is pulled to check that it's working correctly. You should see that the values are different by about 200.
M3426 G4 C1 I1 A110   ;read vac 1 value
M106                  ;turn on the pump
M106 P1 S255          ;turn on the valve
;cover the nozzle with your finger and wait two seconds
M3426 G4 C1 I1 A110   ;read vac 1 value again
M107                  ;turn off the pump
M107 P1               ;turn off the valve
Sensor Address
Note that in the above code snippet, the line M3426 G4 C1 I1 A110 uses A110 to specify which sensor to read from. Due to the way the sensors are programmed by their manufacturer, the address of the sensor can vary. If A110 doesn't work for you, try testing each value from 0 to 7 to see which address is correct for your sensors.1
Interposer Board
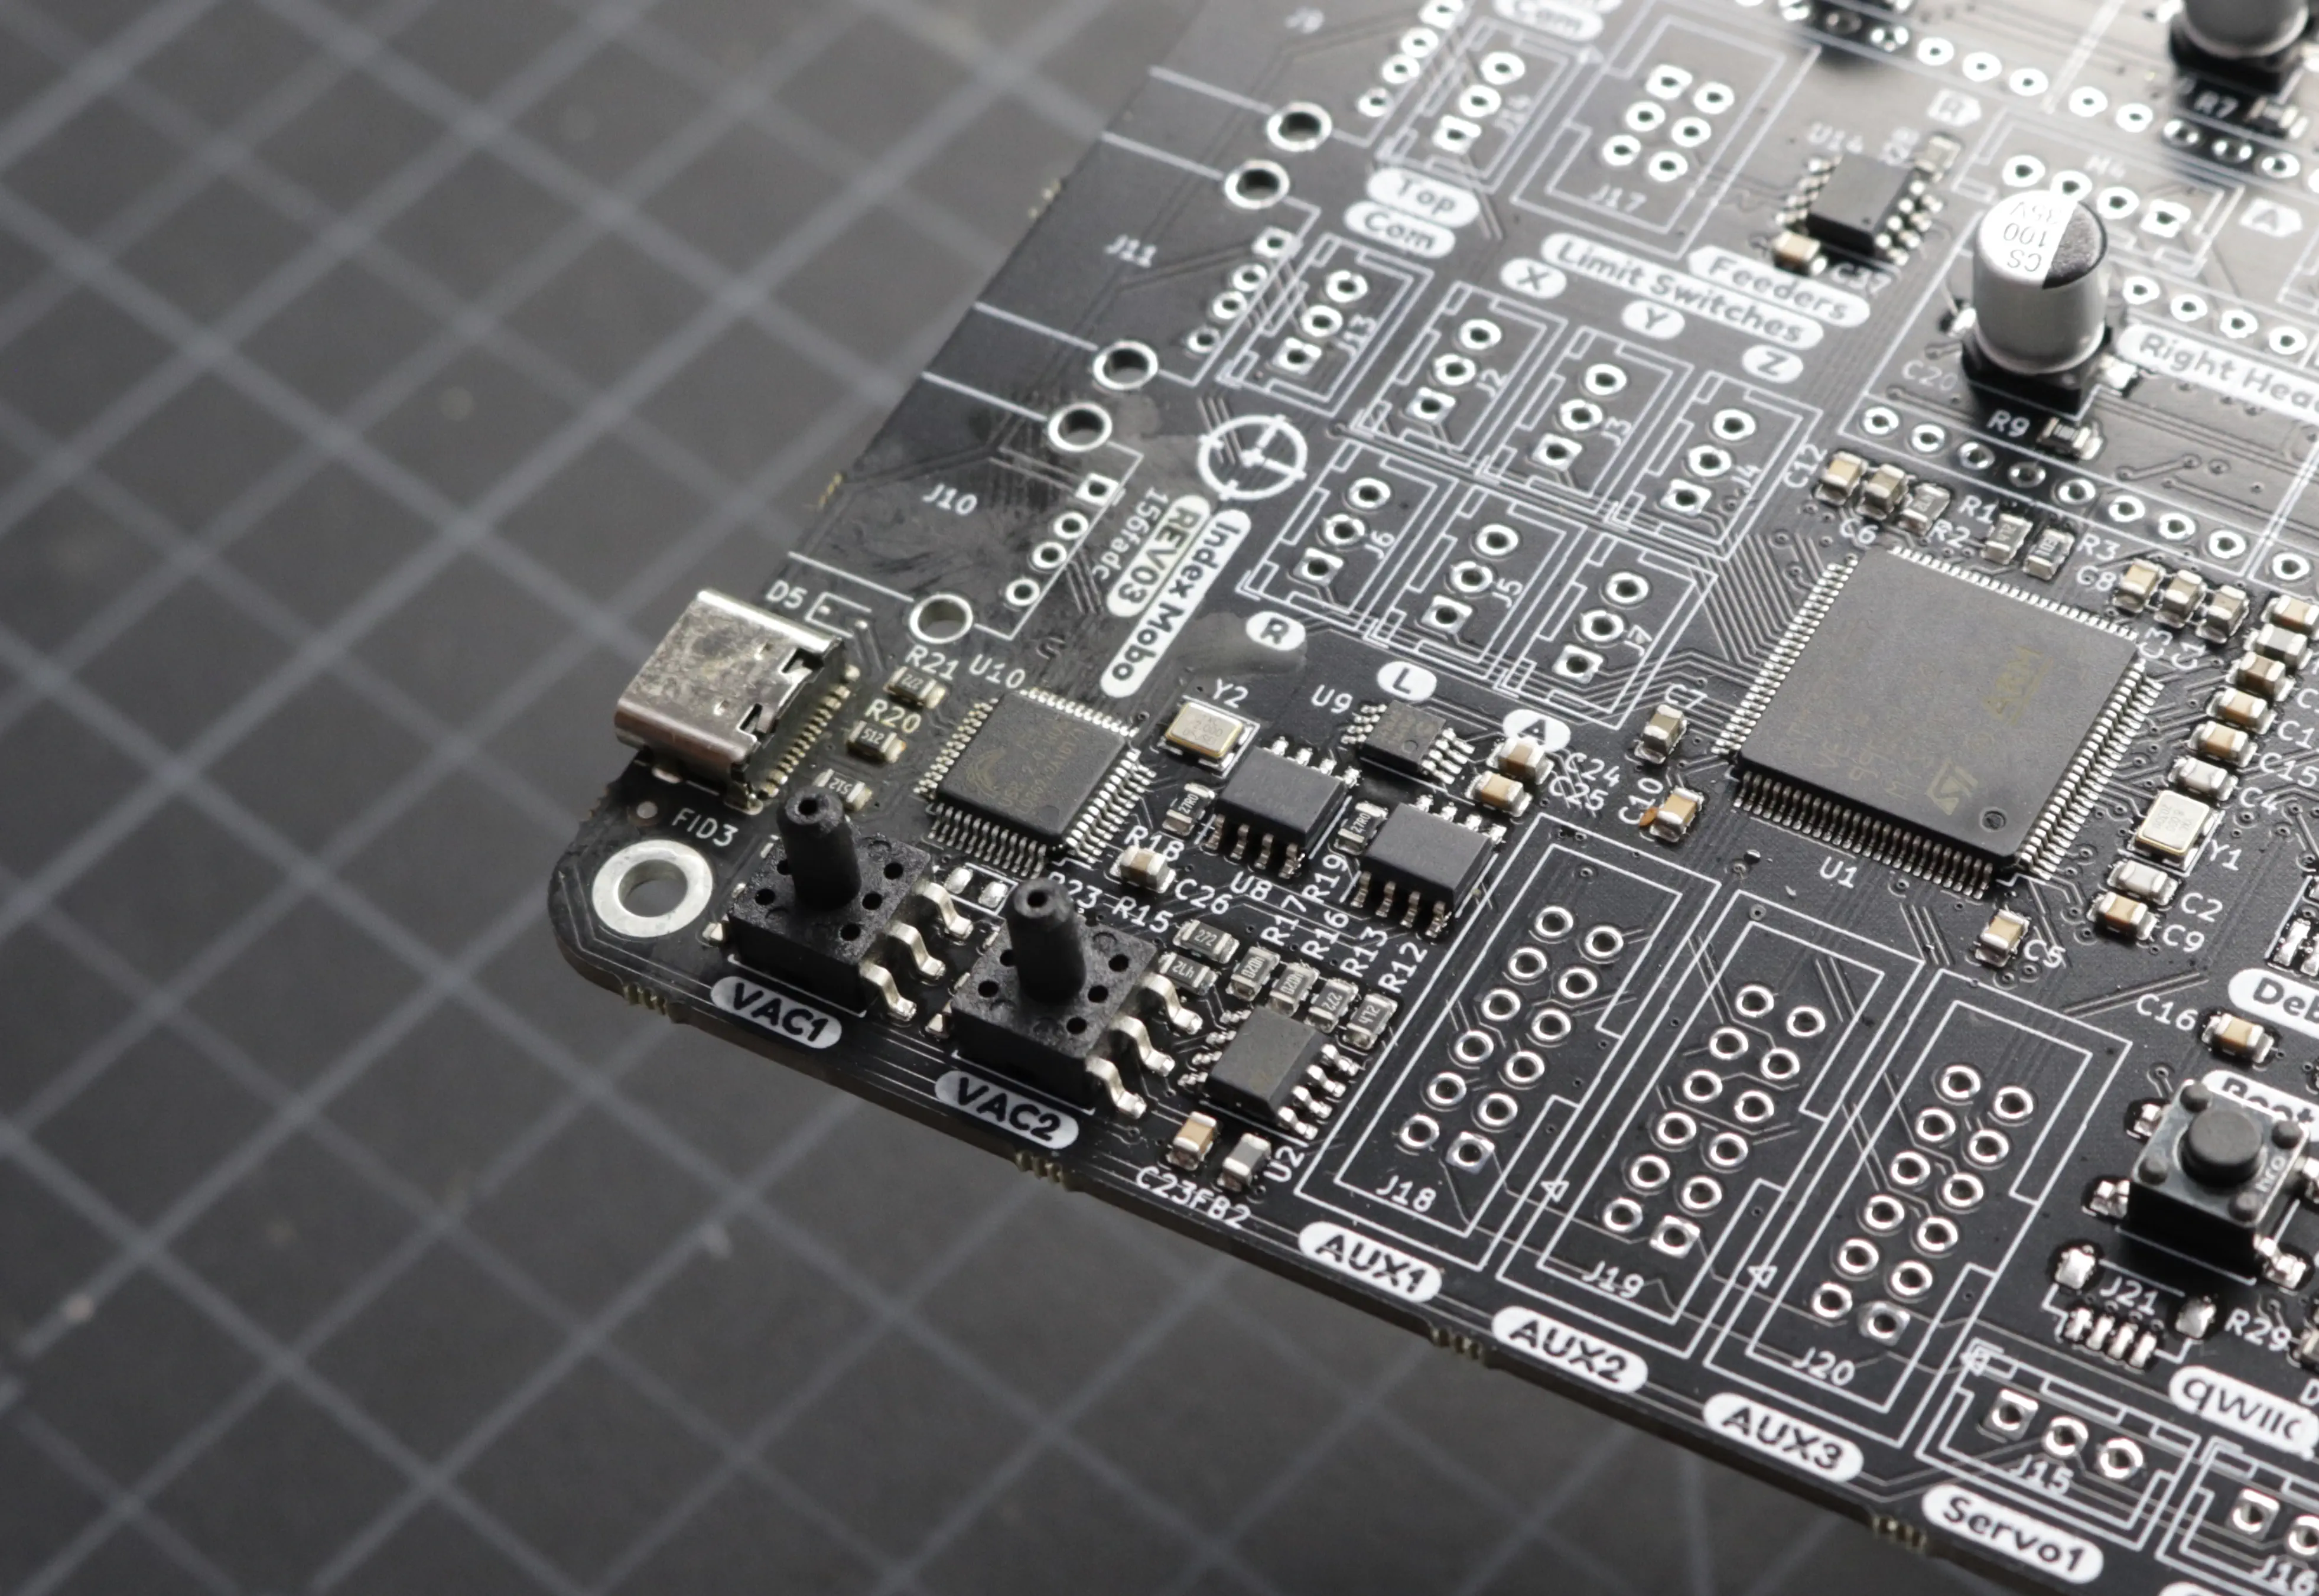
Some LumenPnP kits shipped with a less than optimal vacuum sensor wiring. Some people's sensors can detect a swing of about 200, but in some cases there isn't enough of a difference for a useful signal because of some part tolerances. We're sorry about this! When the community discovered this issue, we stopped shipping immediately and designed a board that sits in between the vacuum sensor and the motherboard that makes the signal much stronger. Once we confirmed this board fixes the issue, we installed them on all machines we shipped moving forward.
No Interposers Installed
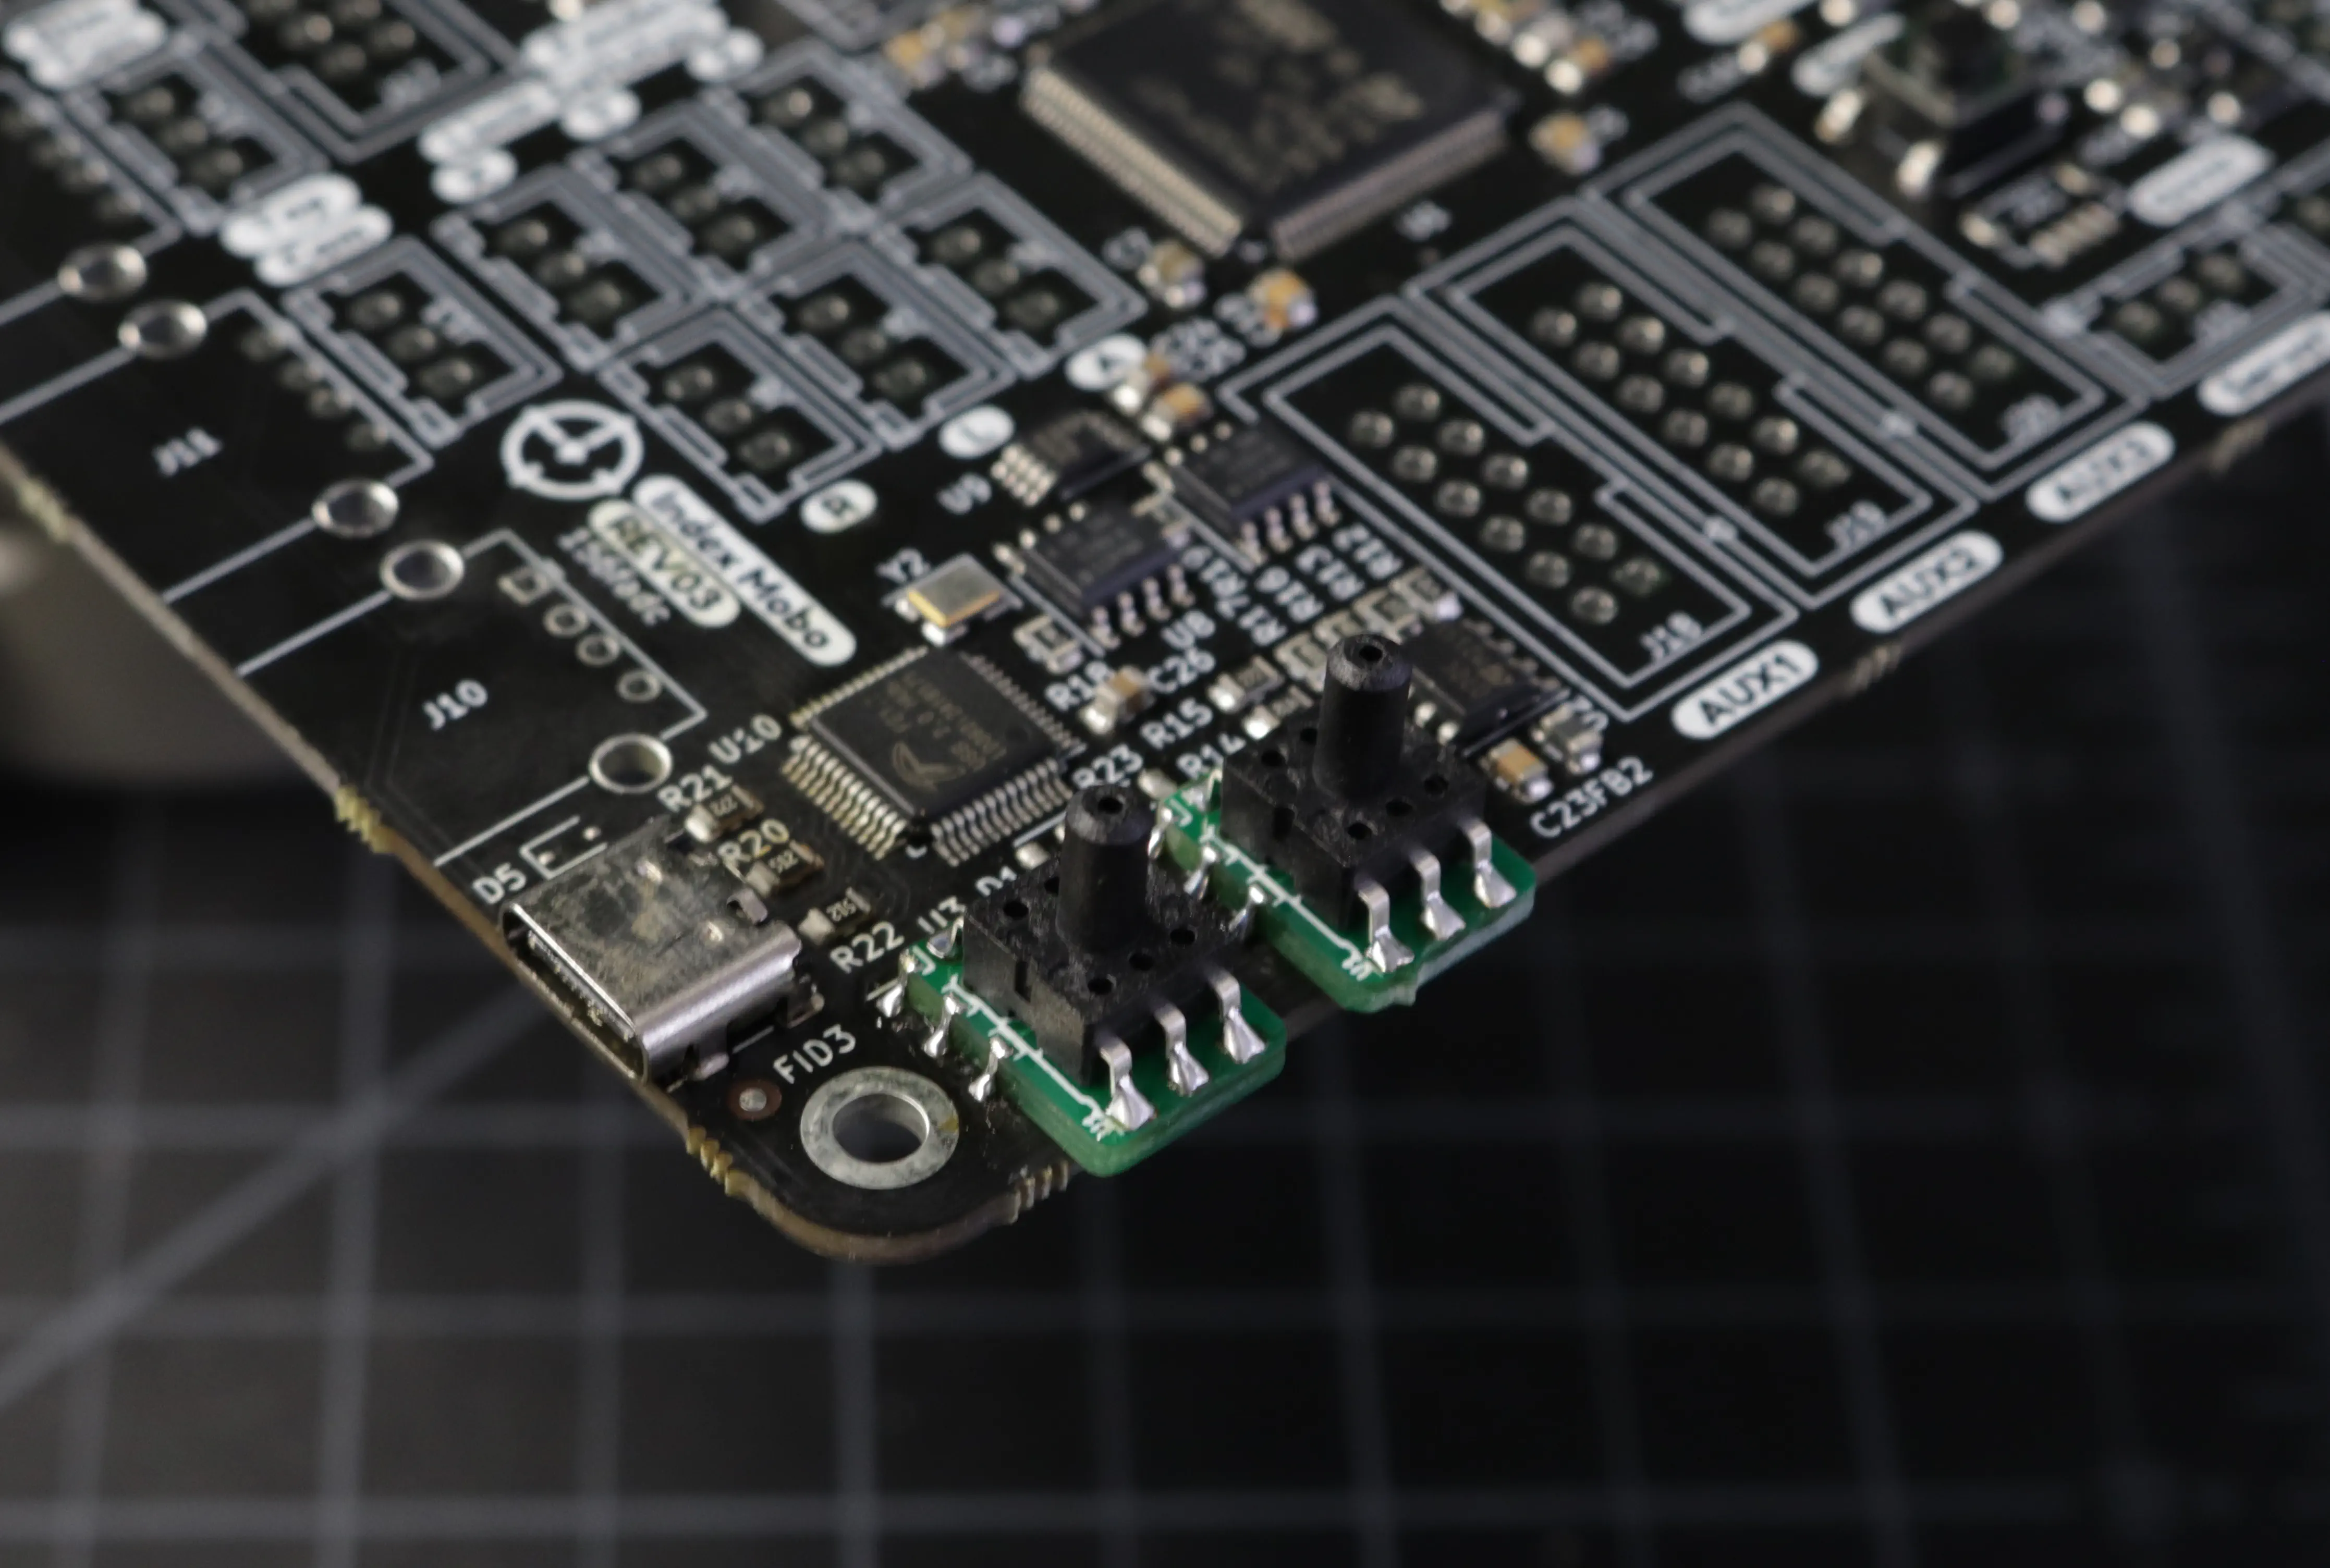
Interposer Boards Installed
If you bought a LumenPnP kit that did not come with interposer boards installed and would like to upgrade them, please reach out to our support team and we'll get some sent out to you as soon as possible at only the cost of shipping (even if you're out of warranty). We have an installation guide to guide you through the process.
If you have the interposer boards installed for your vacuum sensors, change the G4 to a G2 in your "sensor read" GCode command. This changes the gain of the sensor to a more usable value. The difference in value should now be about 2000.
It's also worth noting the command for reading the second vacuum sensor. Until pneumatics for a second nozzle are plumbed in, the second one will only ever read ambient pressure.
M3426 G4 C2 I1 A110 ;read vac 2 value
In Case Of Error
These commands are meant for a newer version of Marlin that adds support for multiple ADCs. If you're getting an error in response from Marlin, update the firmware to the latest version.
Next steps
Continue to feedback.
-
See this change to Marlin and the manufacturer's data sheet for more details. ↩