Wiring the Y Motors
| Qty | Part |
|---|---|
| 1 | Y1 Cable Harness (Labeled Y1) |
| 1 | Y2 Cable Harness (Labeled Y2) |
| 4 | Zip Tie |
| 4 | FDM-0016 (Cable Clip) |
| 3 | FDM-0023 (Cable Clamp) |
| 3 | M3x14 machine screw |
| 3 | M3 Hex Nut |
The left and right Y motors are connected to the motherboard using the cable harnesses Y1 and Y2, respectively. Grab these from your bundle of cables.
-
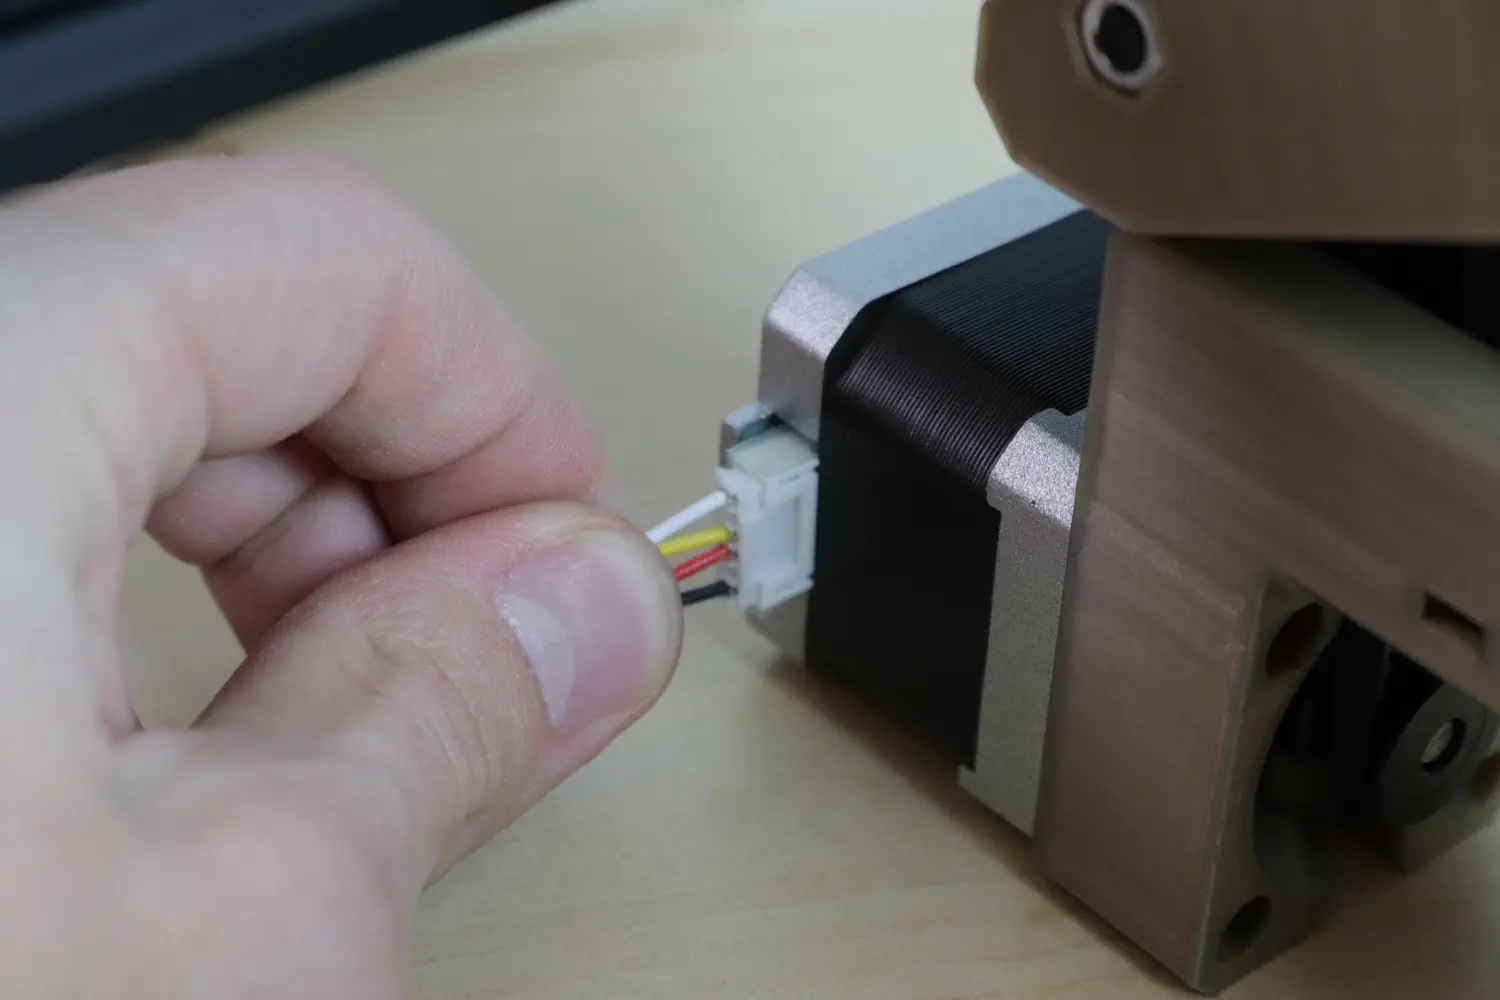
Start by plugging in the unlabeled end of the cables into the Y motors.
Y1goes to the left Y motor, andY2goes to the right Y motor.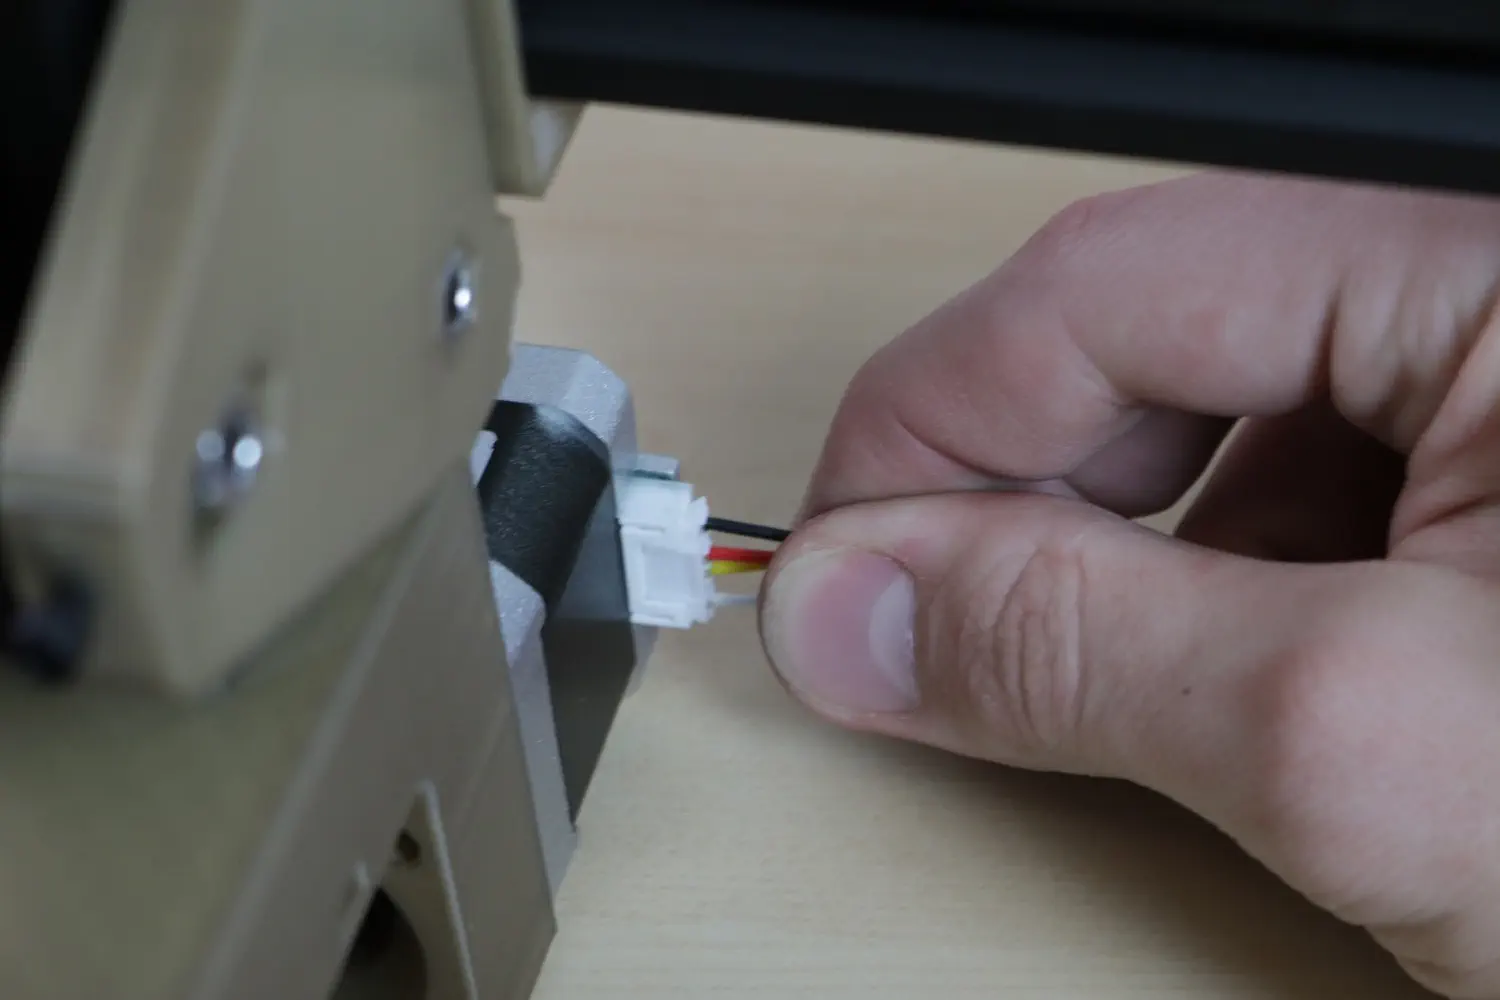
-
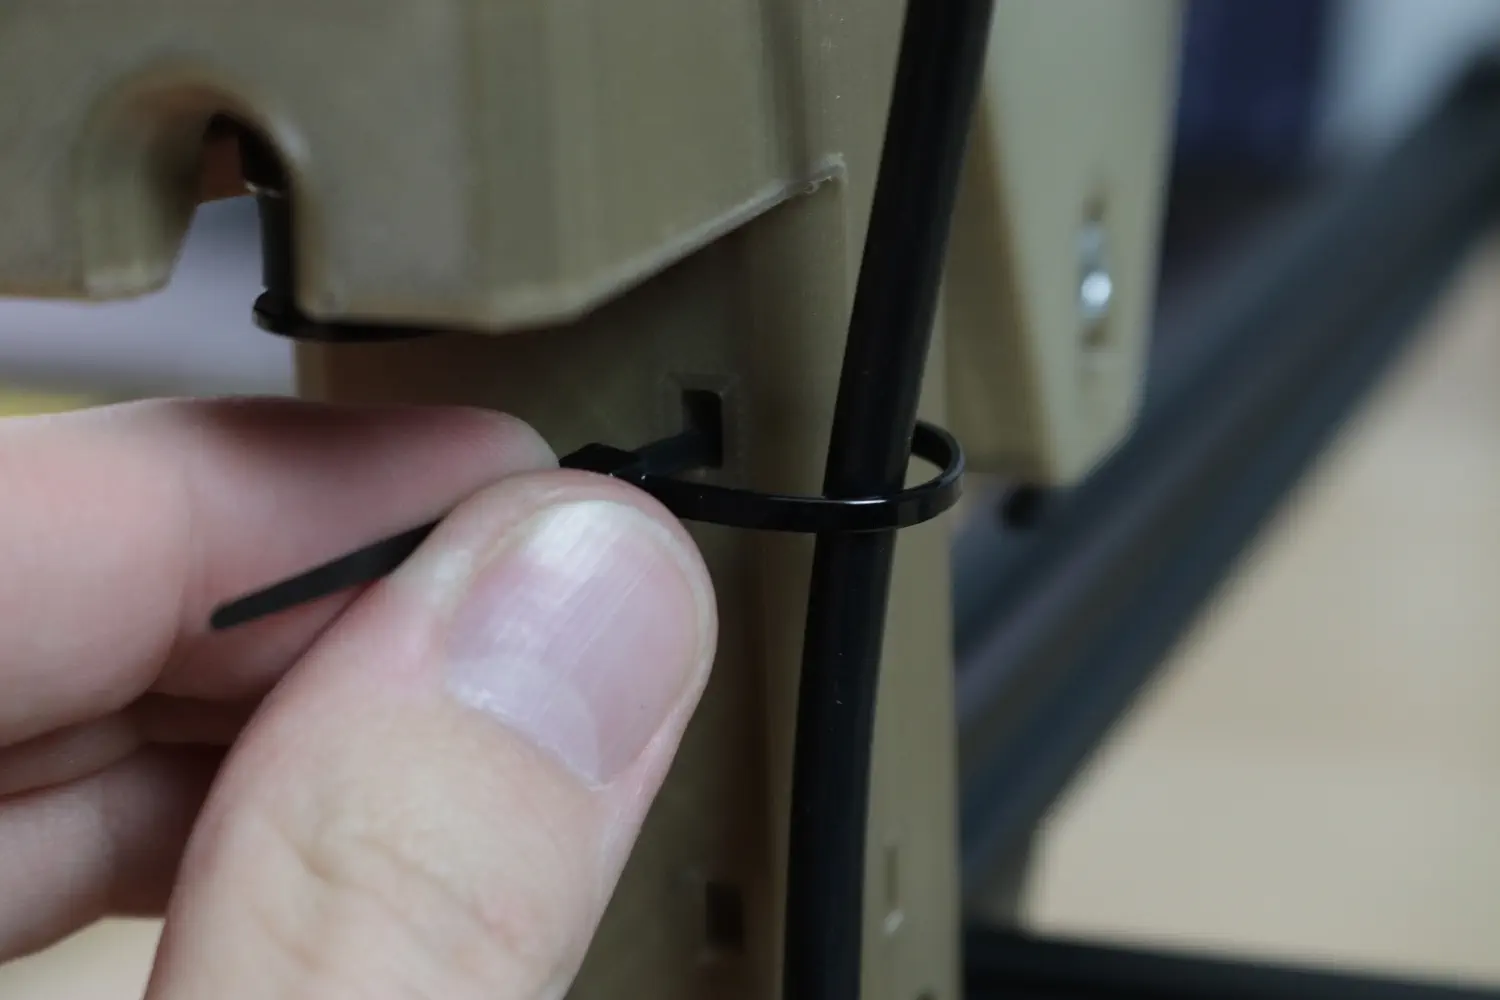
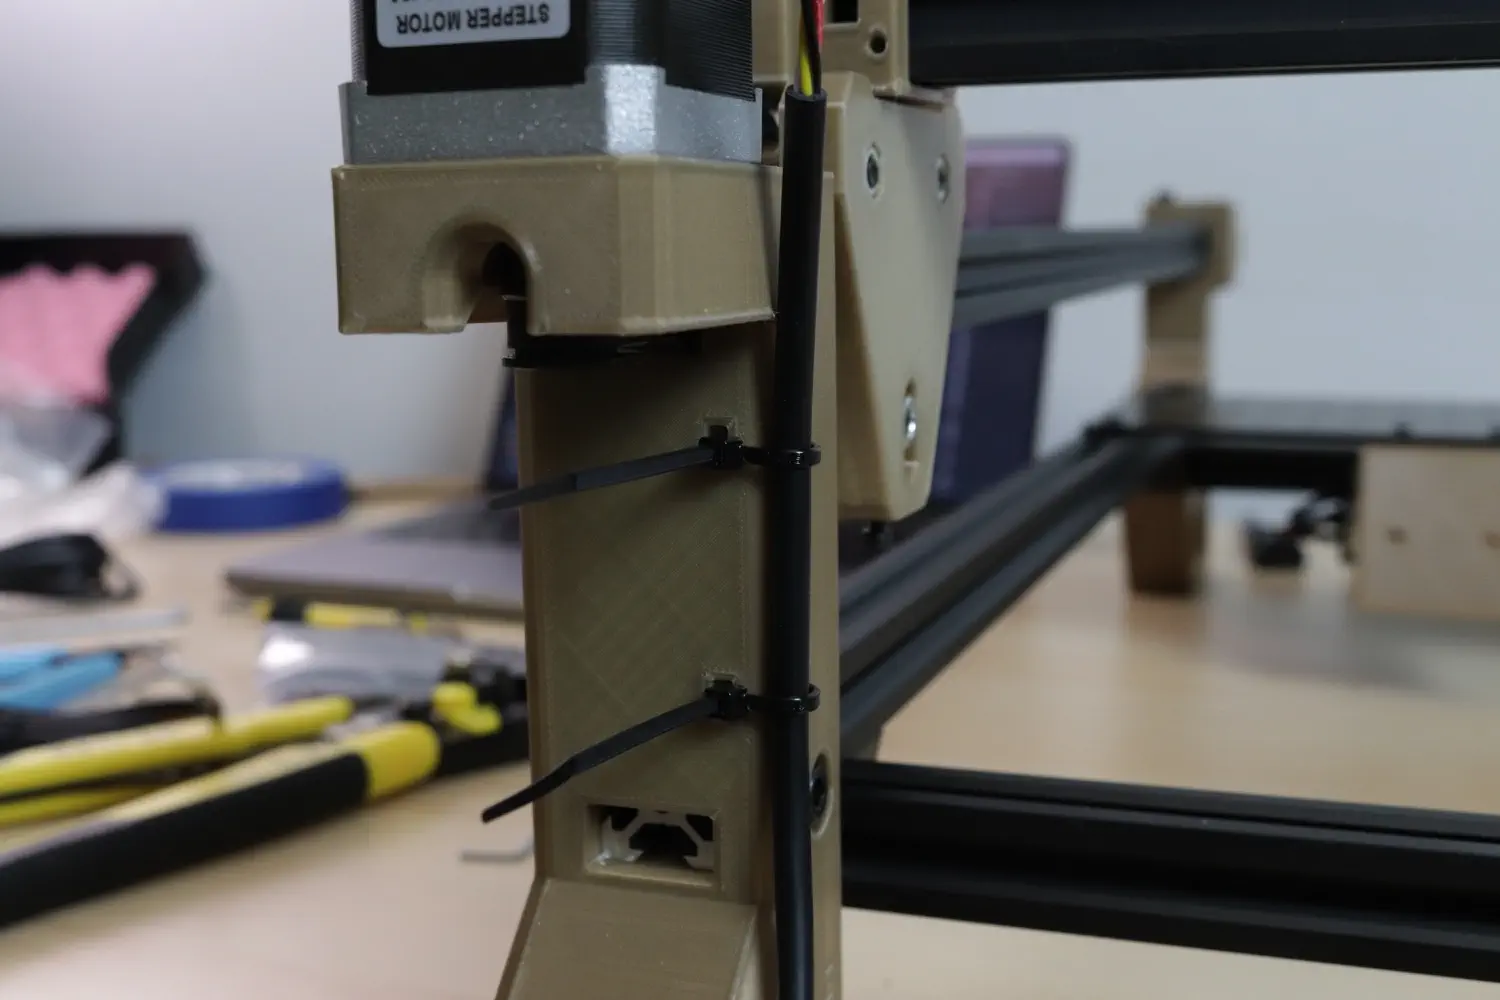
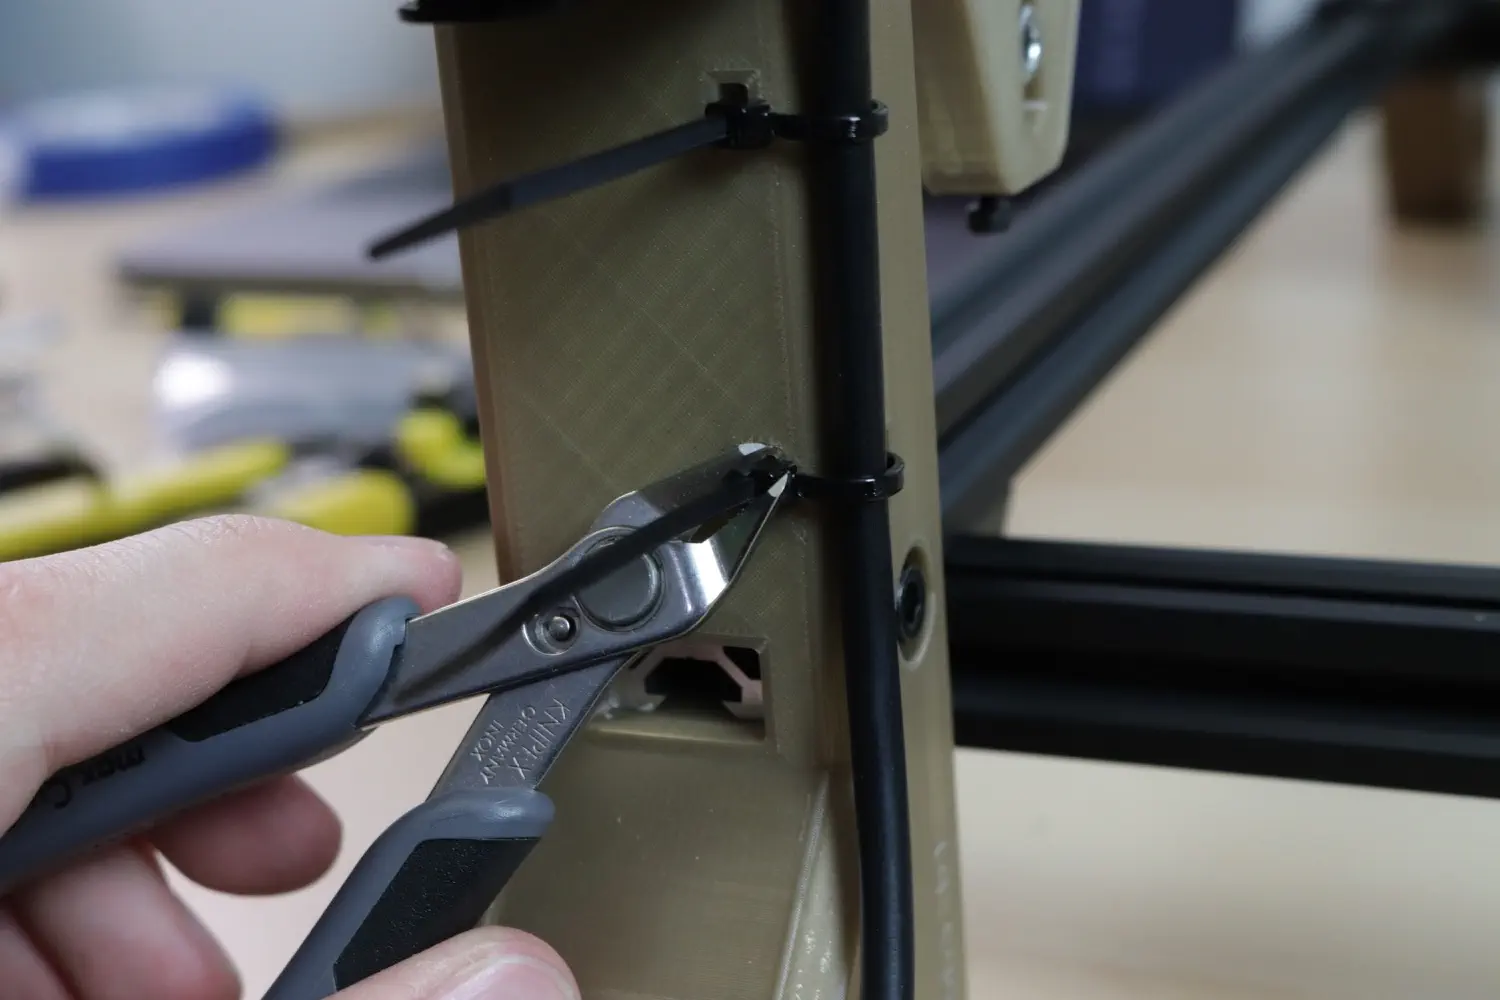
Use four zip ties to secure the wires in place using the channels in the back legs as shown below.
-
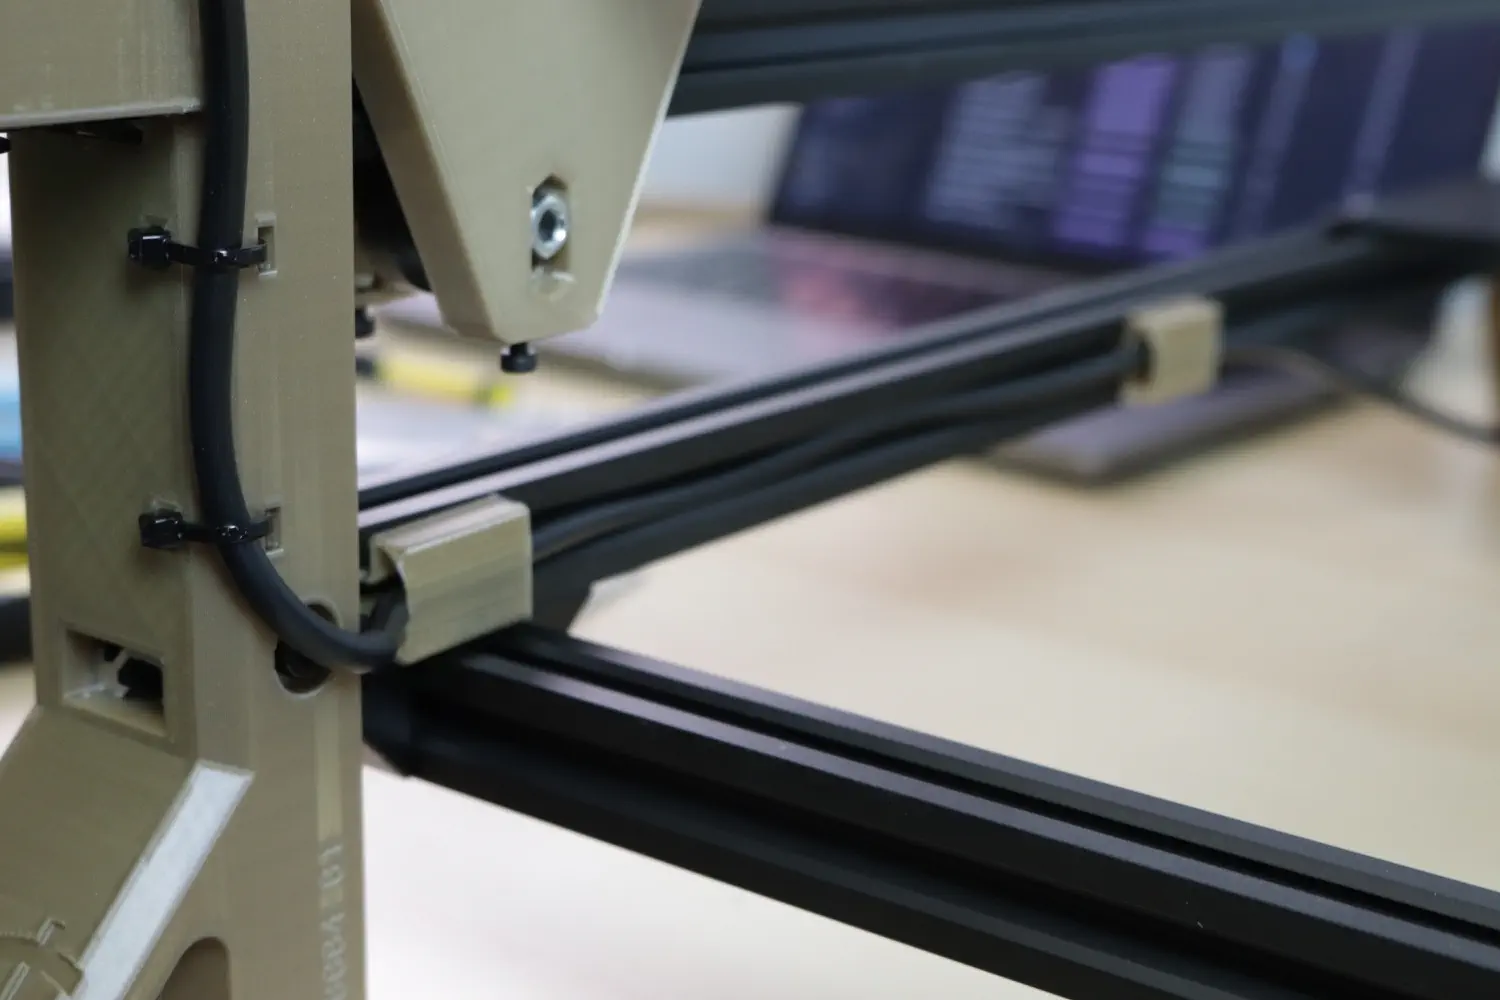
Next, put your LumenPnP up on its haunches, and route the cables along the inside groove of the extrusion extrusions running towards the front of the machine. Use
Cable Clipsto hold the cables in place along the extrusions.
-
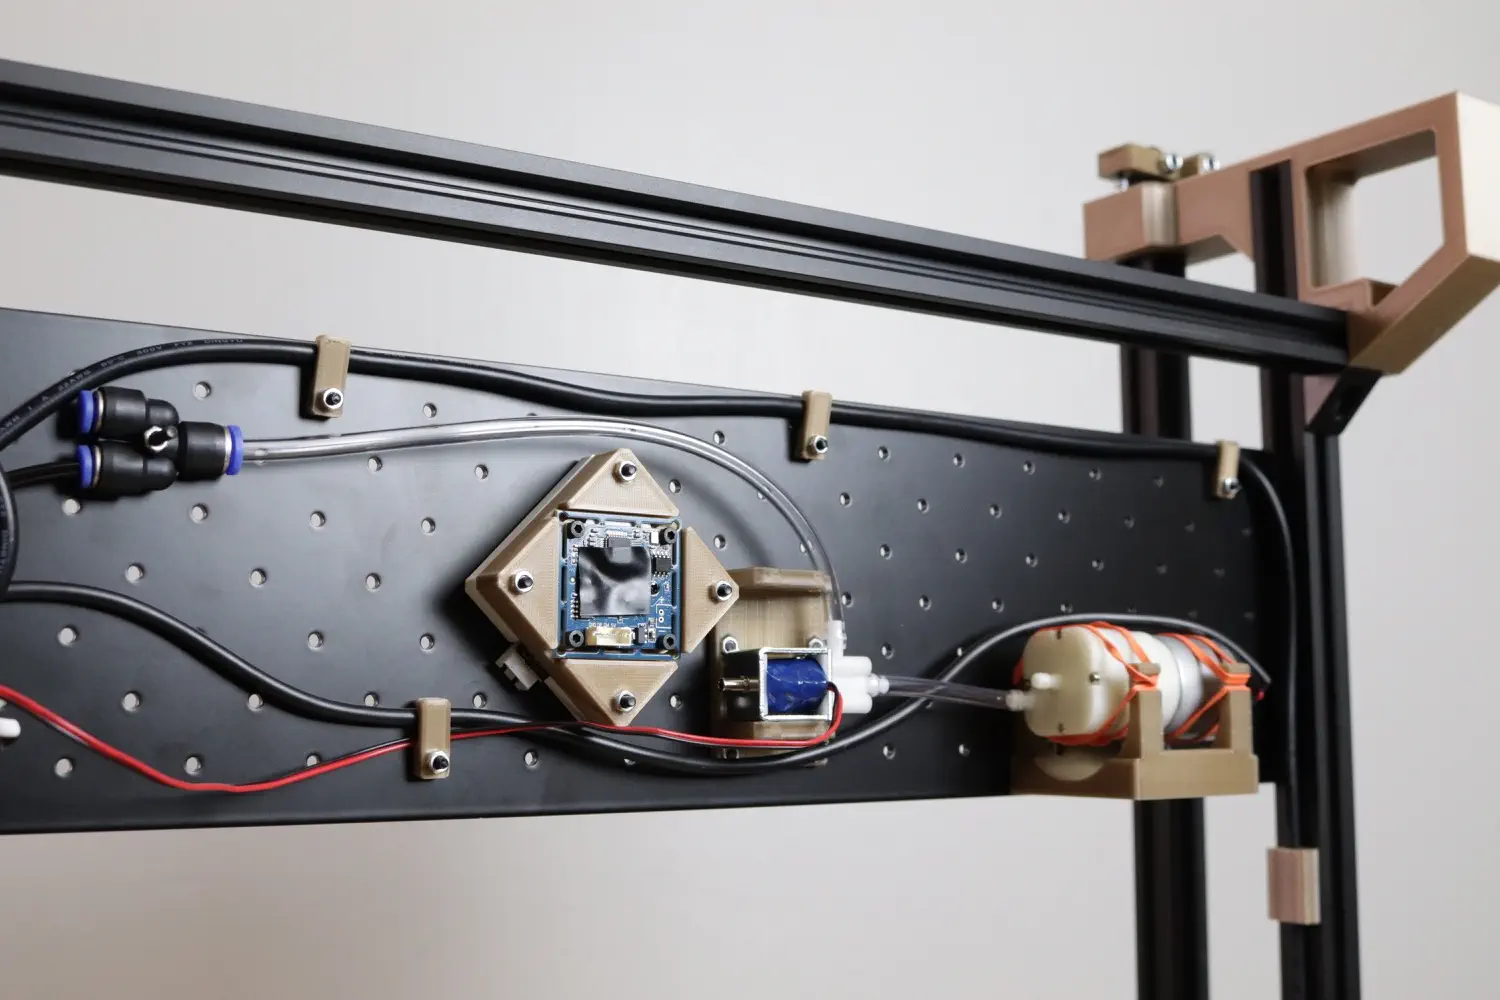
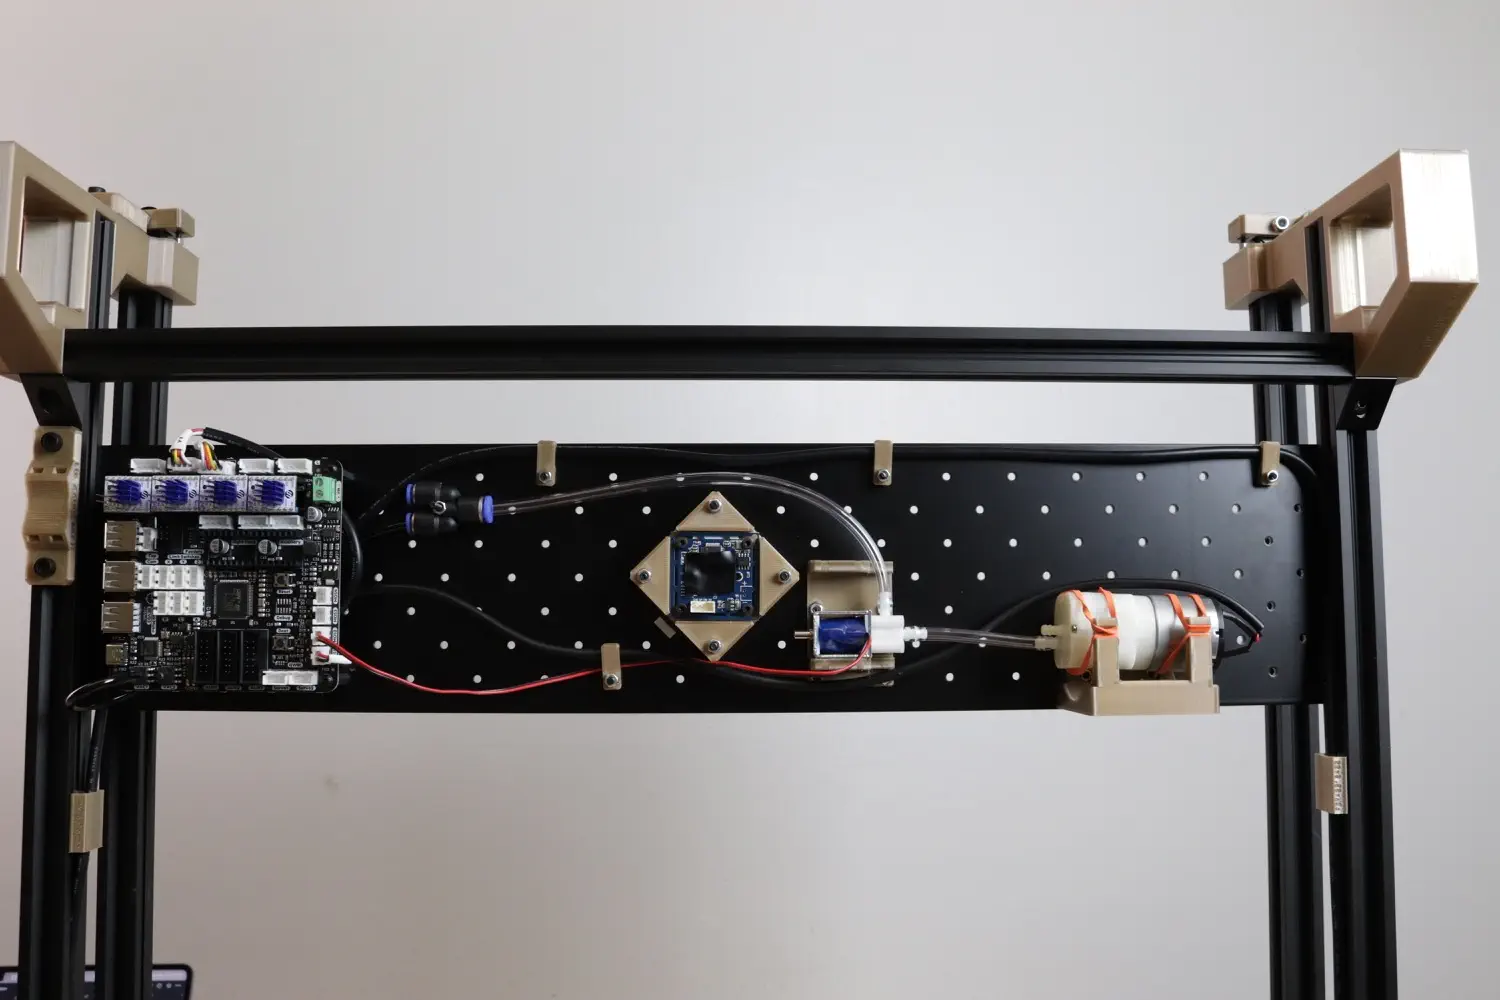
Use three
Cable Clamps, three M3x14mm bolts, and three M3 nuts to hold the right side cable on the staging plate and route it towards the motherboard neatly.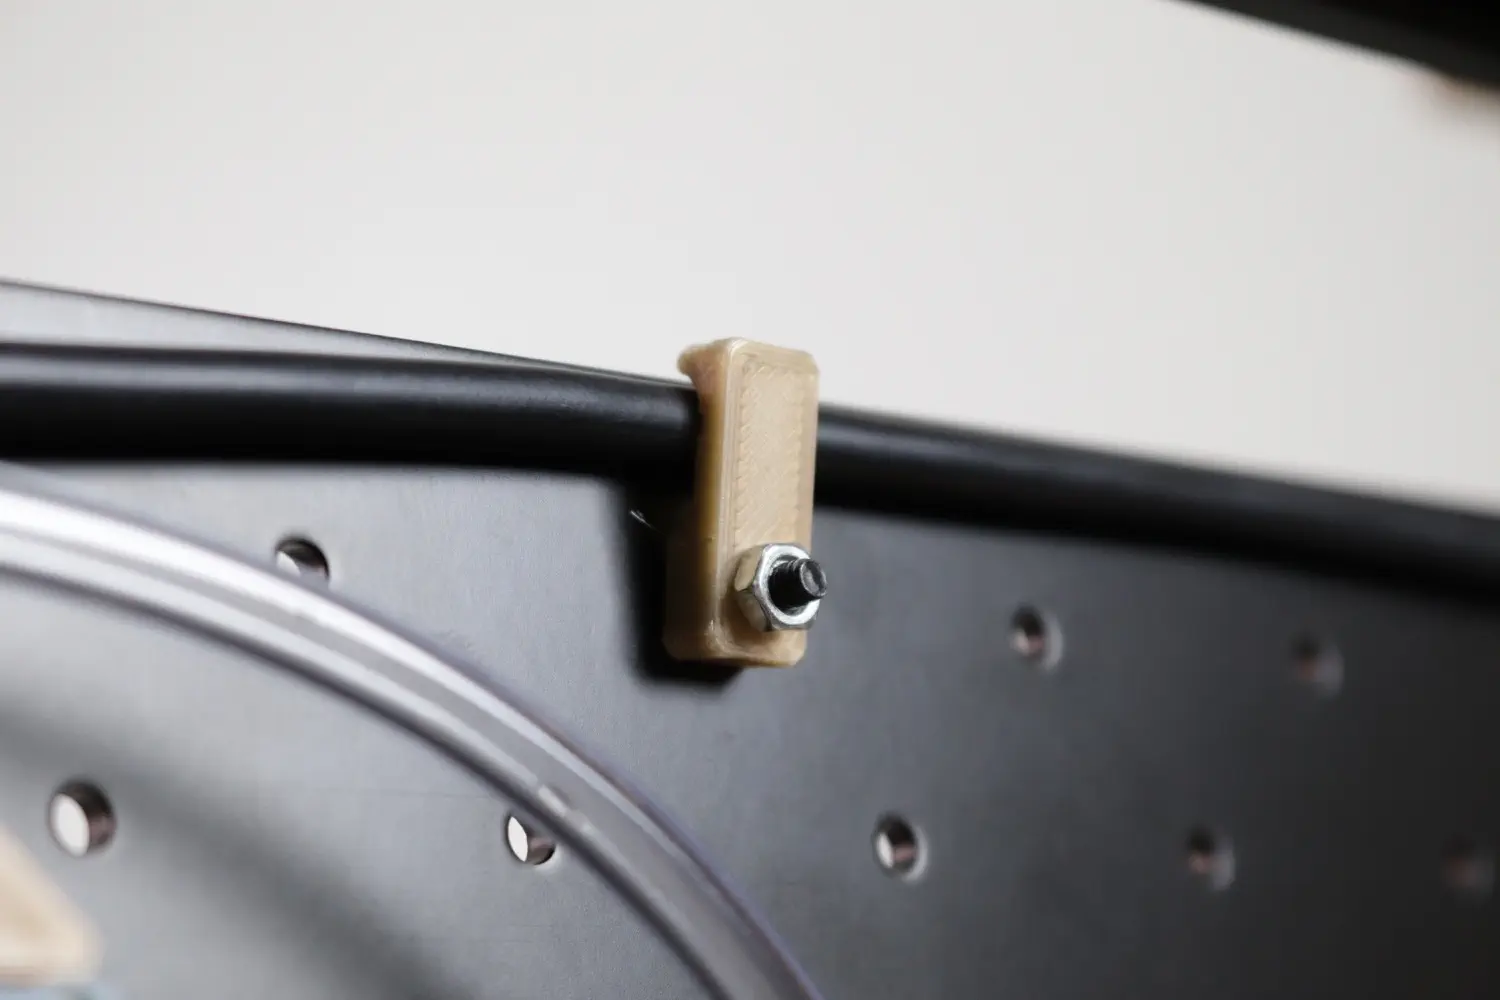
-
Route the cables underneath the motherboard for now; we'll plug them in in a later step.
Next steps
Continue to sheathing the umbilicals.