Calibrating Backlash Compensation
This calibration is not needed. Semi-assembled (v3) LumenPnP machines should have only a limited amount of backlash in each axis and the default machine configuration in OpenPnP already applies a consistent, tested backlash compensation. We highly recommend using the settings below for your X and Y axes instead.
If you still want to perform this calibration, use the instructions below and read the OpenPnP docs page about automatic backlash compensation here.
Set Up Acceleration Control
-
Click on the
Machine Setuptab in the top right pane.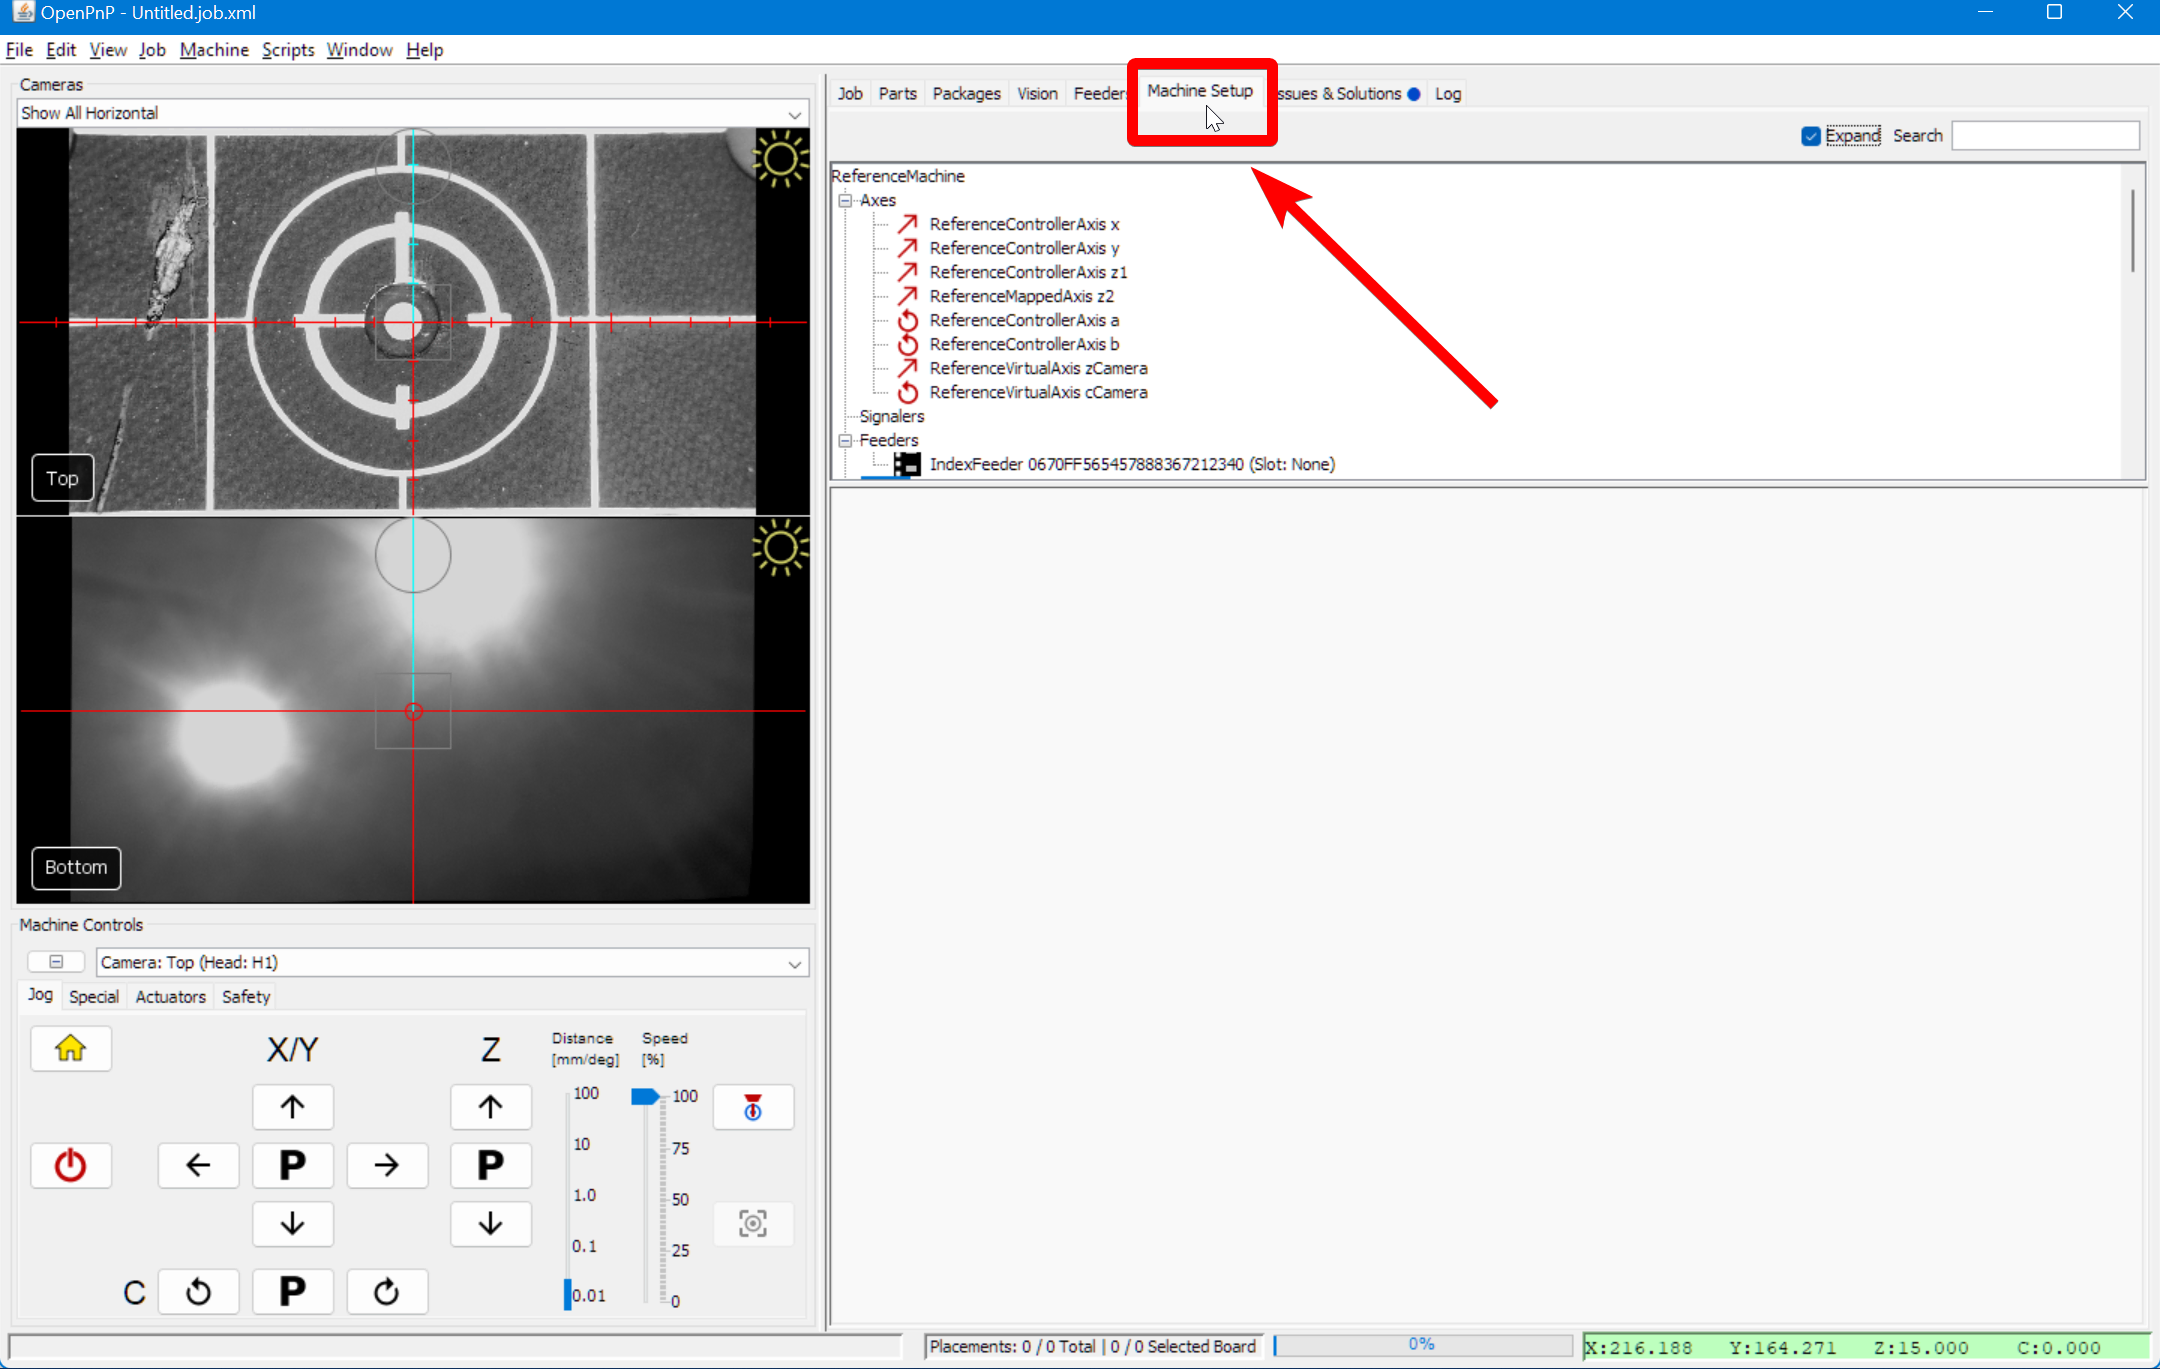
-
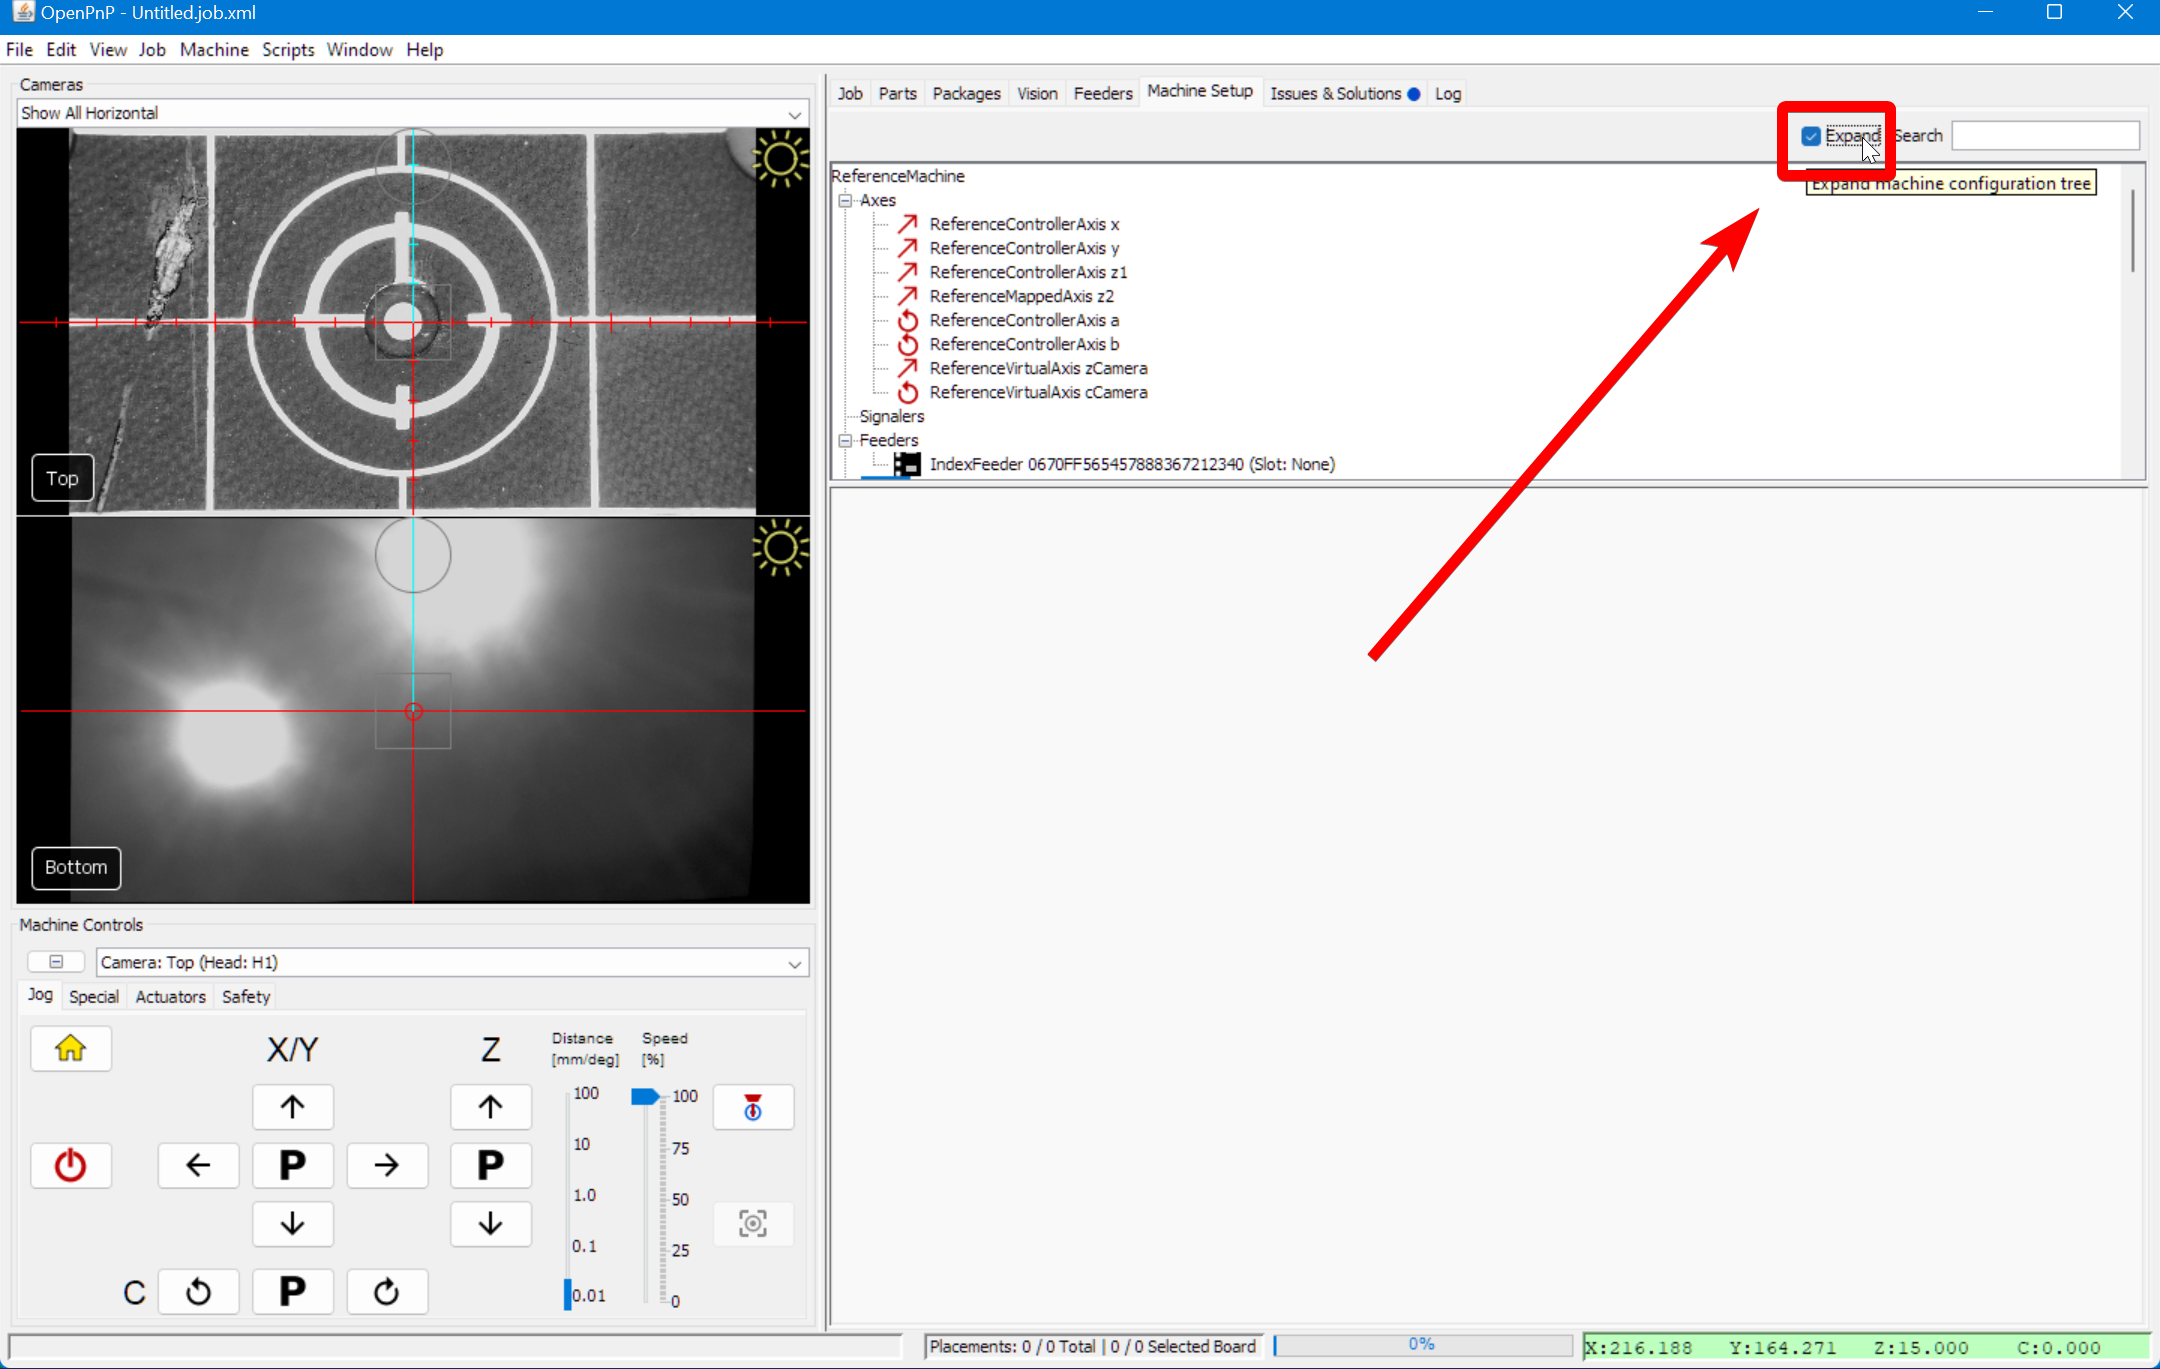
Click on the "Expand" checkbox if necessary.
-
Select
GcodeDriver GcodeDriverfrom the list.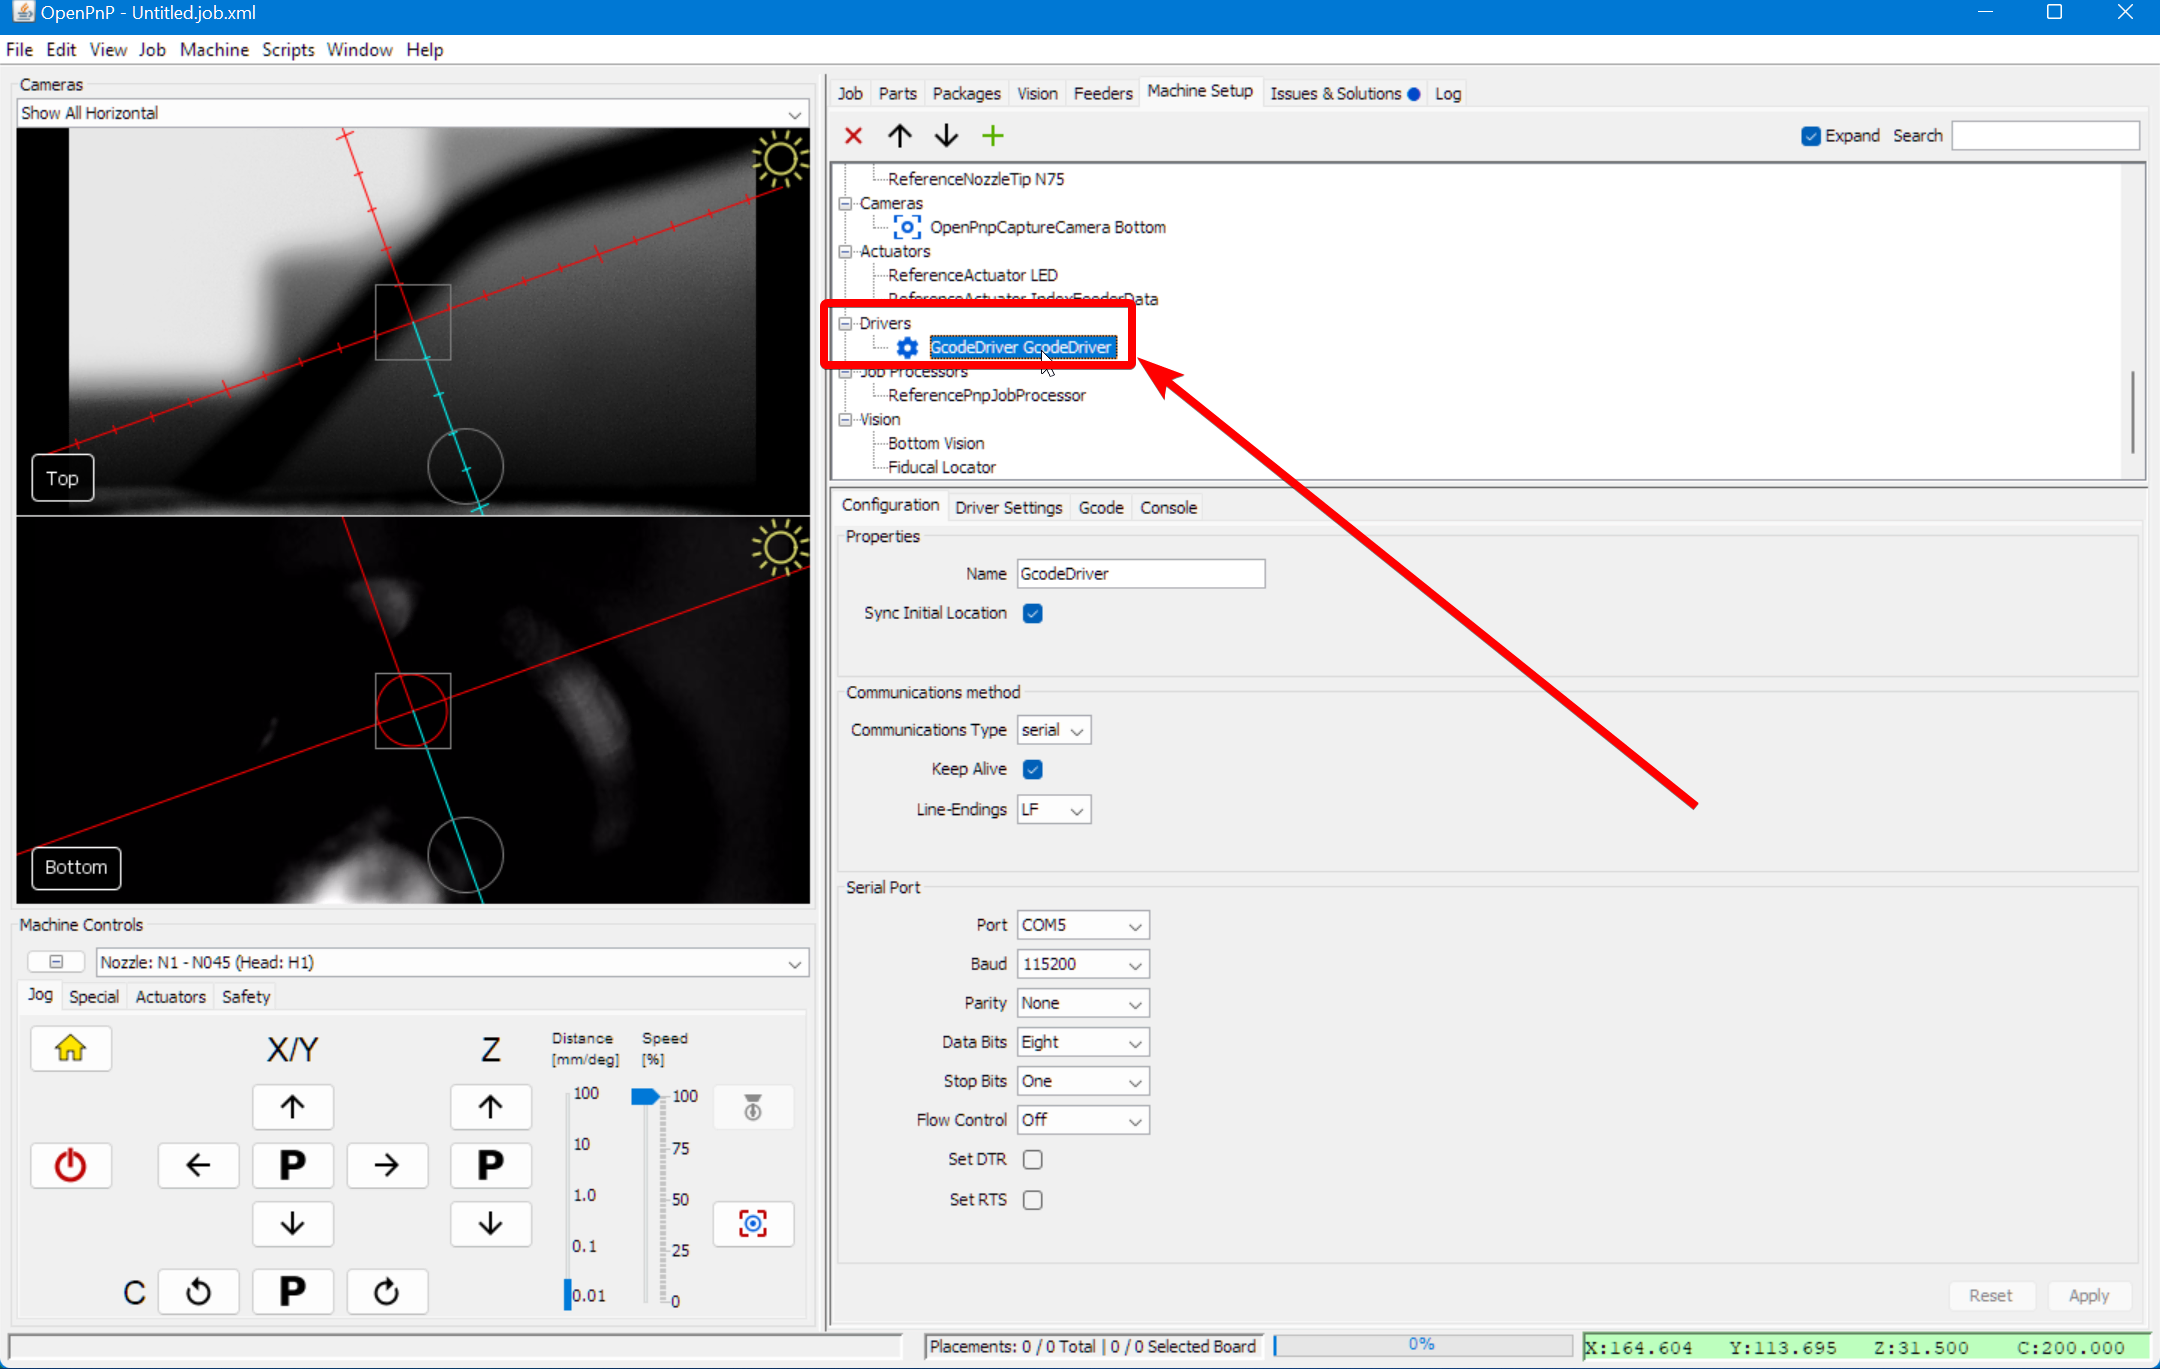
-
Switch to the
gcodetab.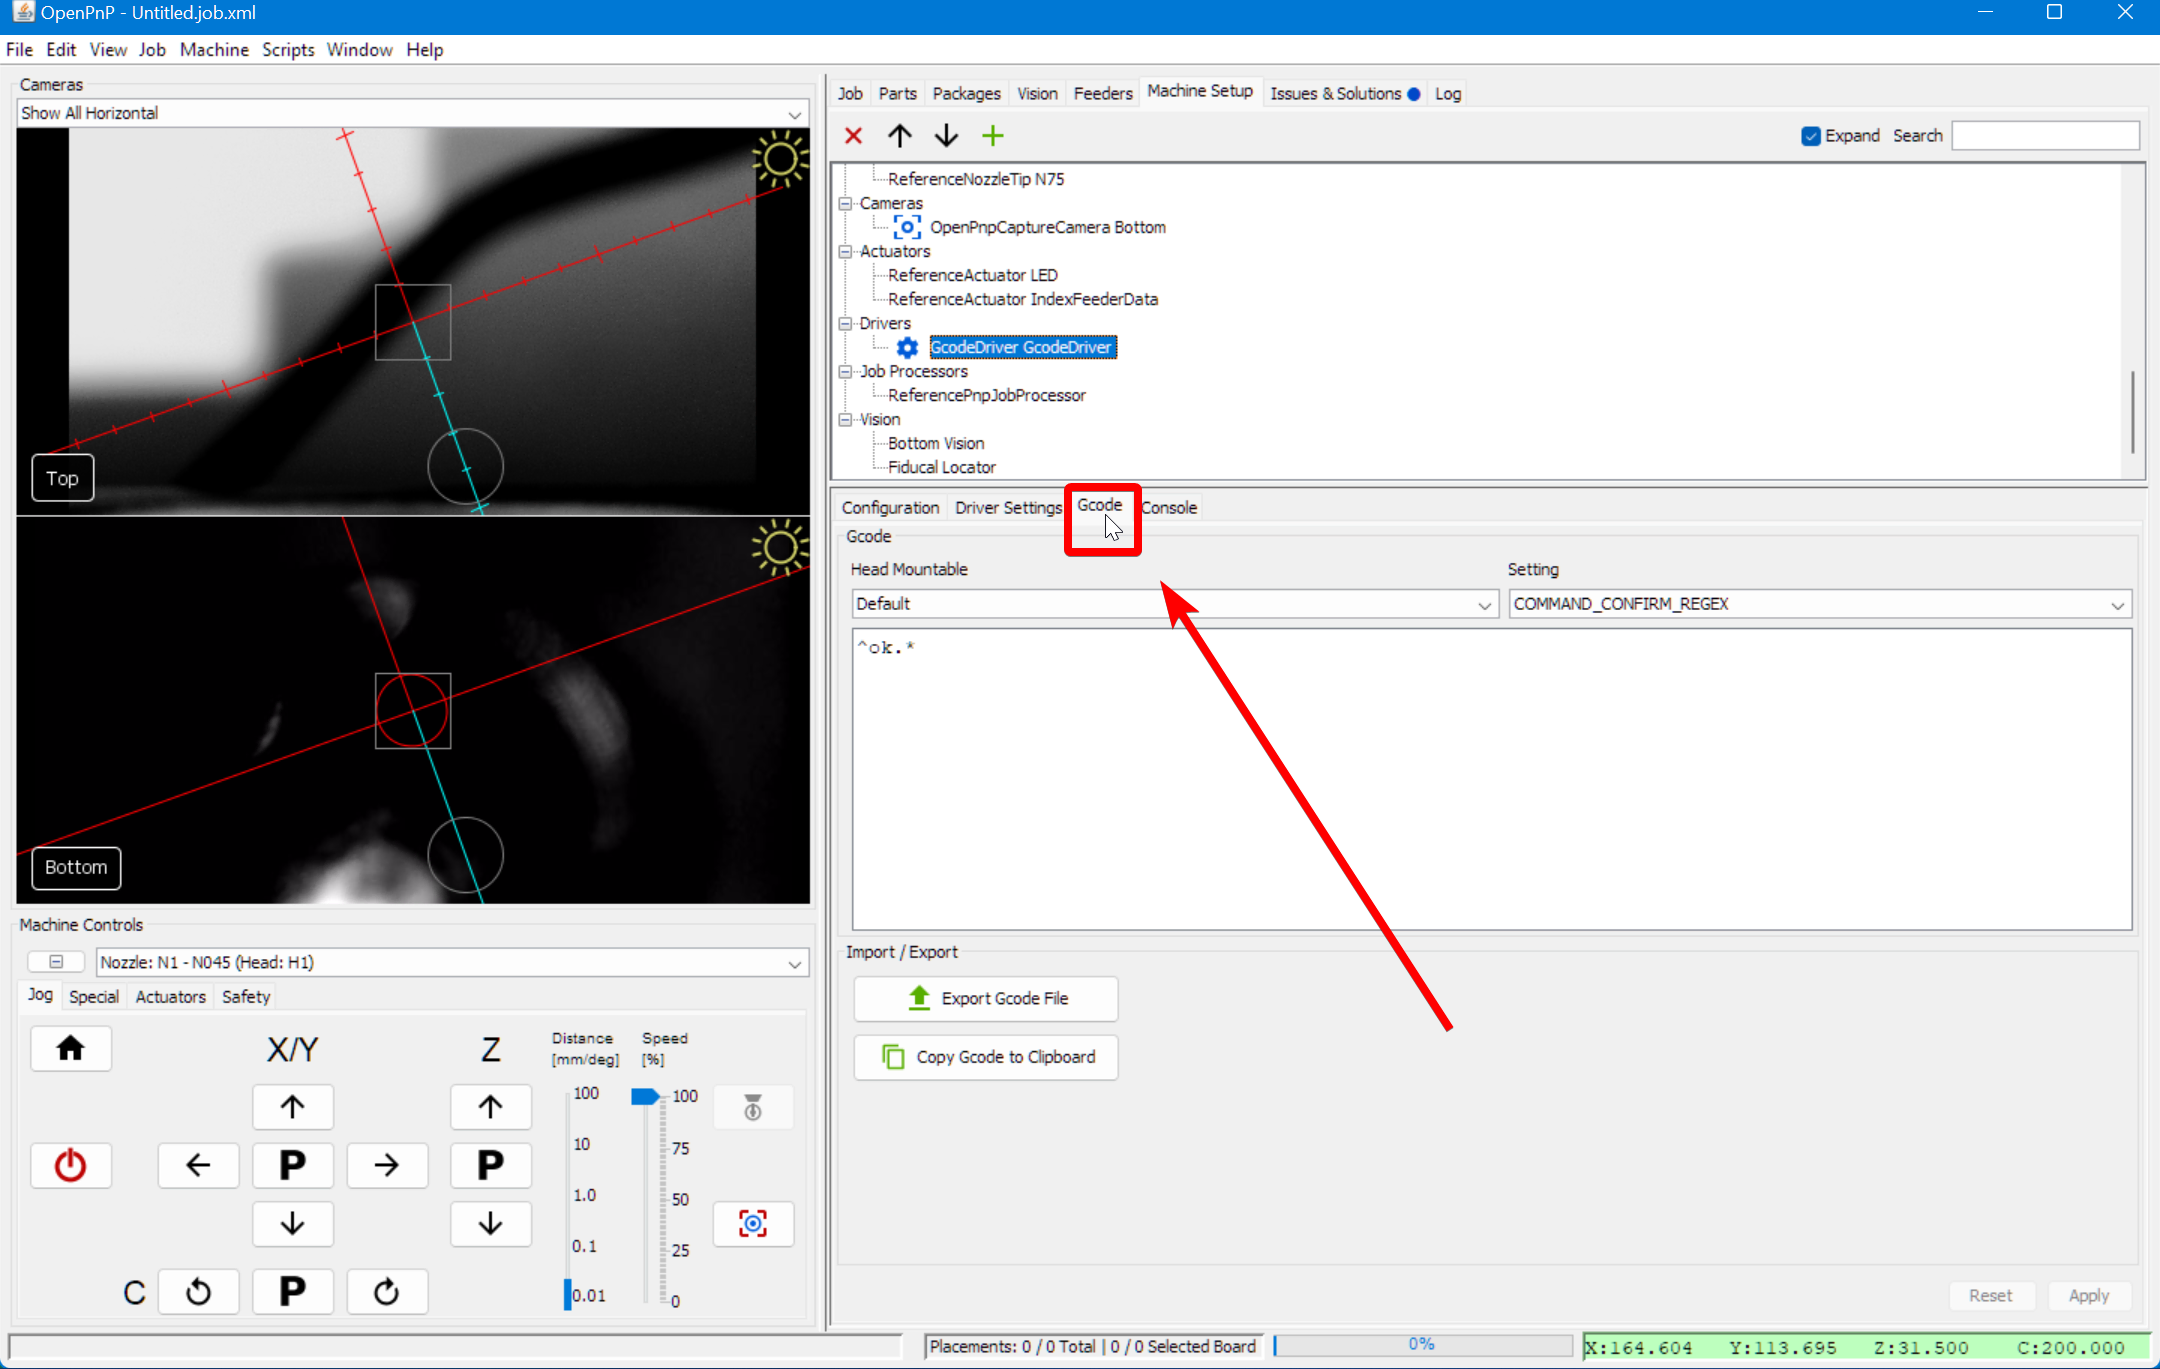
-
Select
MOVE_TO_COMMANDin the setting drop-down.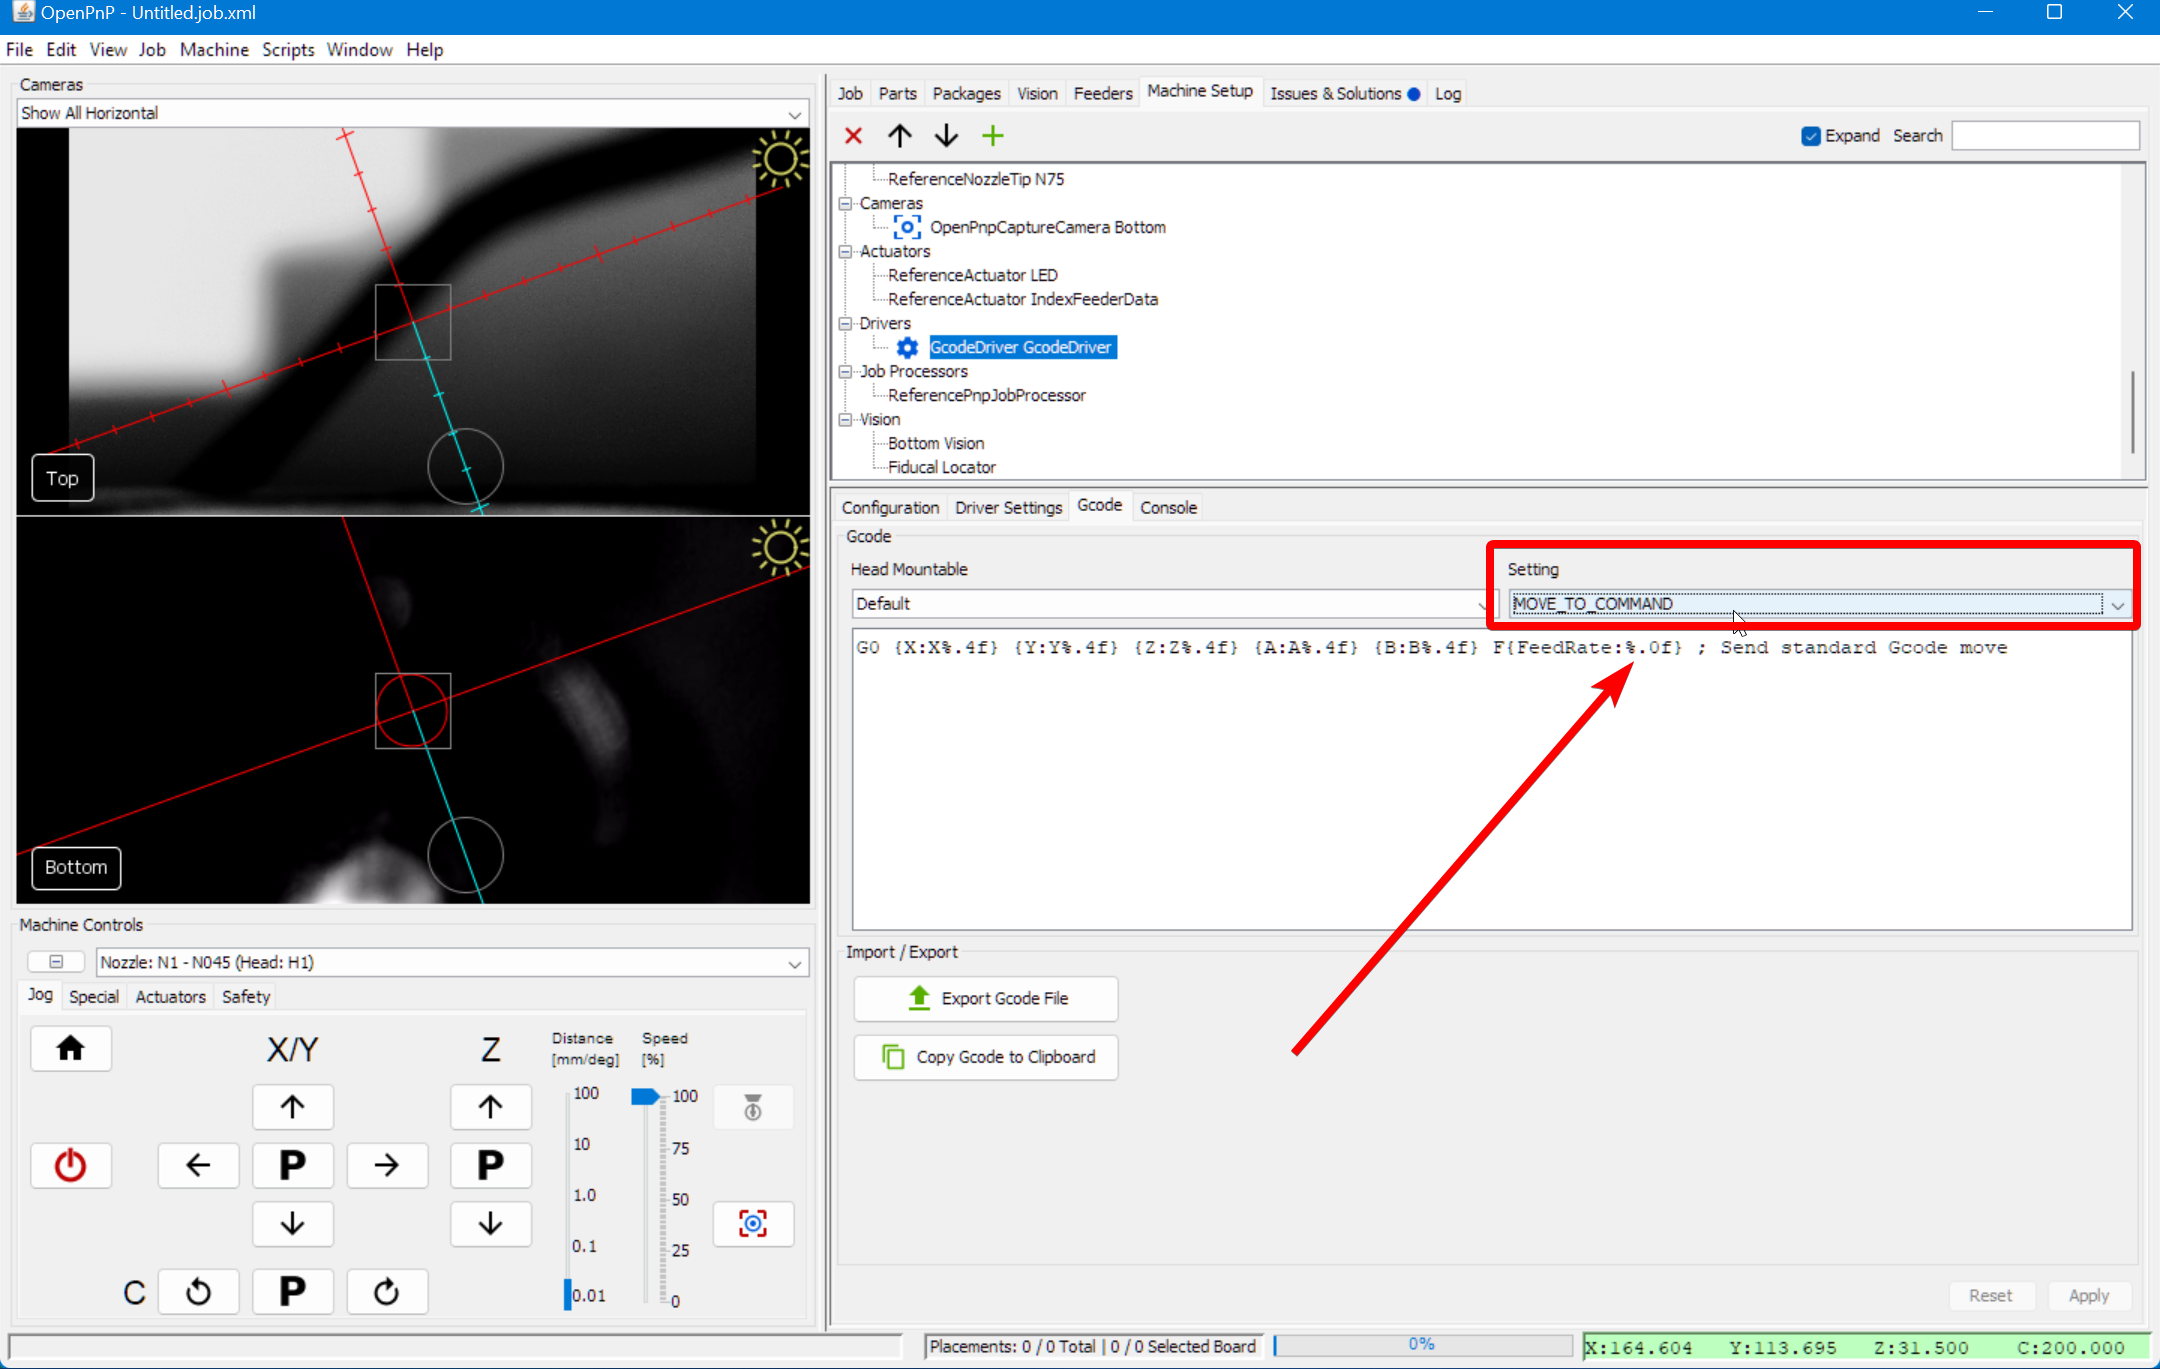
-
Paste the following into the large text box:
{Acceleration:M204 S%.2f}
G1 {X:X%.4f} {Y:Y%.4f} {Z:Z%.4f} {A:A%.4f} {B:B%.4f} {FeedRate:F%.2f} ; move to target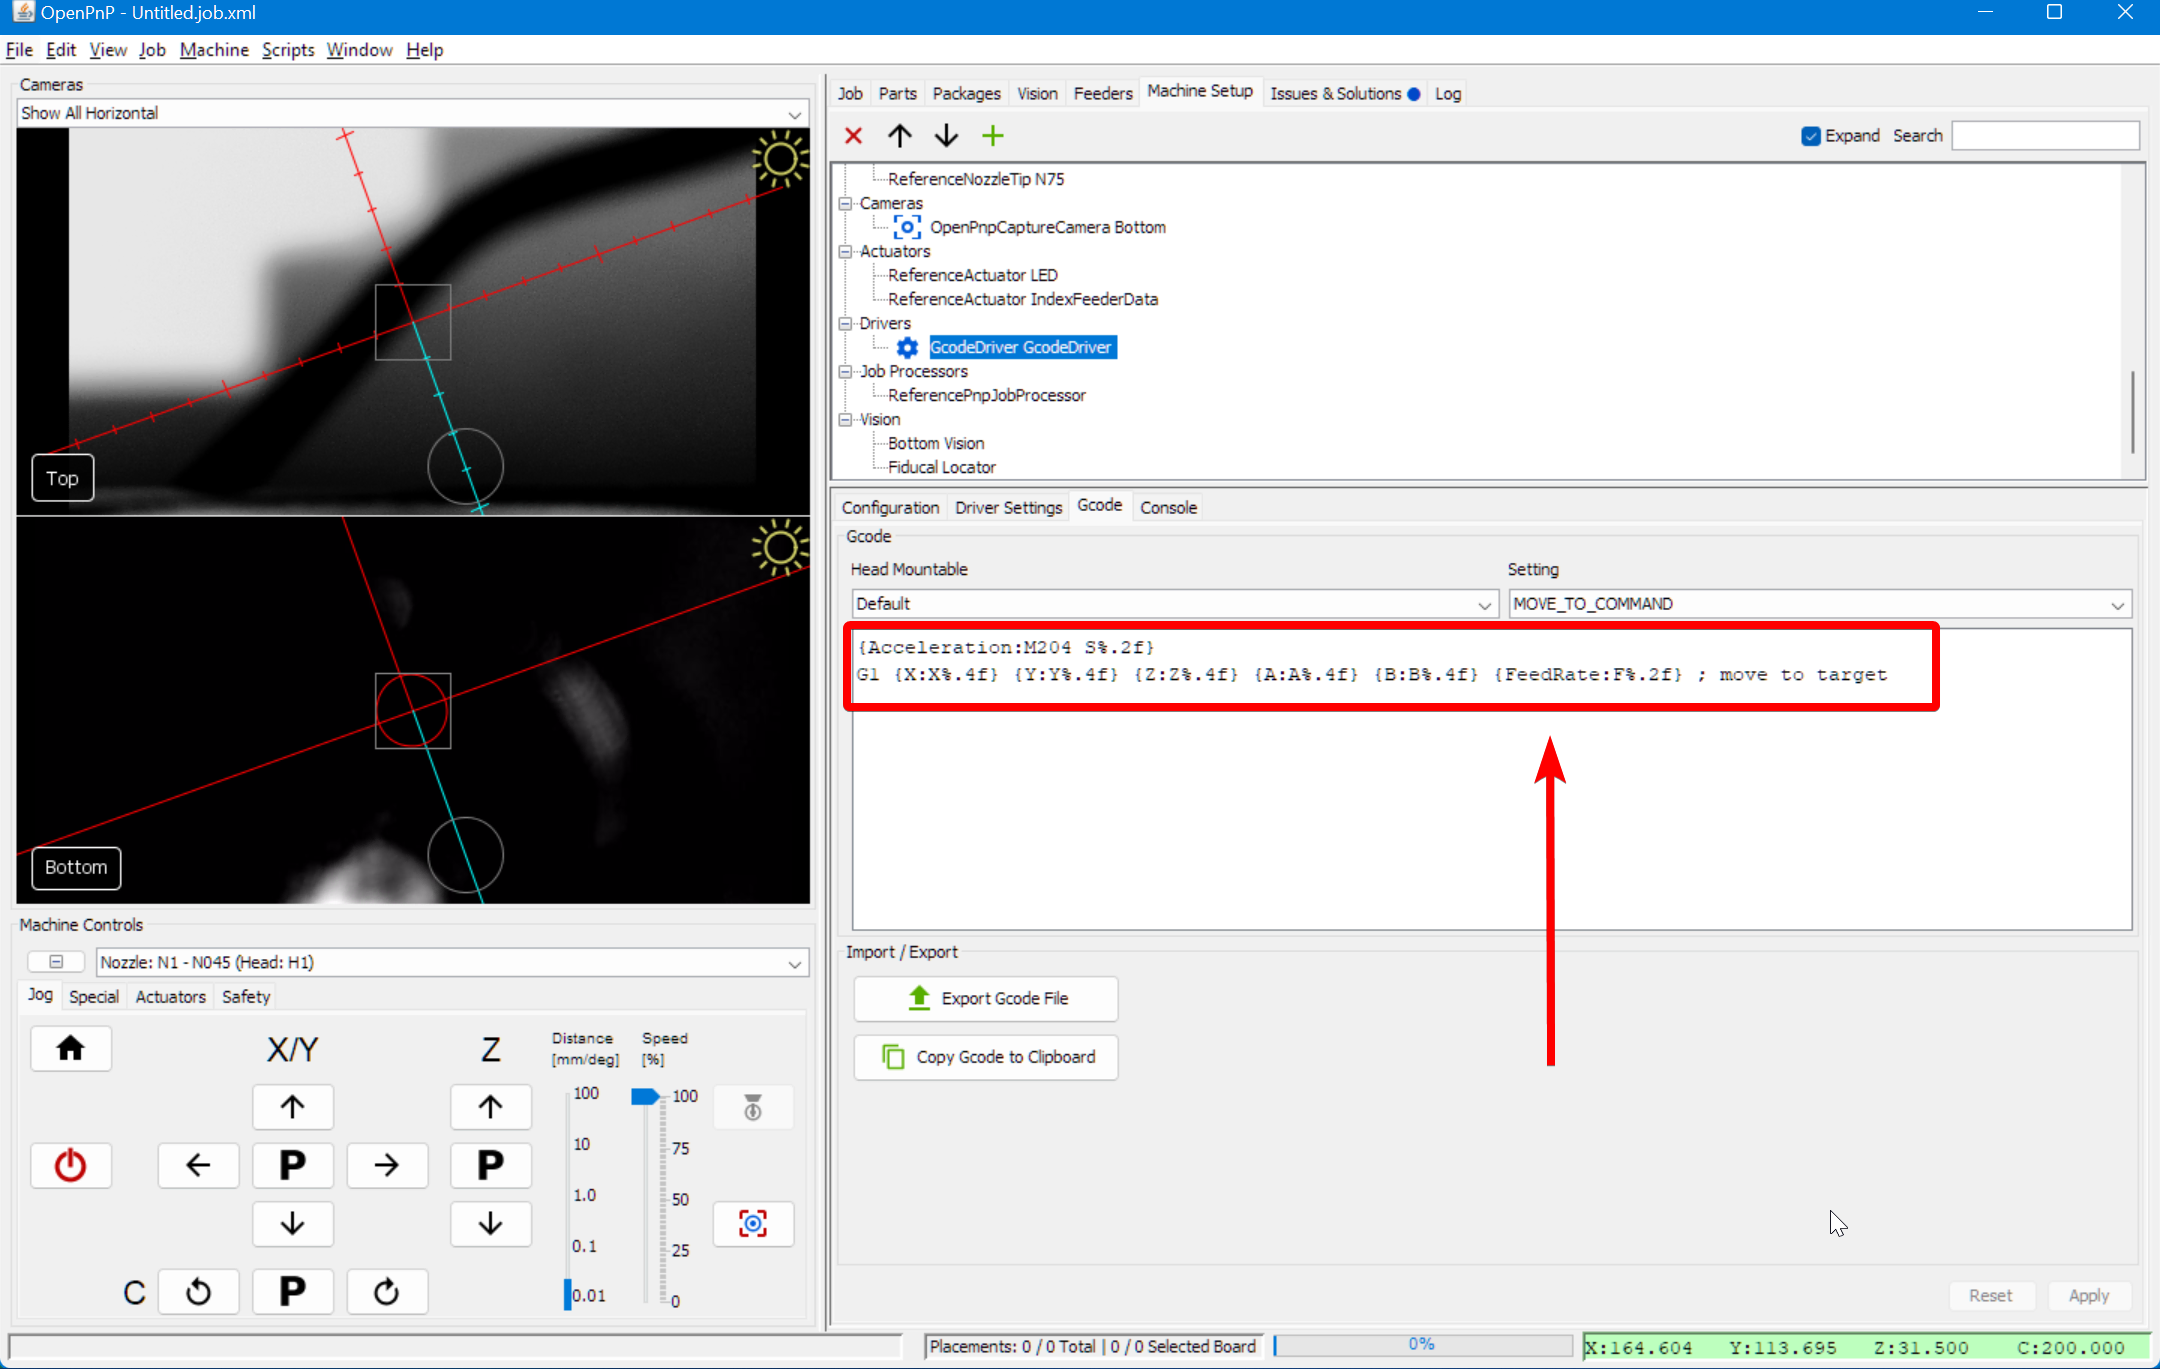
-
Click
Applyto save your changes.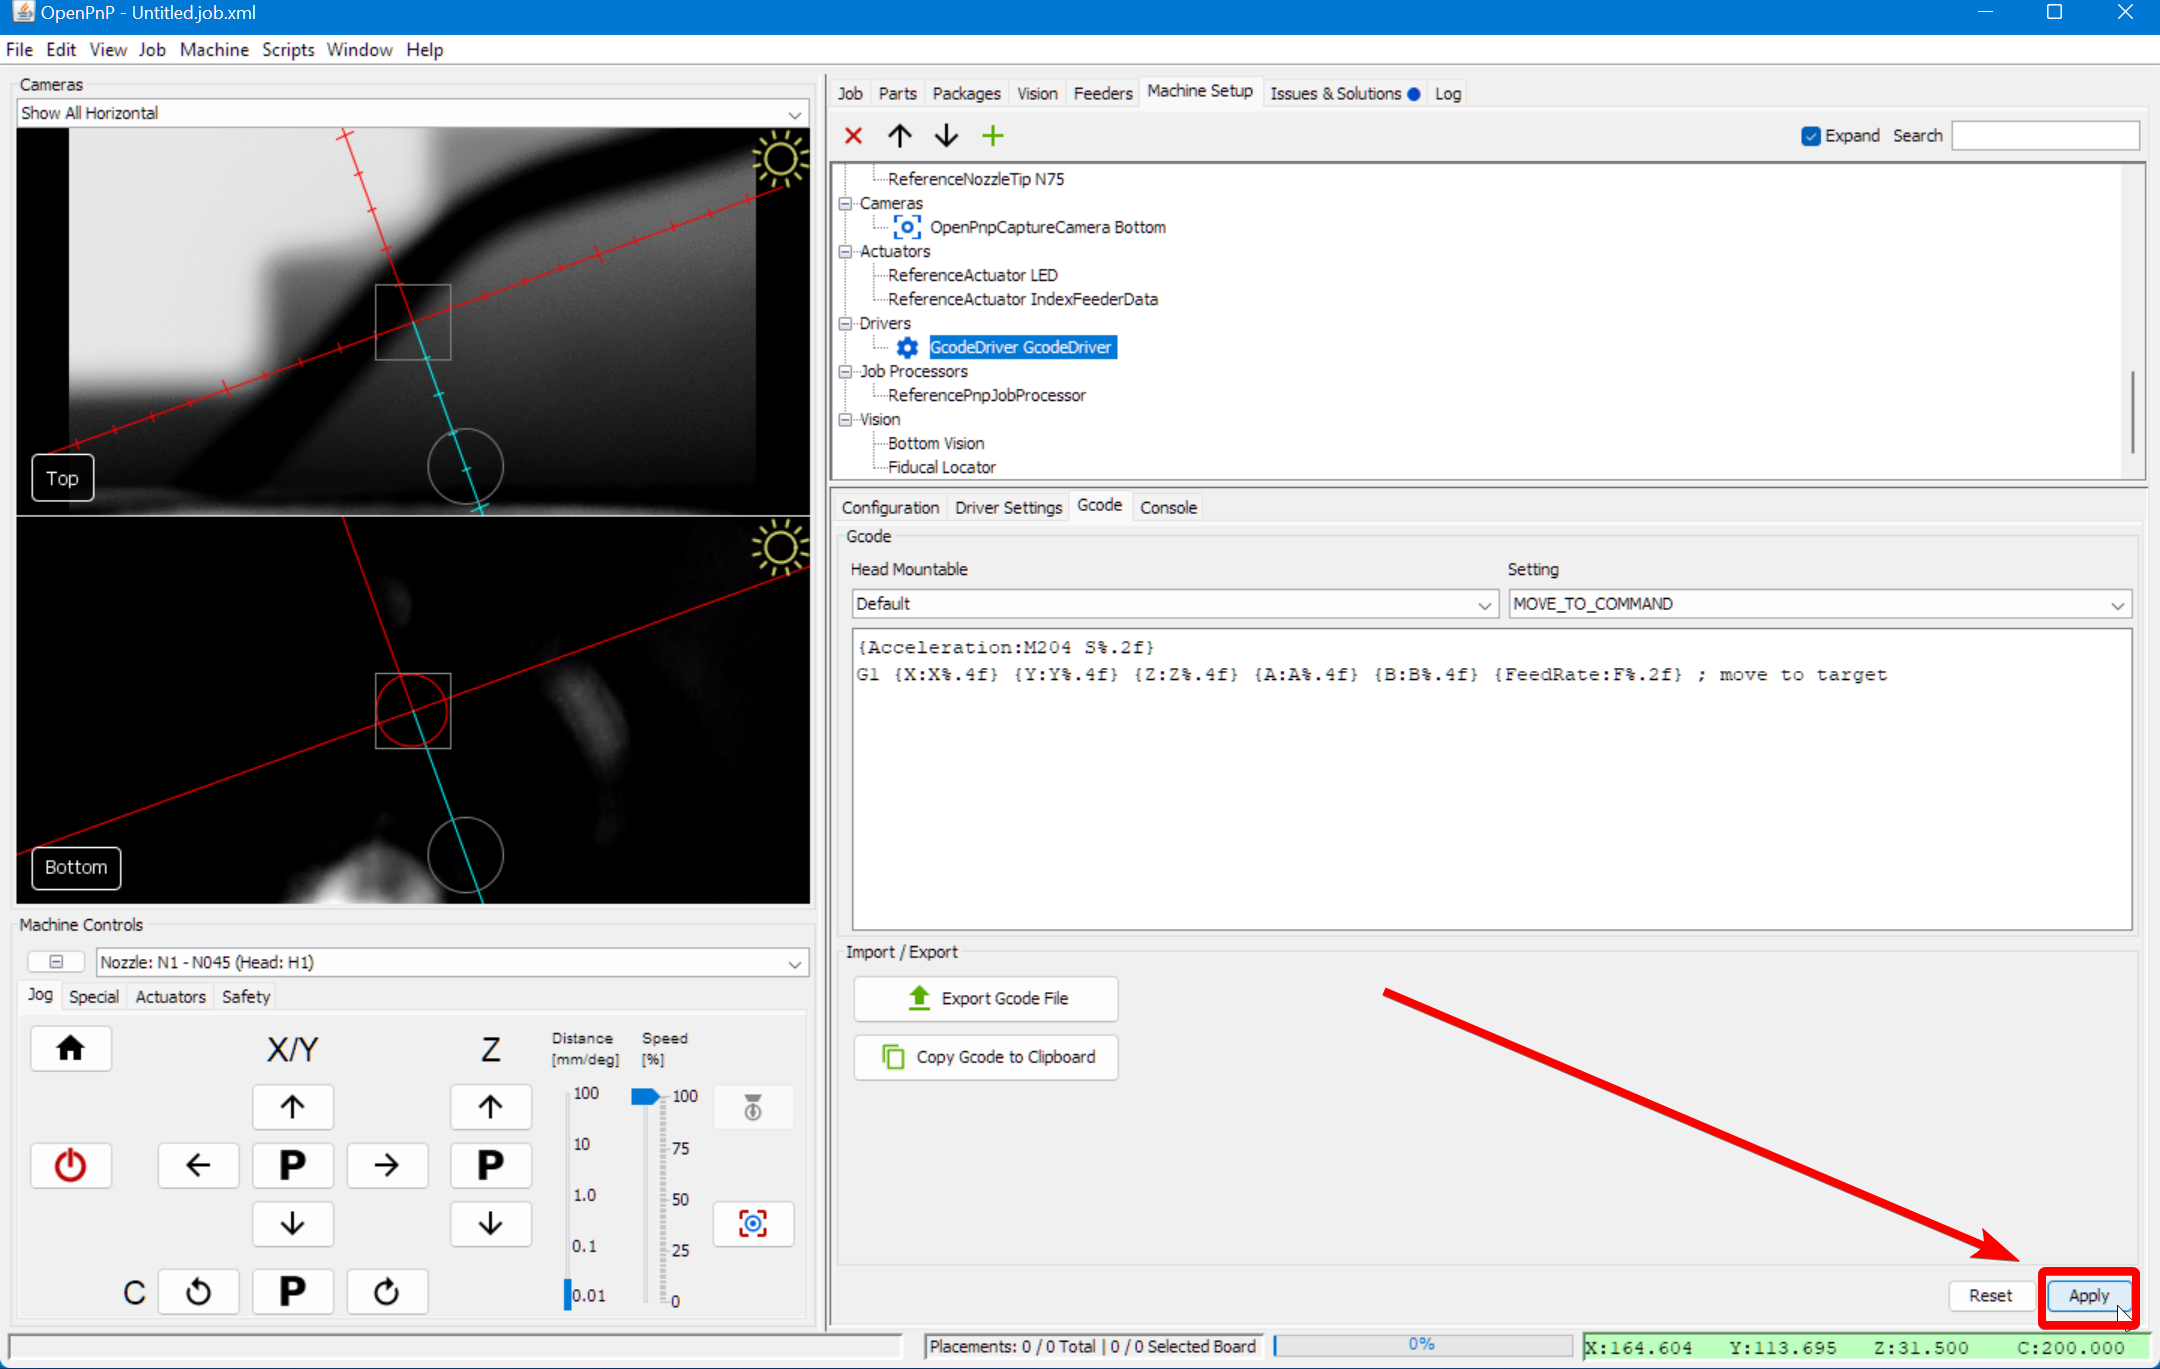
-
Switch to the
Driver Settingstab.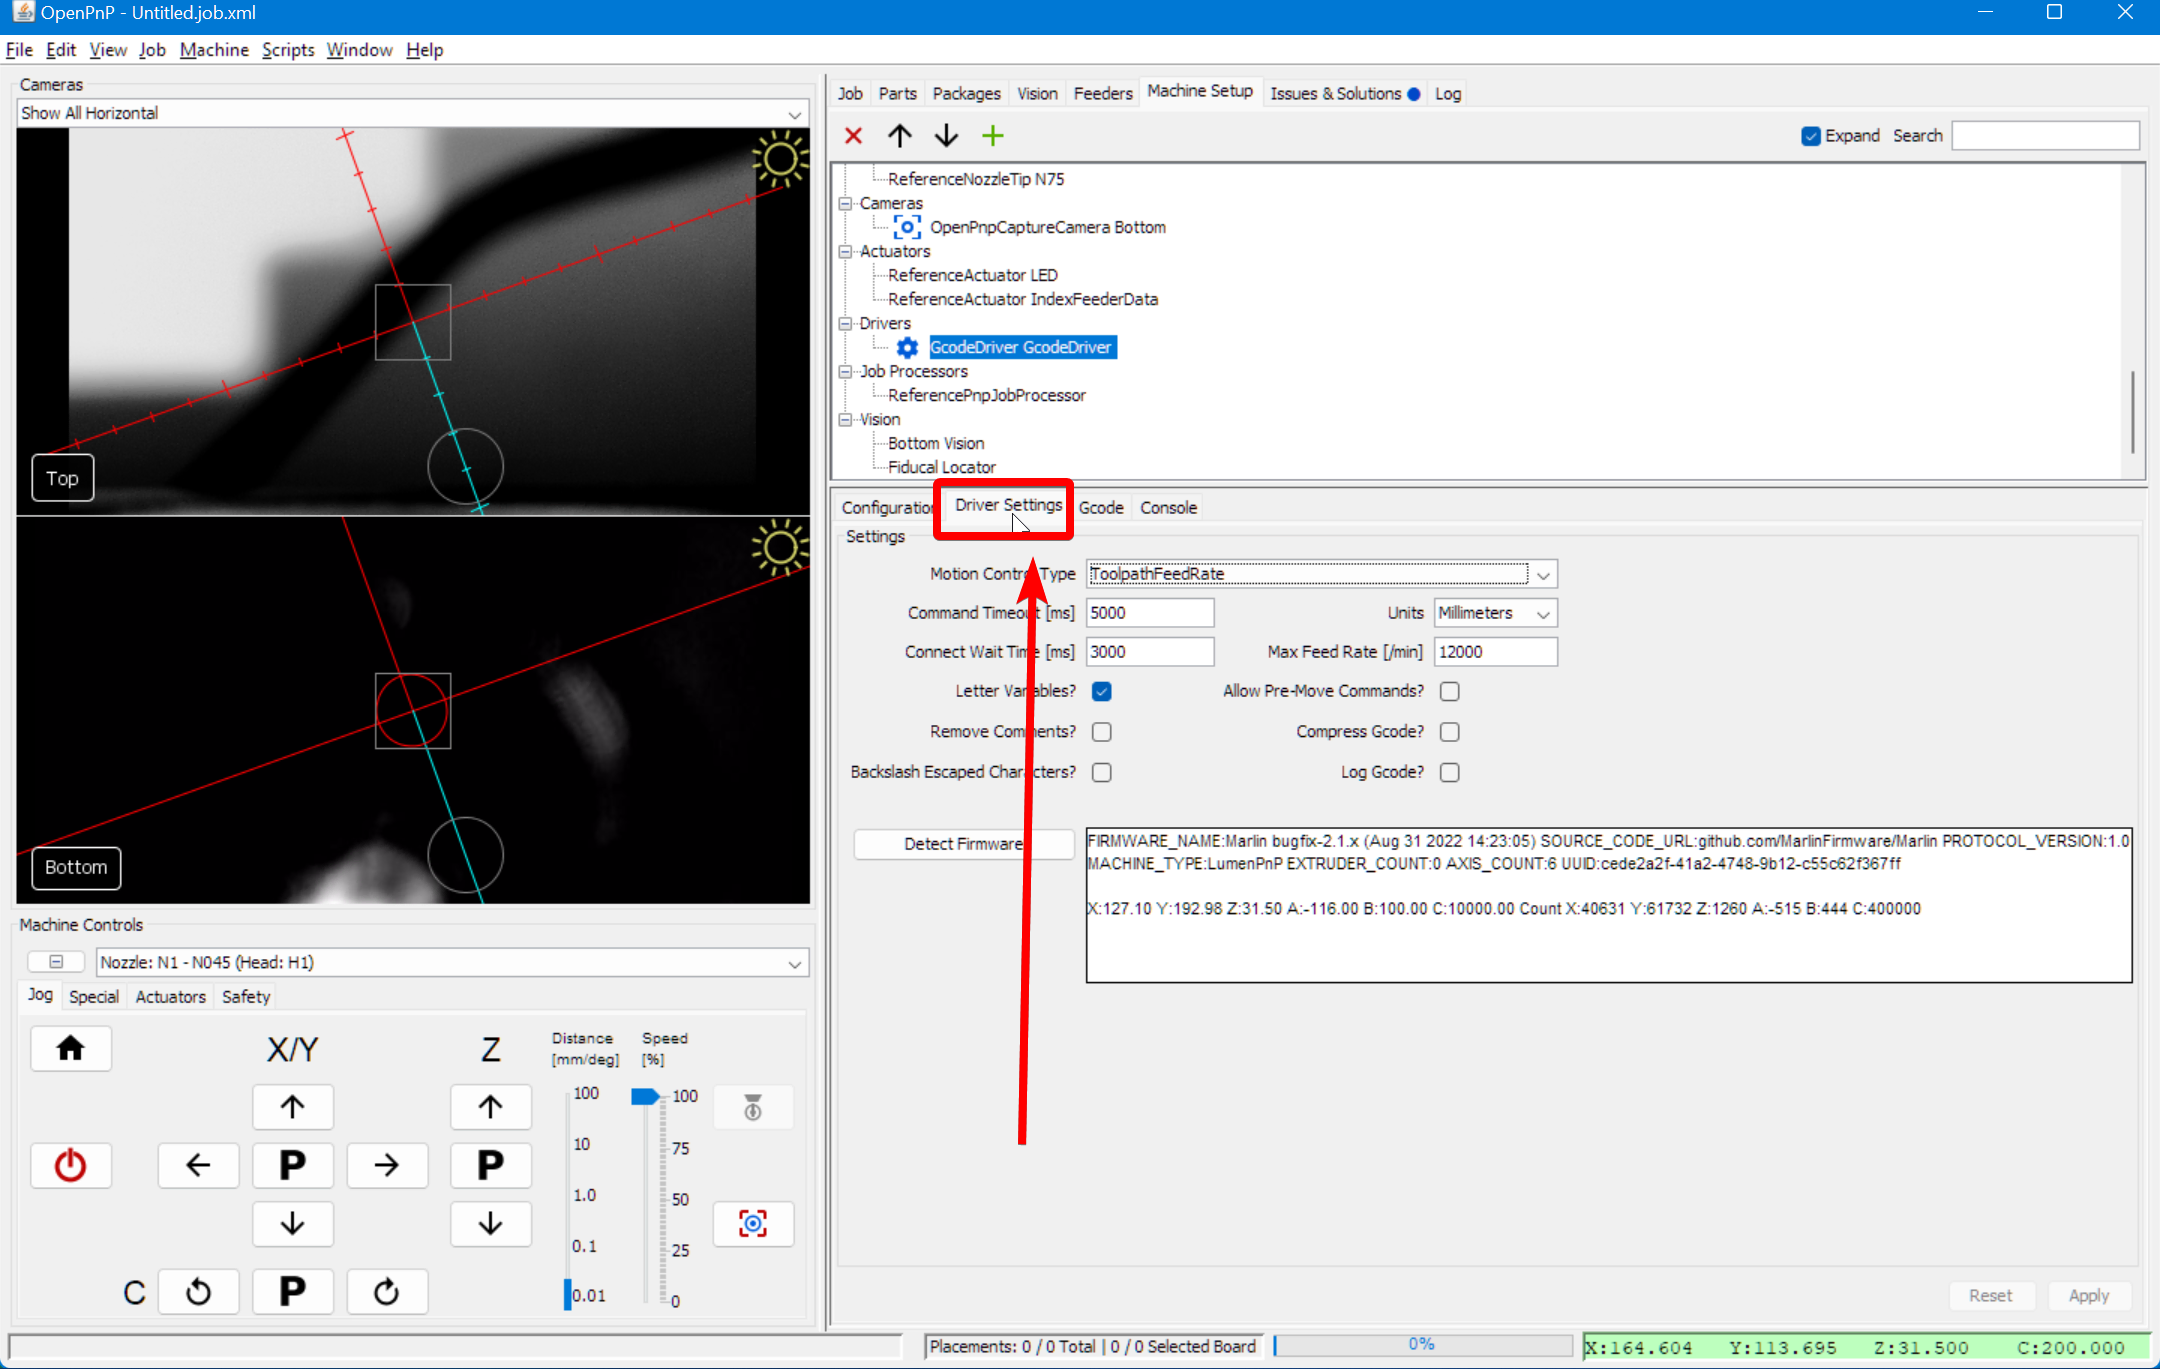
-
Change the Motion Control Type to
ConstantAcceleration. Note that you may want to change this back toToolpathFeedRatewhen you're done running the backlash calibration.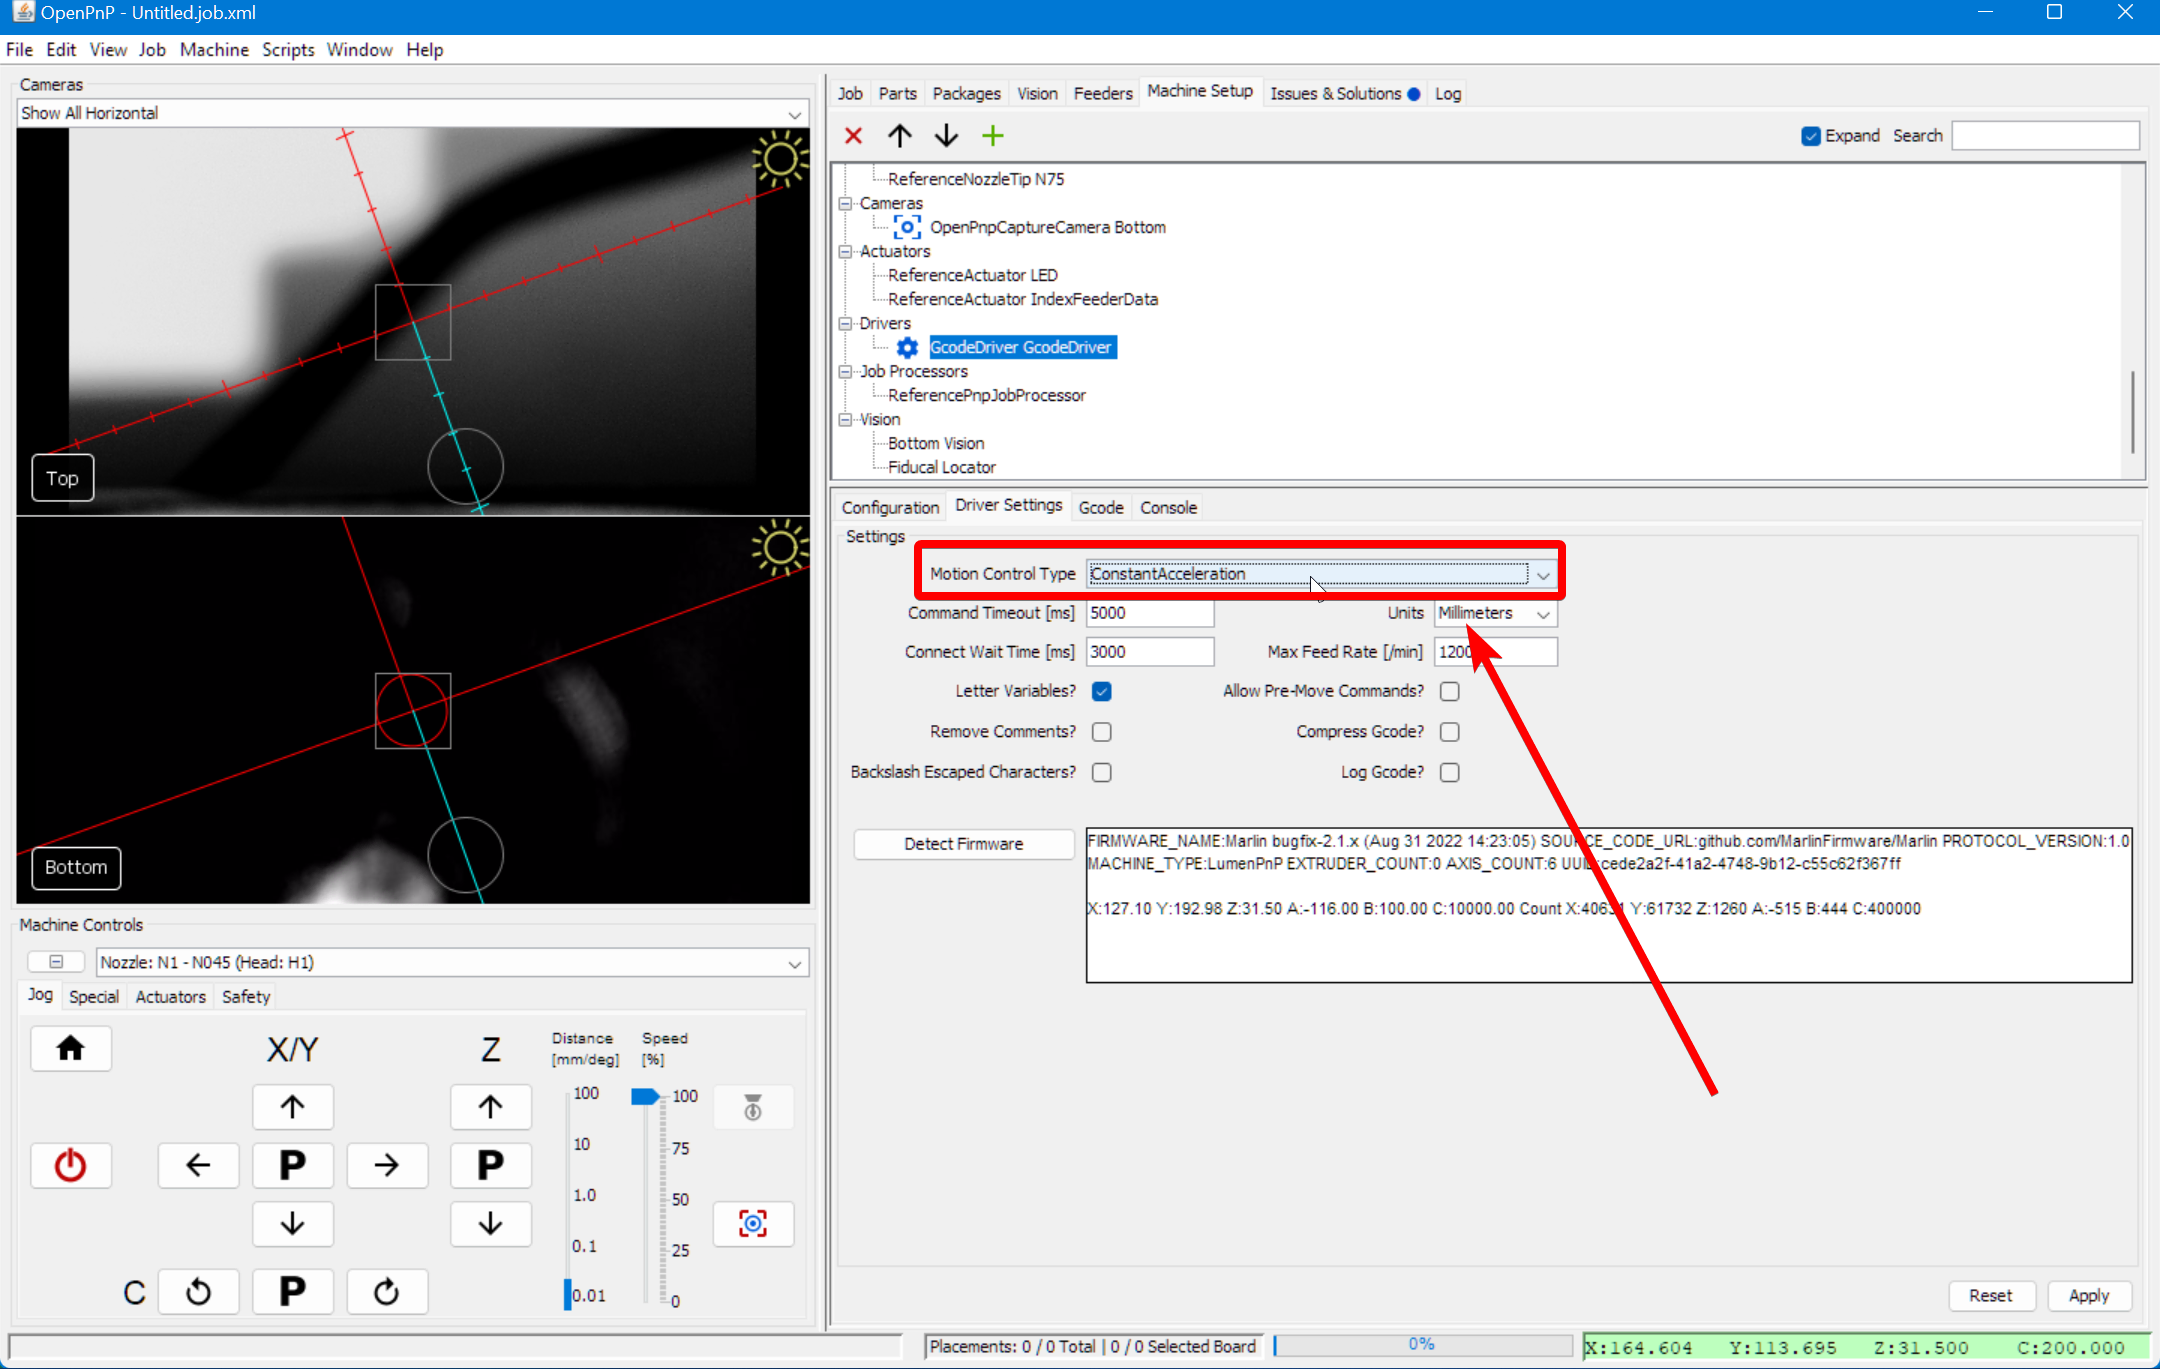
Command Timeout
You also might need to increase your
Command Timeoutvalue in this tab. Try increasing it to 10000 ms to ensure OpenPnP doesn't timeout during calibration. -
Click
Applyto save your changes.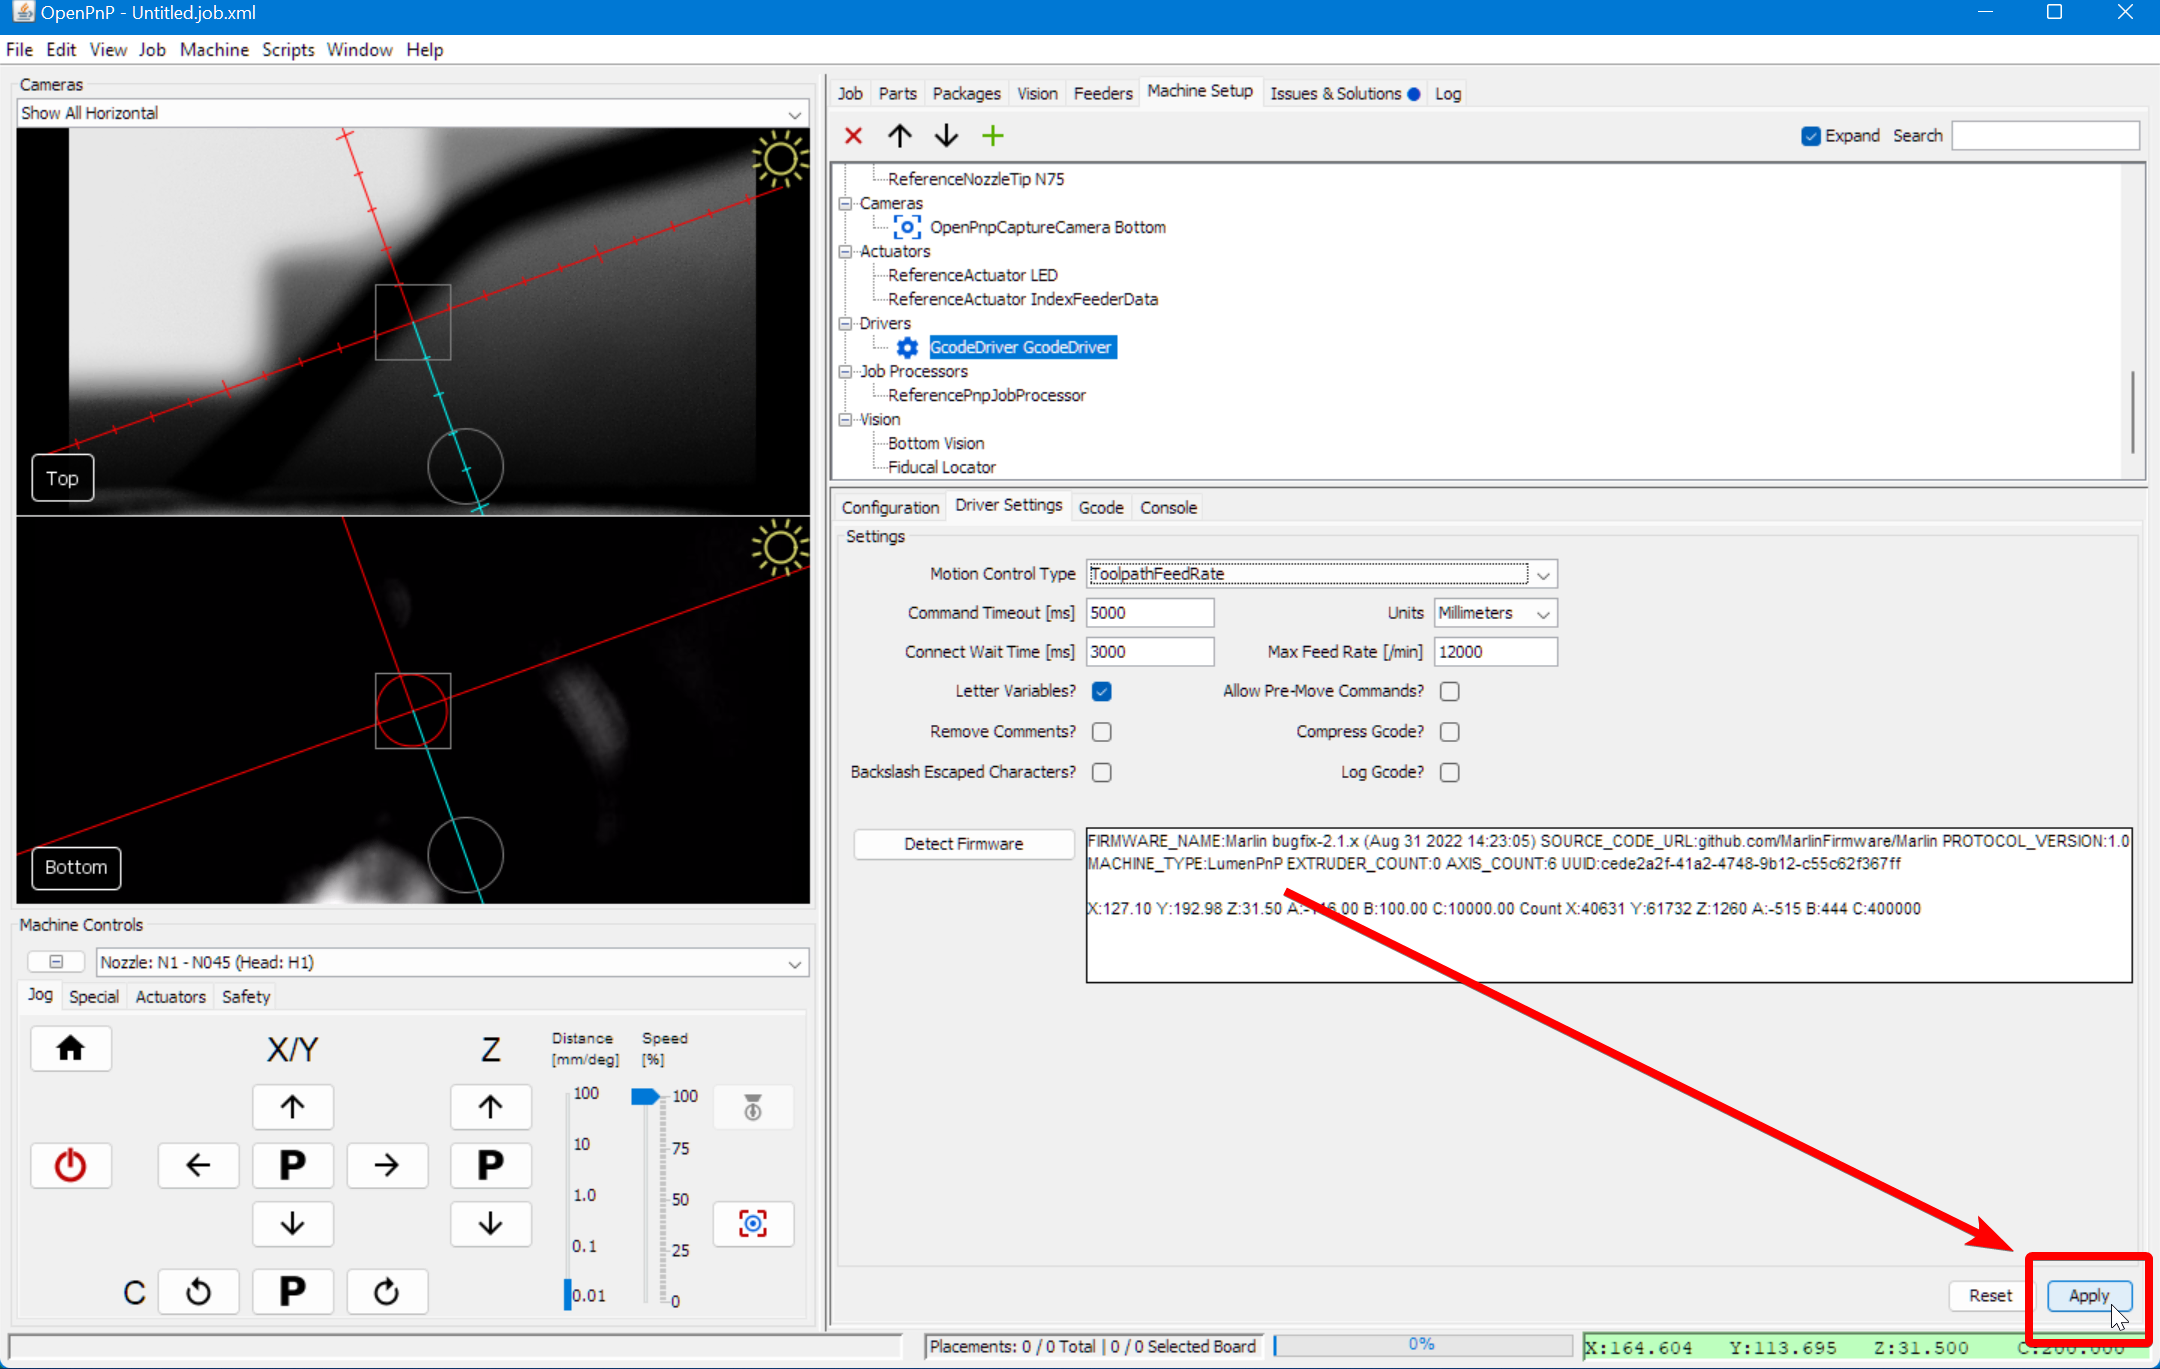
Running The Calibration
-
Click on the
Machine Setuptab in the top right pane. -
Click on the "Expand" if necessary.
-
Click on
Axes > ReferenceControllerAxisX.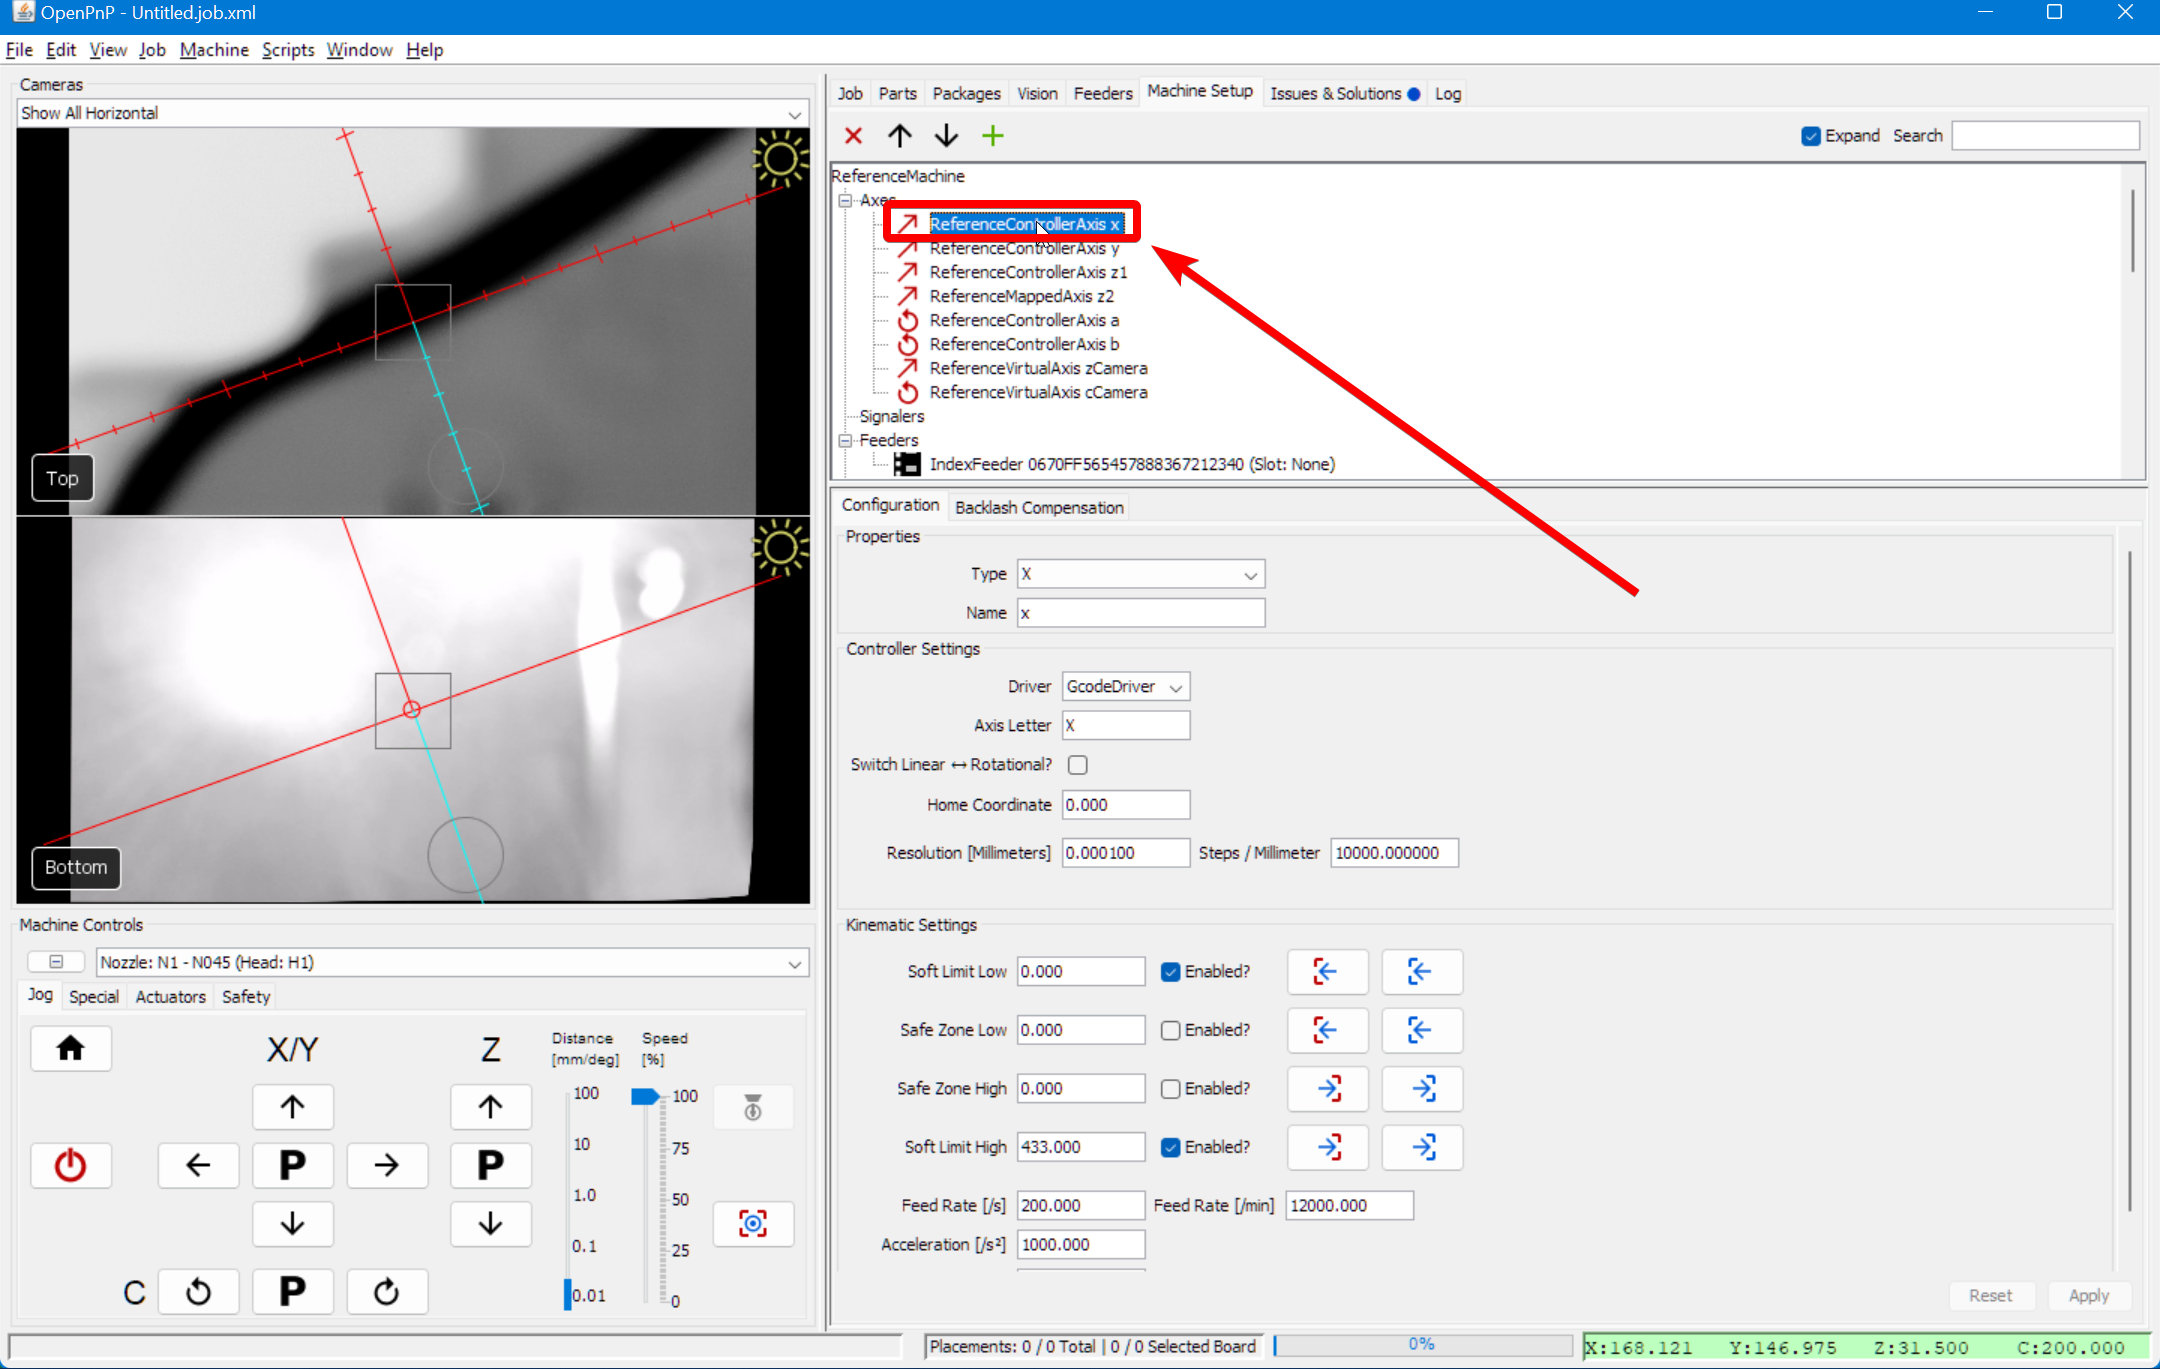
-
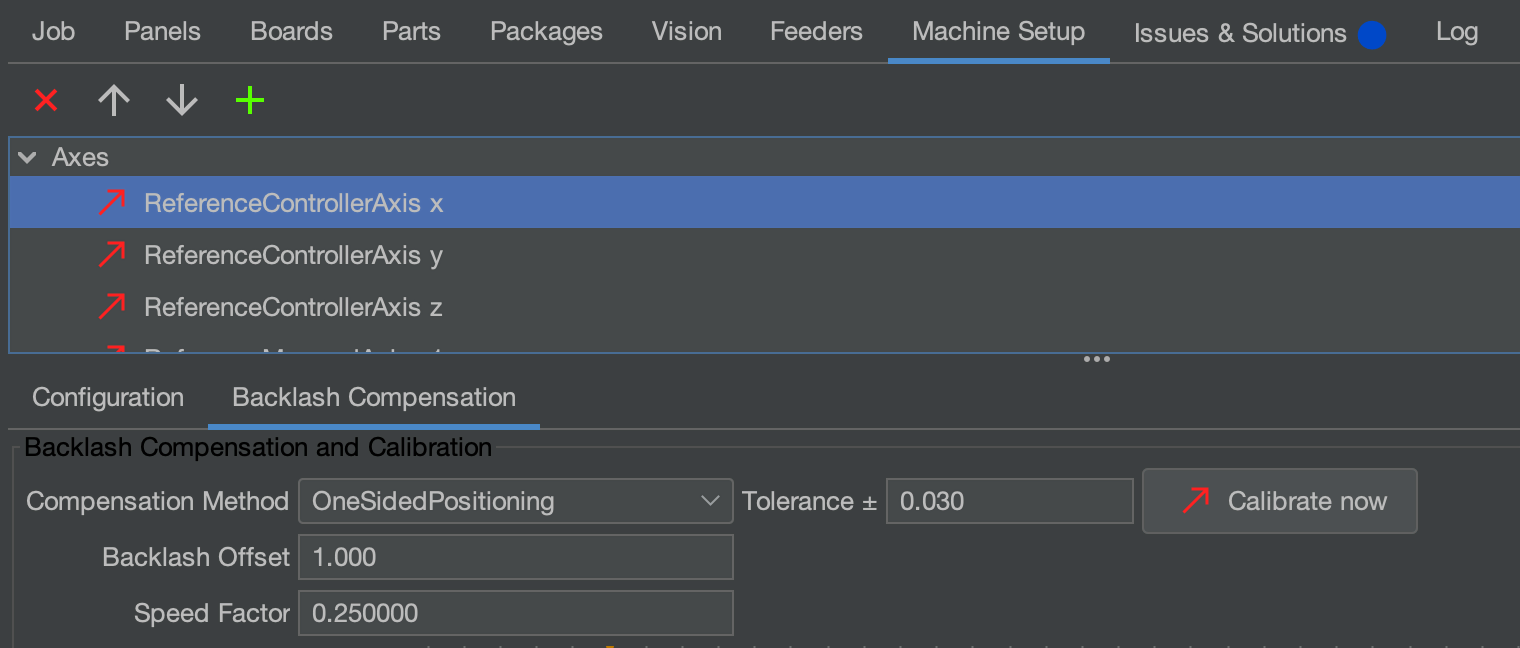
Select the
Backlash Compensationtab.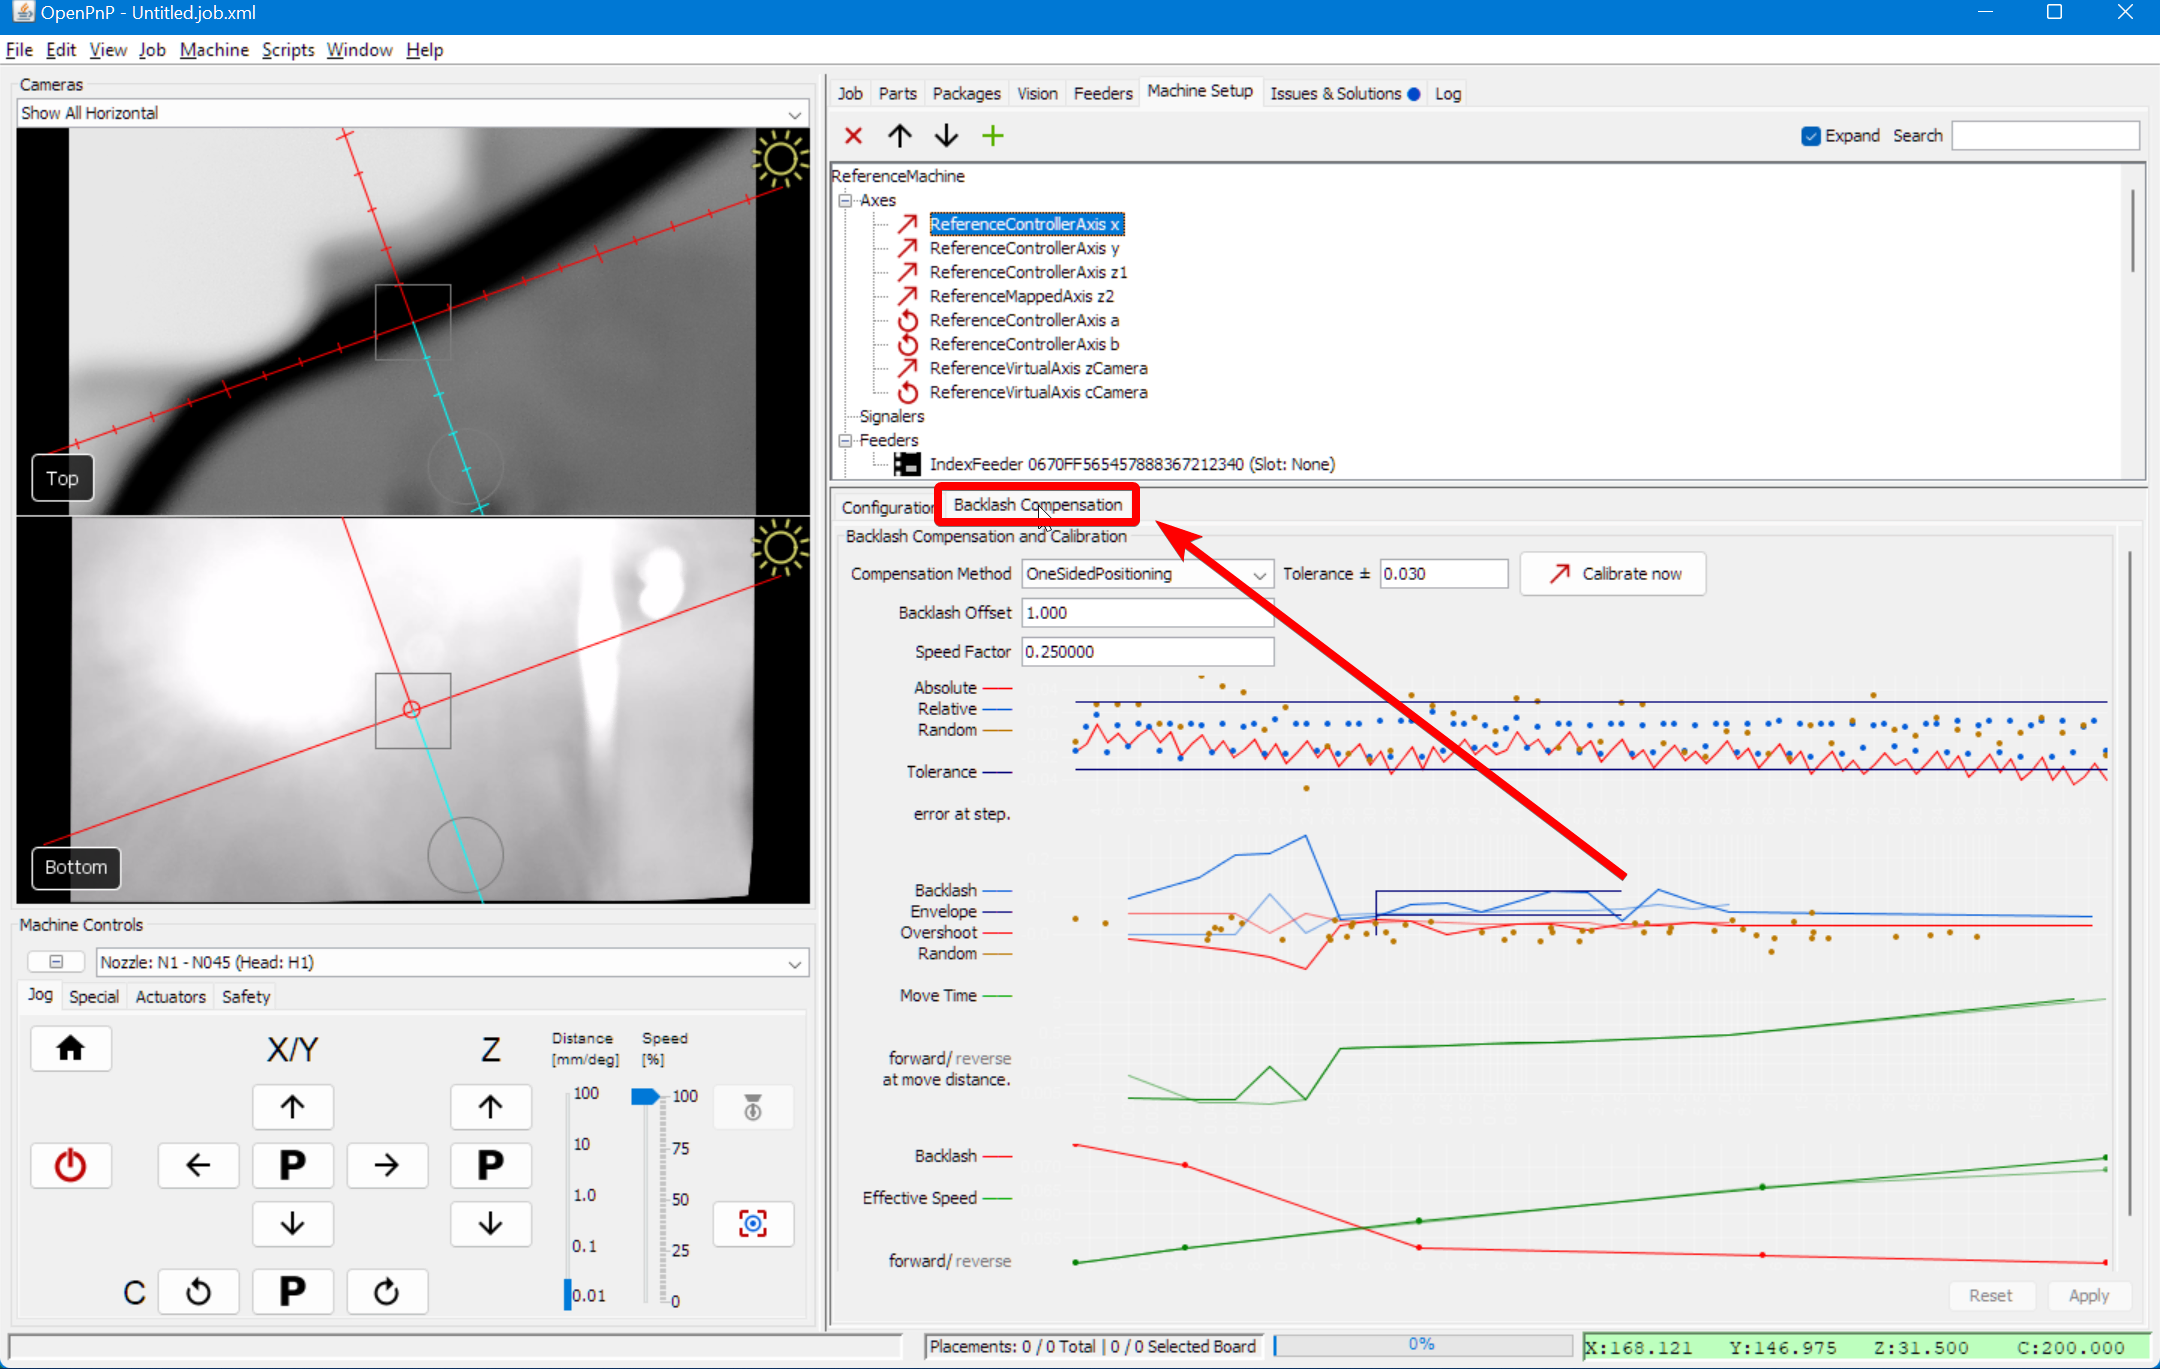
-
Next, click the
Calibrate nowbutton. The machine will go through a long routine (between 5-15 minutes) where it measures the machine's backlash, and determines the best settings to account for it. -
When it's done, you'll see the output data from the calibration. We suggest selecting
OneSidedPositioningfor the Compensation Method, but experiment with the different options to see which gives you the best results.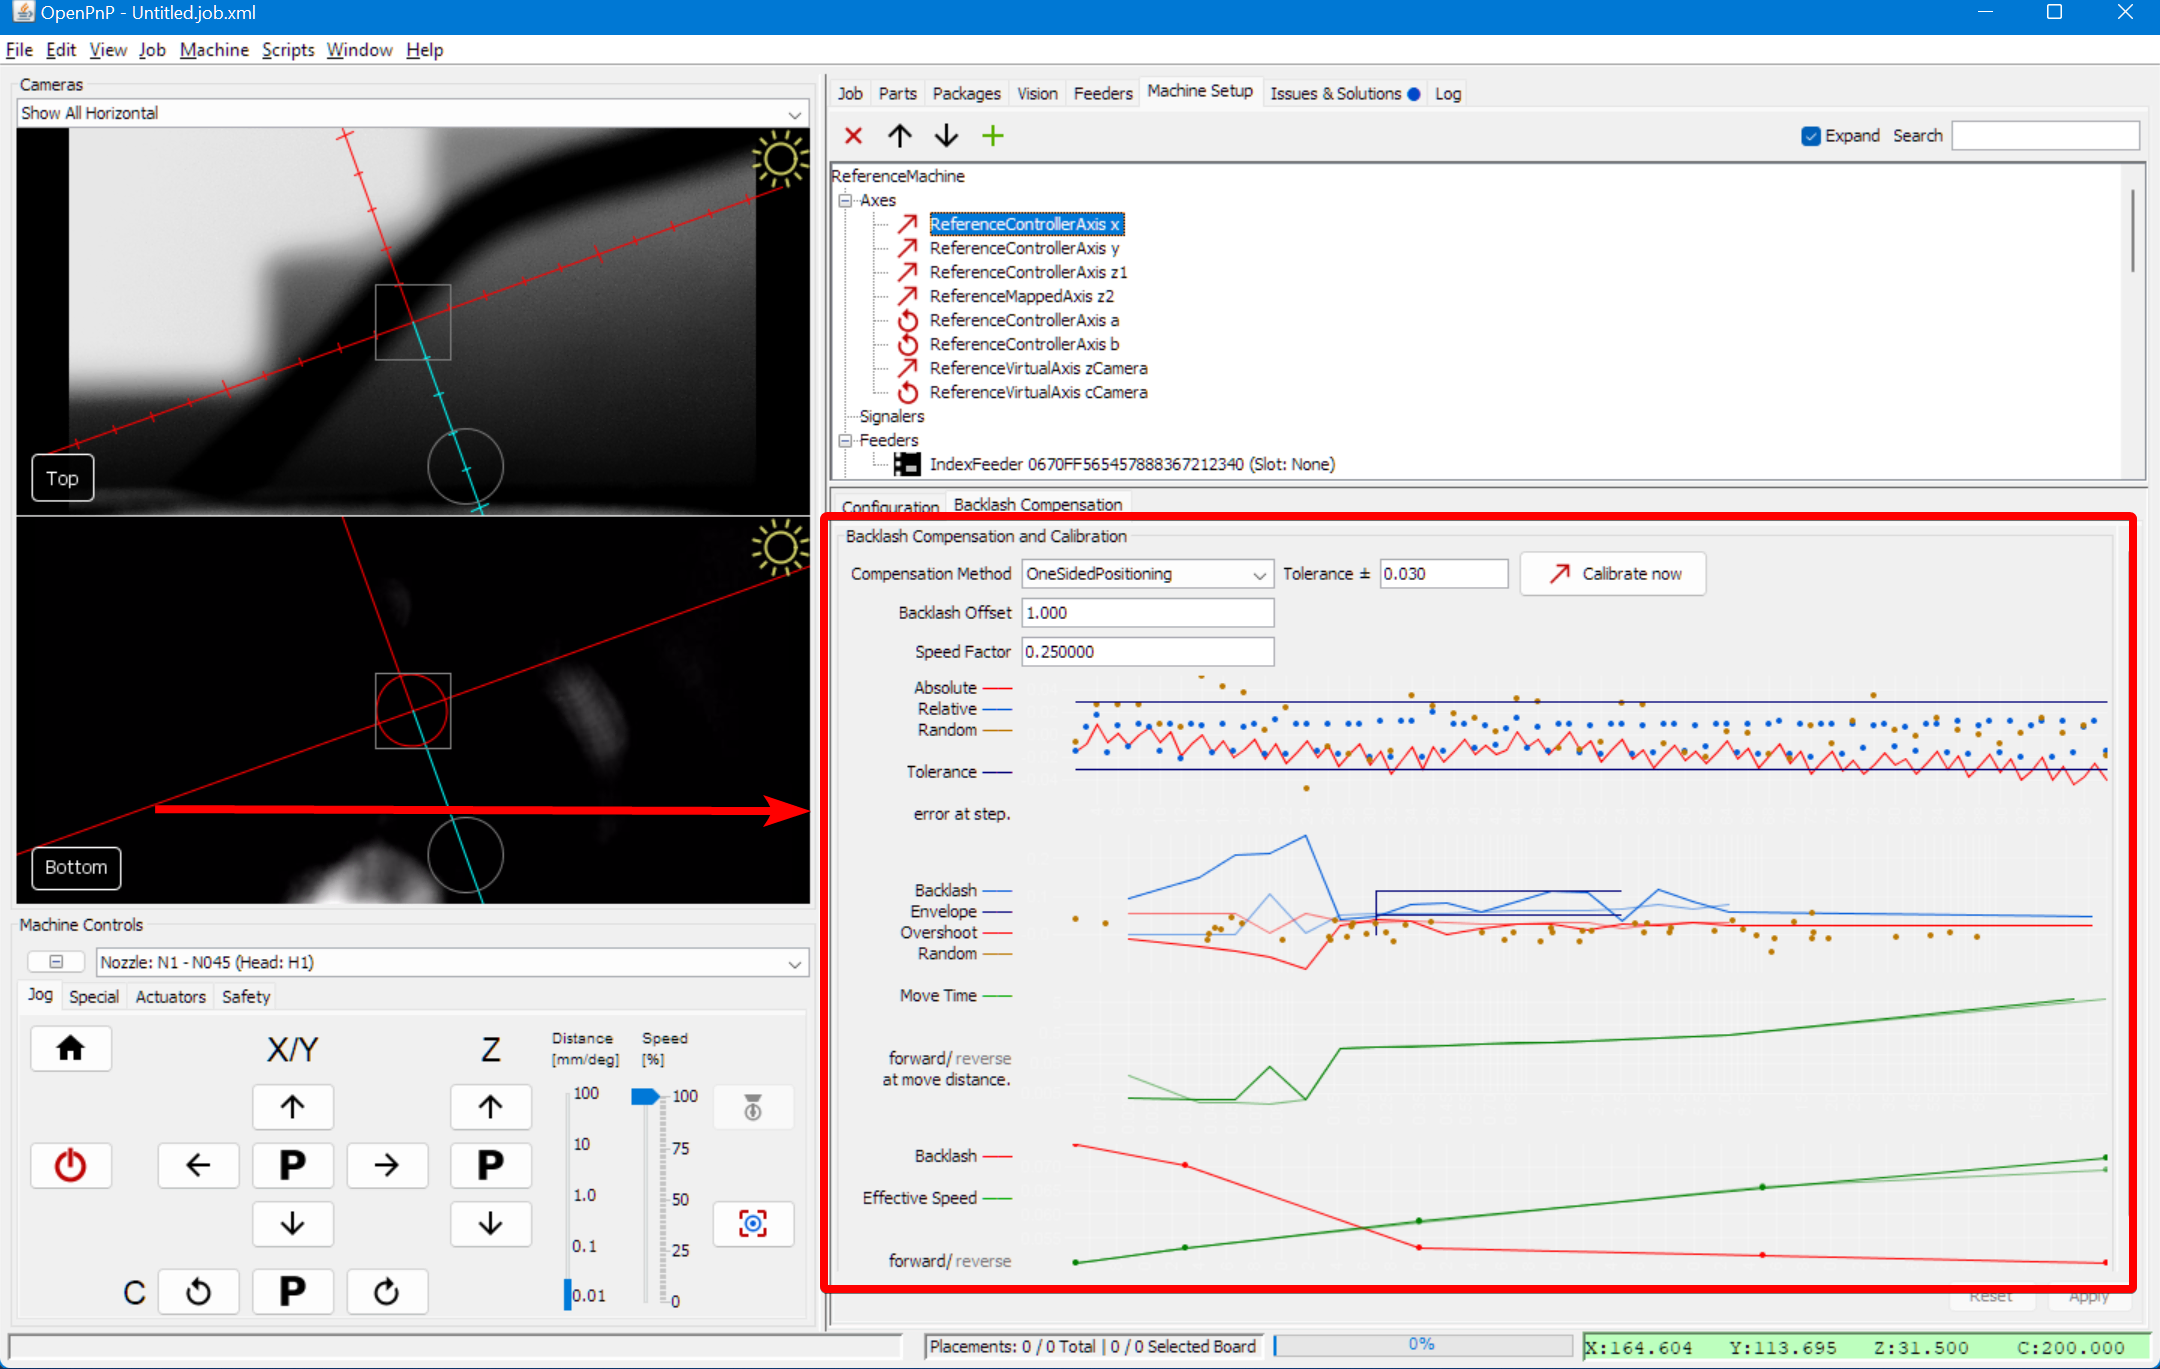
-
Restart from step 10 with the Y axis selected.