Bottom Camera Position
![]()
Now that you have confirmed the top camera and nozzle tip locations are perfectly aligned, you must immediately set the bottom camera position by following the steps below.
Do NOT home the machine at this point. If you have already homed it, return to the previous steps and re-validate that the top camera to nozzle tip offsets are still 100 percent accurate before continuing.
It is critical that the bottom camera position is set directly after the top camera to nozzle tip offset has been fully and accurately calibrated. This ensures the bottom camera position itself is correct.
All subsequent calibrations depend on the bottom camera being in the correct location. For this reason, this step must be performed in this order, and the bottom camera position should not be adjusted again once it has been set.
-
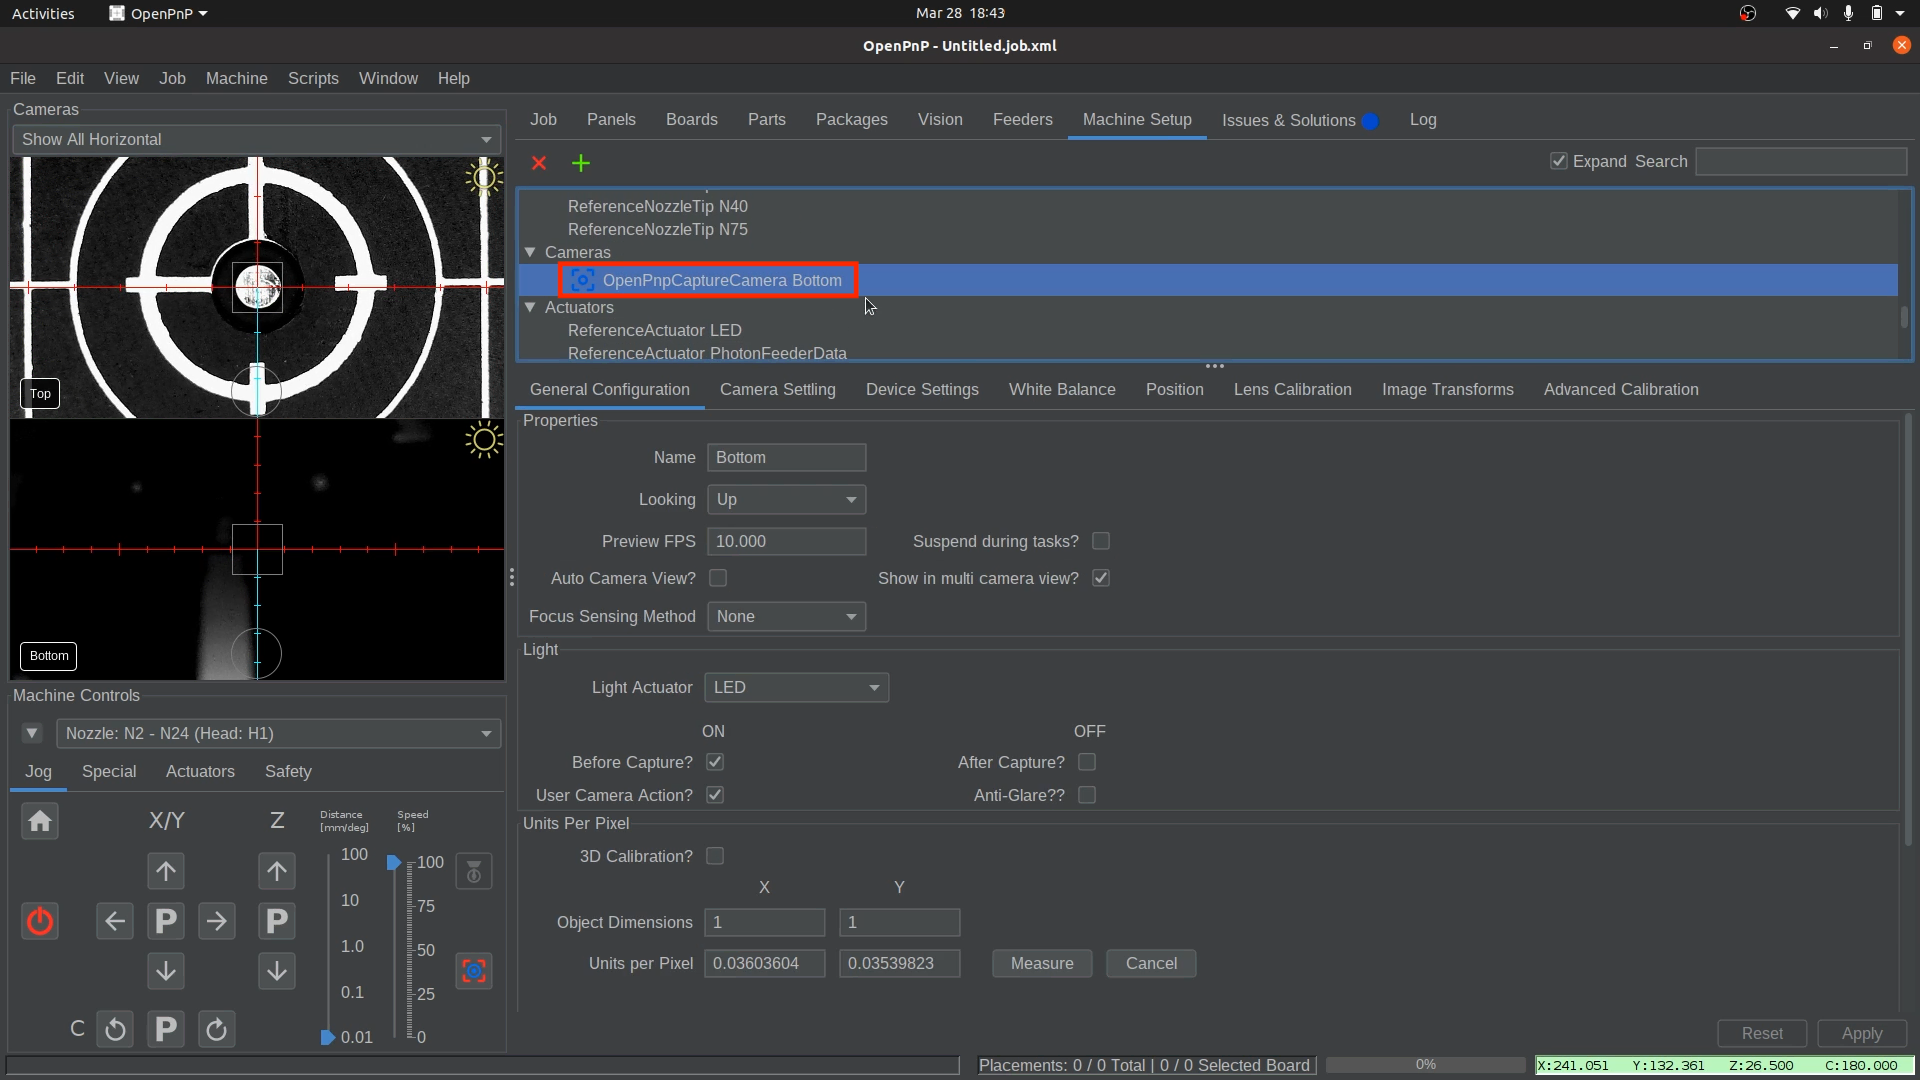
Open the Bottom Camera Settings.
- Navigate to
Machine Setup > Cameras > OpenPnpCaptureCamera Bottom.
- Navigate to
-
Access the Position Tab.
- Click on the Position tab to begin setting the bottom camera’s location.
- Ensure the Bottom camera's Z-height field is set to 31.5. (This step is specific to any LumenPnP V3 machine.)

-
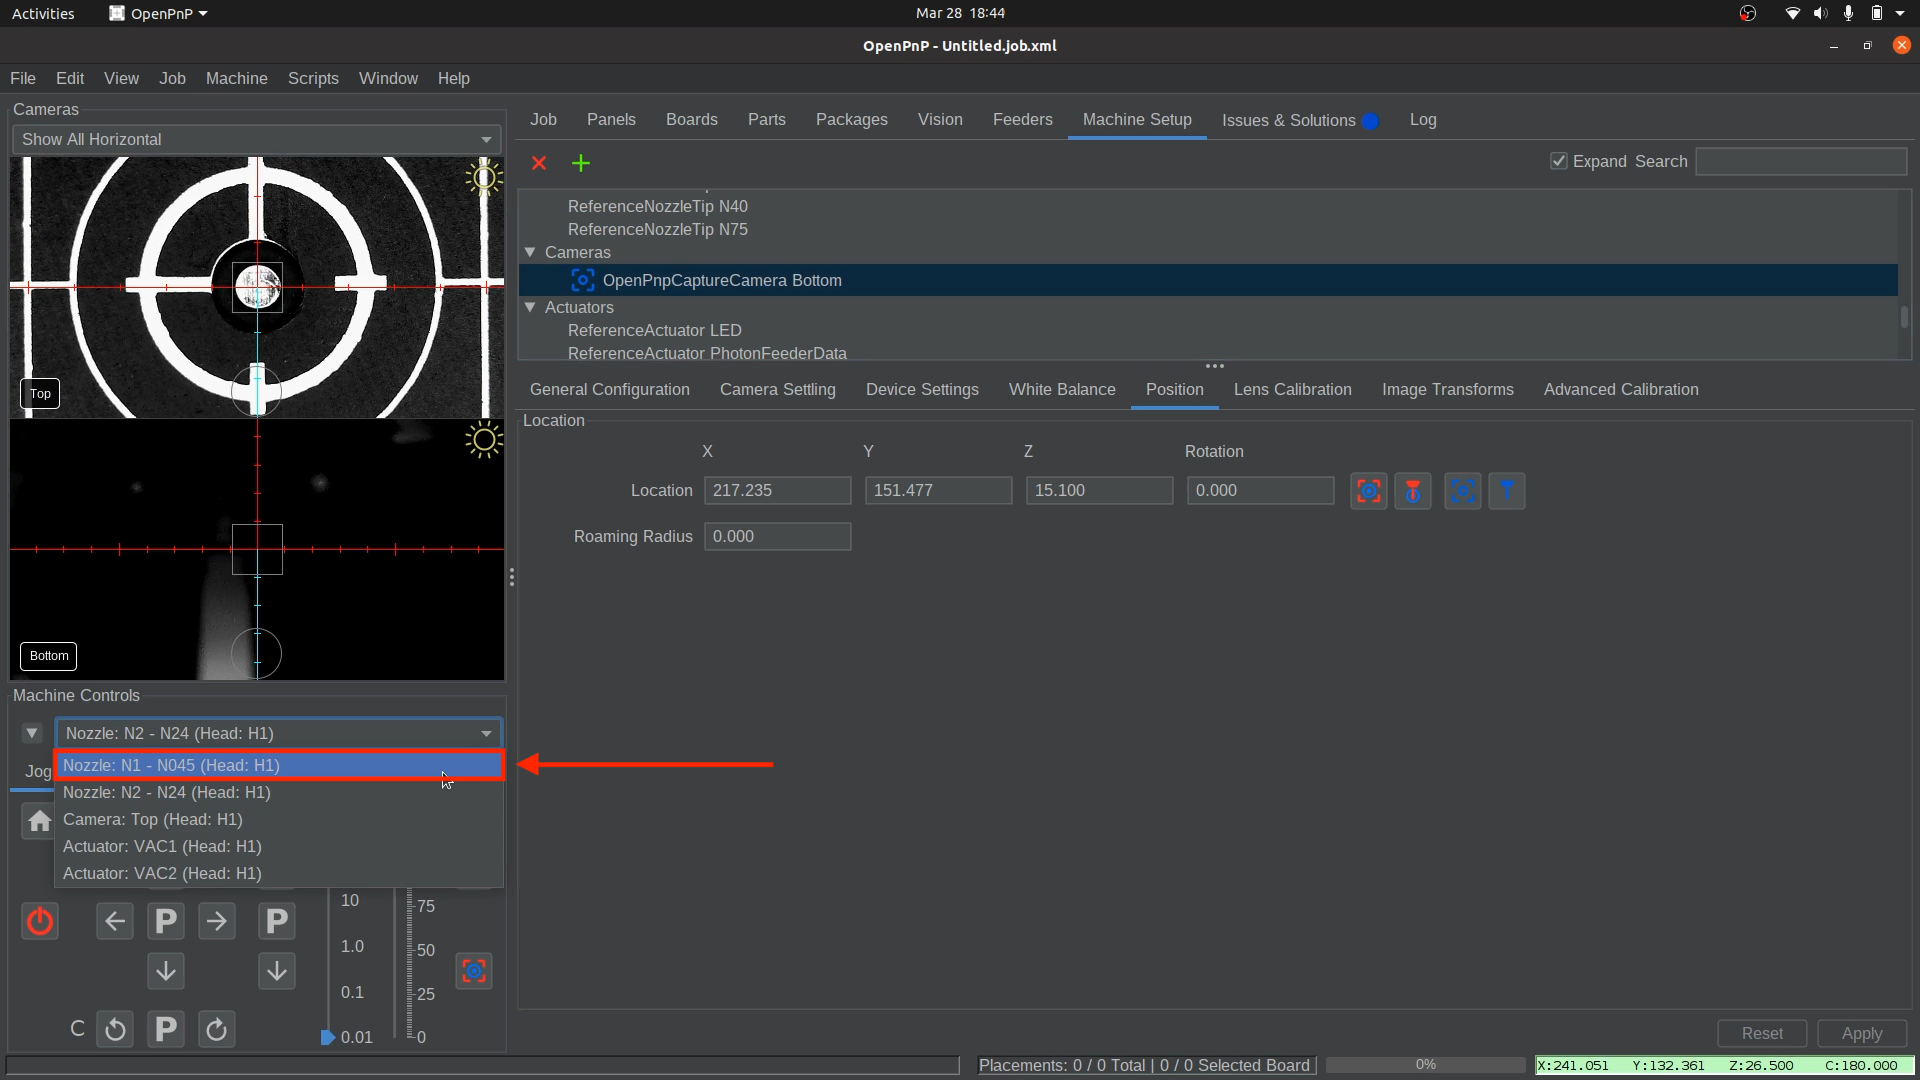
Select Nozzle: N1.
- From the machine controls dropdown, select
Nozzle: N1 - N045 (Head:H1). This ensures the left nozzle is used for positioning.
- From the machine controls dropdown, select
-
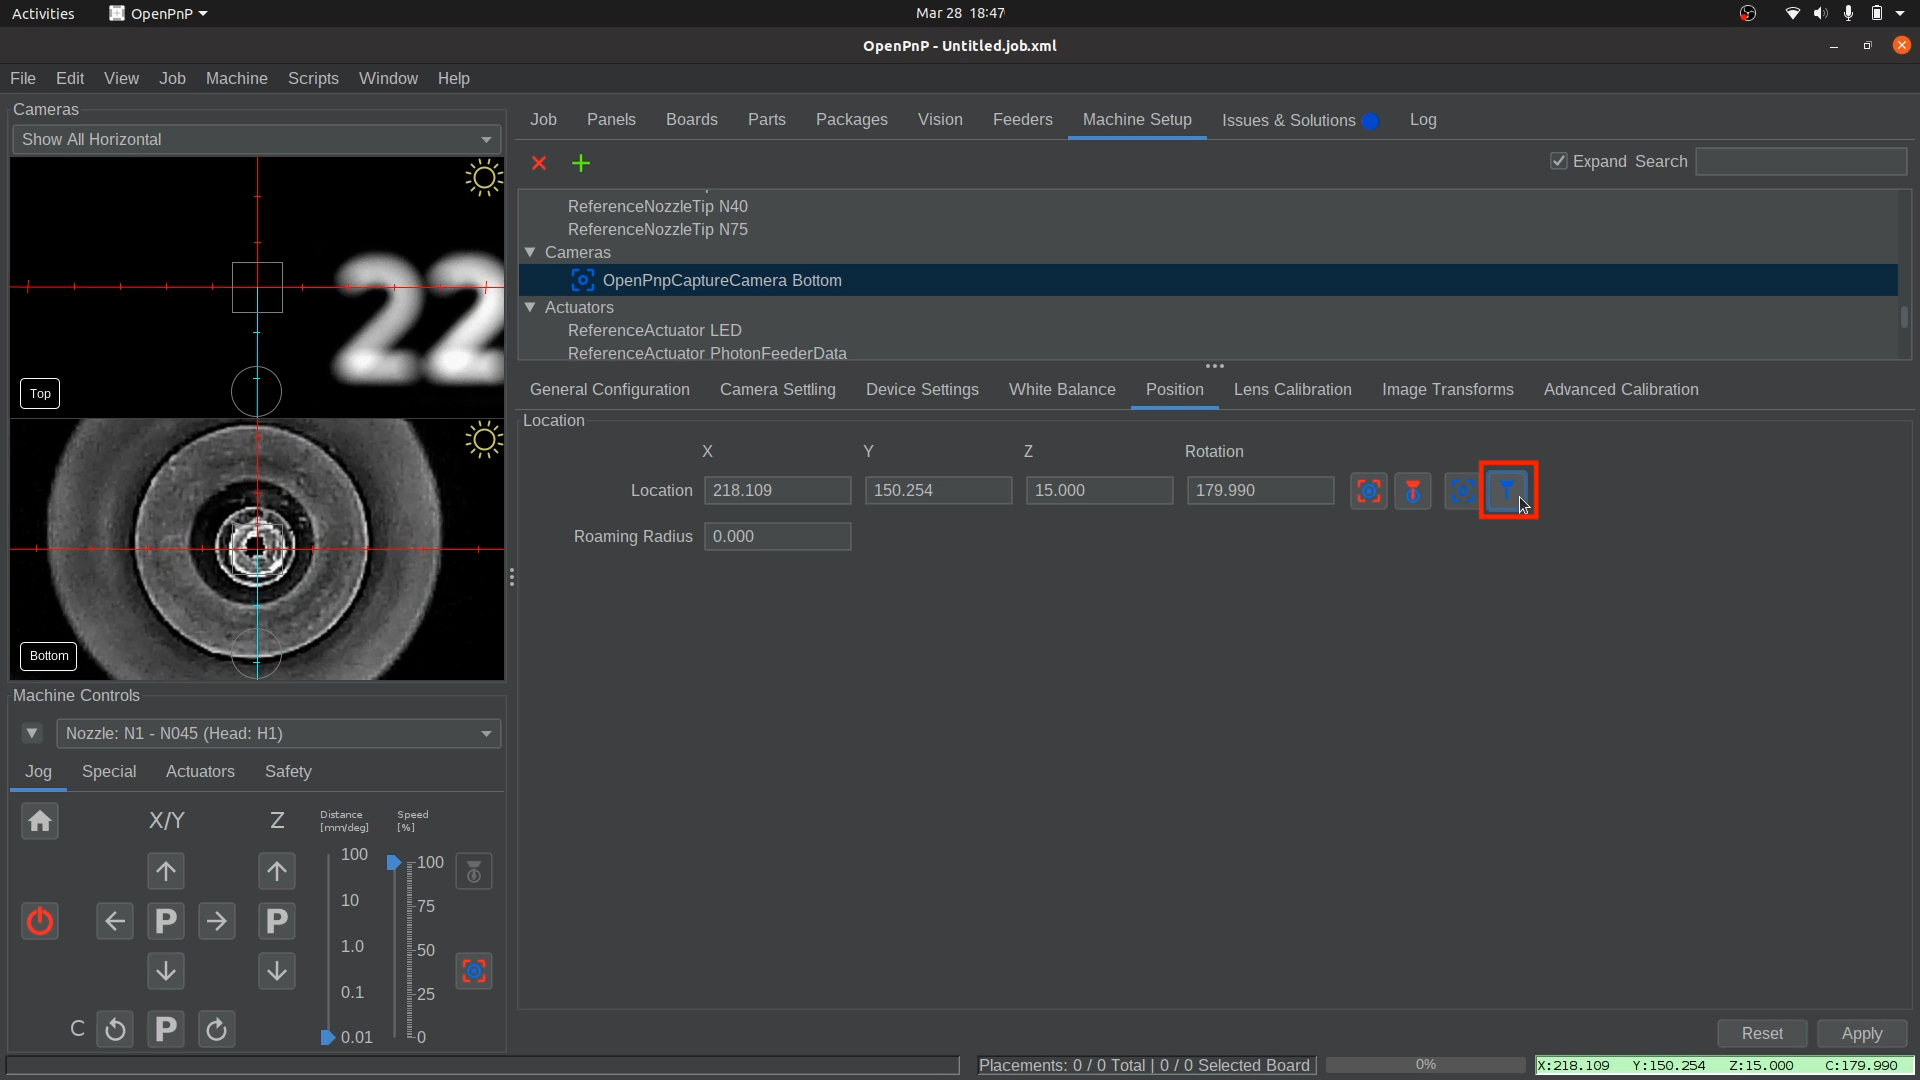
Align Nozzle Tip Over the Bottom Camera.
- In the
Position Tab, click on the button to bring the nozzle tip over the bottom camera. This will jog the Nozzle: N1 (left toolhead) over the bottom camera.

- In
Machine Controls, Use the arrows to center the nozzle tip in the bottom camera feed.

Fine-Tuning Focus
The bottom camera’s focus is pre-adjusted before shipping, but you can fine-tune it if needed. loosen the set-screw in the side and slightly rotate the bottom camera lens until the image appears sharp.
- In the
-
Capture the Bottom Camera Position.
- Once the nozzle tip is sharp and centered, click the "Capture Toolhead Location" button to save the position. (The image in this step is from a V4 camera, which is different than the V3 camera. This image may not represent what you will see.)
Blurry or Pixelated?
If you are zoomed in very close to the nozzle tip, what may appear as blurriness could actually be pixelation. Try zooming out to check if this is the case.
-
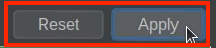
Apply and Save the Captured Nozzle Position
- Click
Applyin the lower right corner to save the bottom camera position in OpenPnP.
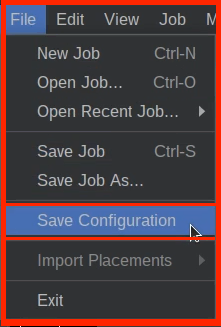
- Save your OpenPnP configuration now.
File > Save Configuration.
- Click
Reminder: Do not change the bottom camera position.
The bottom camera position should not be changed after the bottom camera location is set
All other calibrations are based on the bottom camera's accurate location, which is why it is crucial that this step is performed directly after calibrating the top camera to the nozzle tip. If you crash the nozzle, it is important to ensure the bottom camera's saved coordinates are still accurate before continuing.
Next Steps
Next is Nozzle Tip Calibration.